How to set up your email in Mozilla Thunderbird?
There are a lot of commercial and freemium email clients available in the market, but going with completely free, we will have one name in mind: Mozilla Thunderbird email client. Here in this article, you will learn how to set up your email in Mozilla Thunderbird?
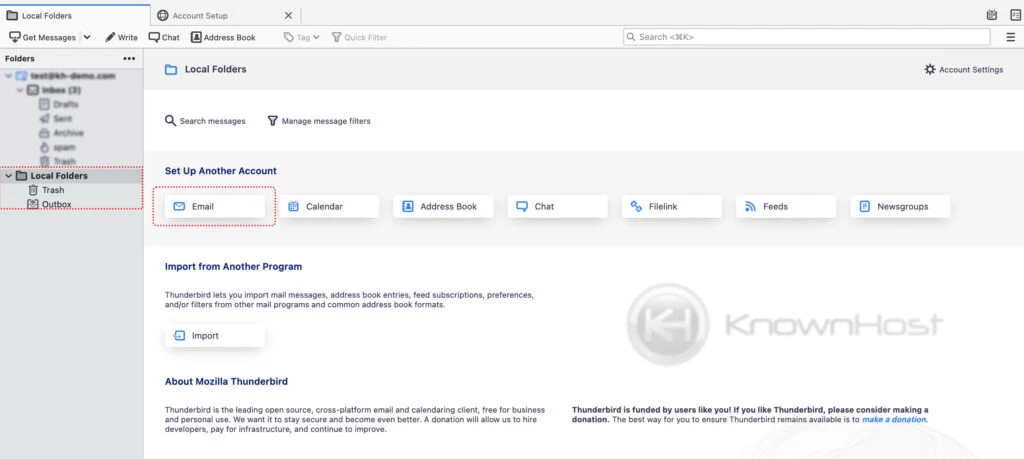
1. Open Thunderbird → Click on the Local Folders → Click on Email. If you have opened the Thunderbird application for the first time, you mostly like to see the setup screen as same as the second step.
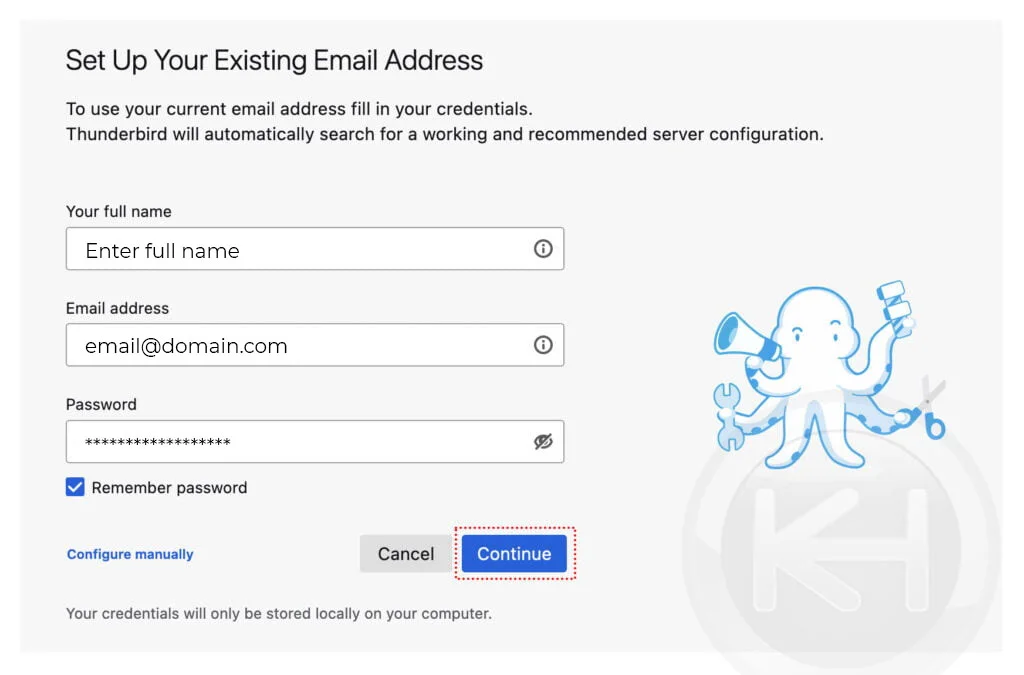
2. Enter the required information → Click on Continue.
Full Name: Enter the full name for the email account.
Email Address: Enter the email address.
Password: Enter the password of the email.
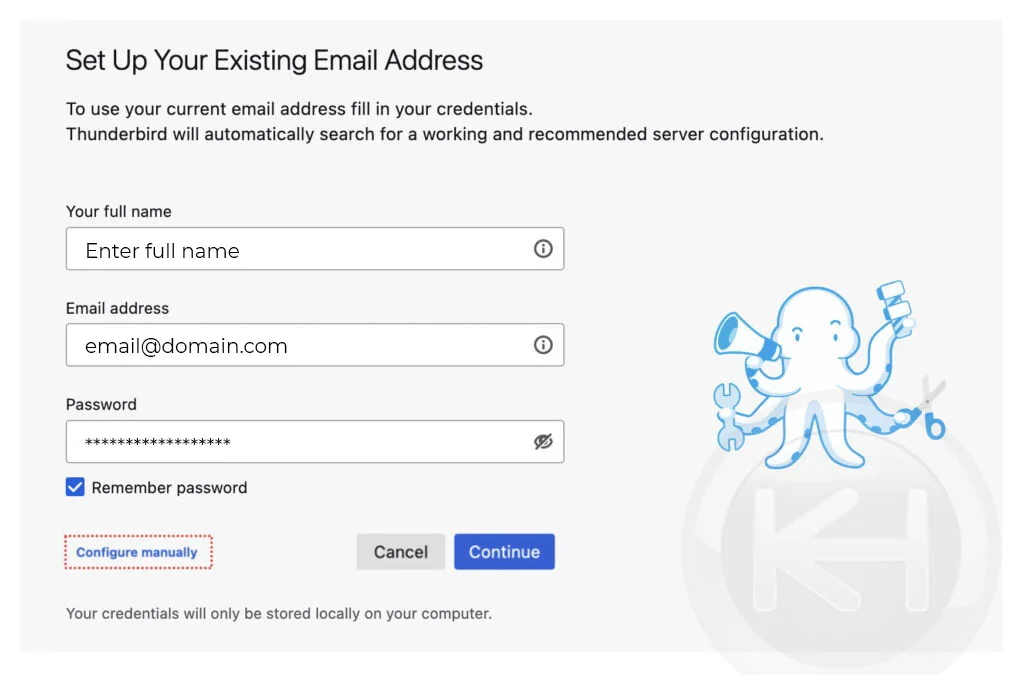
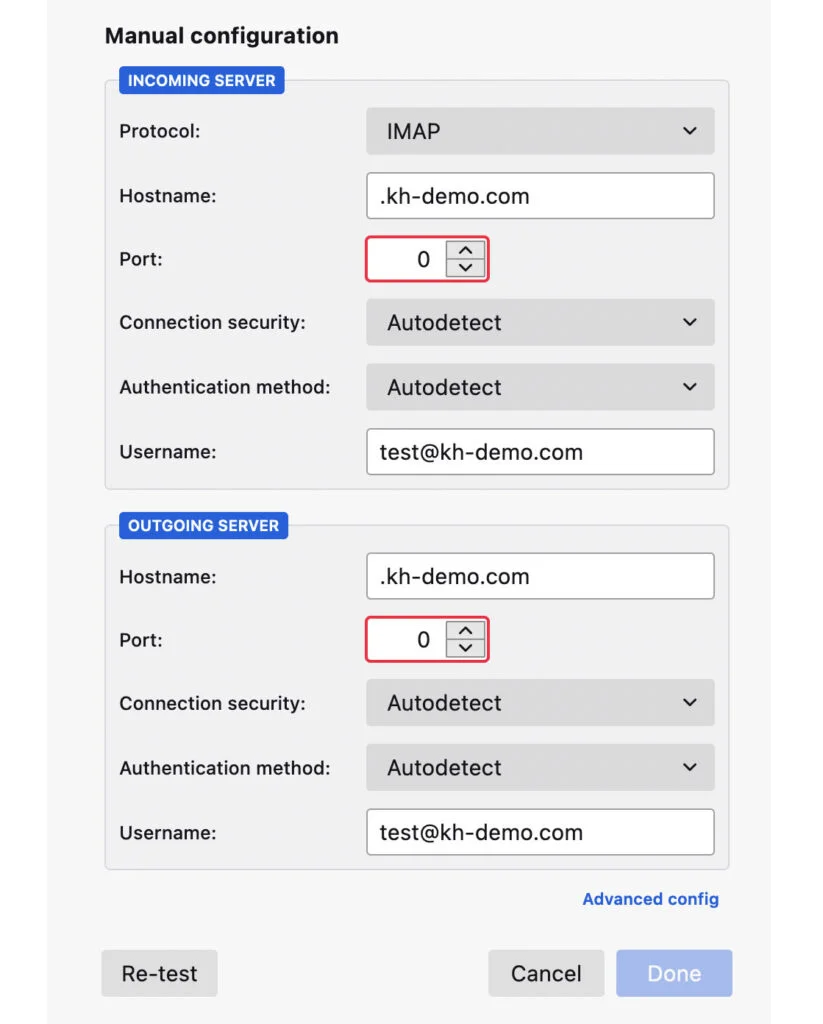
3. (Optional) If the system doesn’t fetch the correct IMAP and the SMTP details of the server, click on Configure Manually → Enter the SMTP, IMAP details manually if it doesn’t sync it automatically → Click on Done.
4. Congratulations! You have successfully configured the email account, and in the background, thunderbird will start syncing (Downloading) the available data from the server.
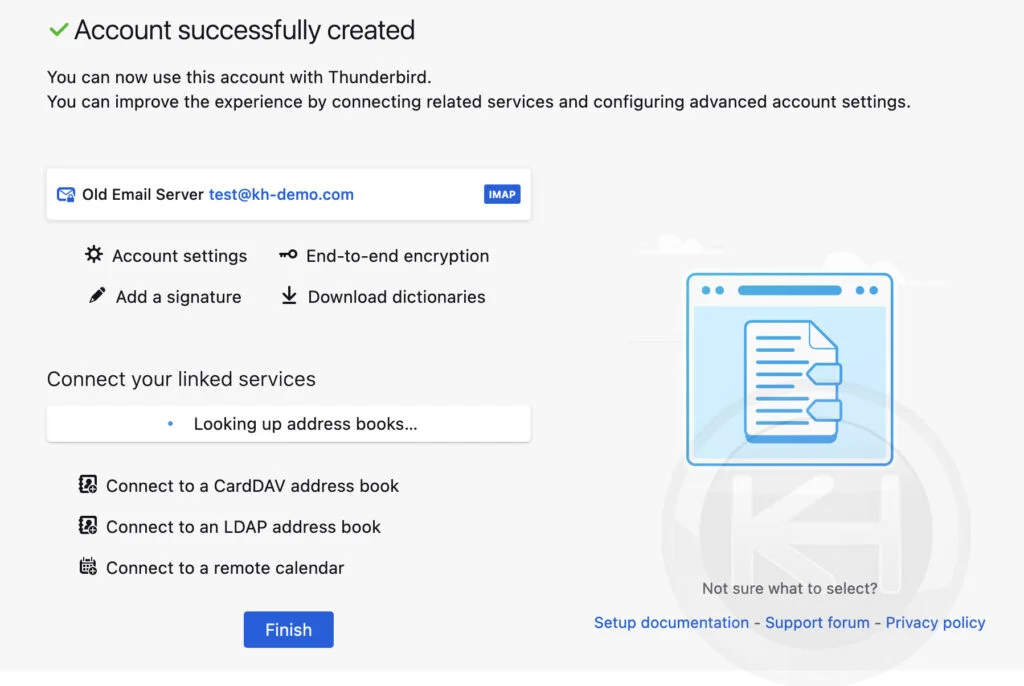
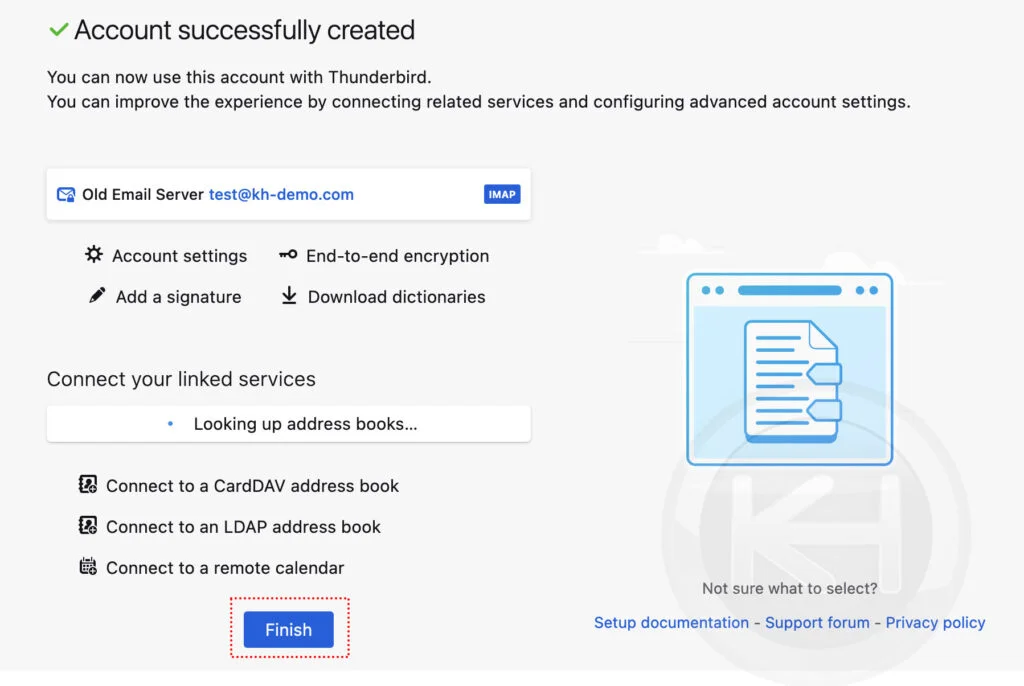
5. Finally, click on Finish.
Conclusion
Now that we’ve gone over how to set up your email account in Mozilla Thunderbird email client. Thunderbird is a free email application that’s easy to set up and customize – and it’s loaded with great features!
KnownHost offers 365 days a year, 24 hours a day, all 7 days of the week best in class technical support. A dedicated team ready to help you with requests should you need our assistance. You’re not using KnownHost for the best webhosting experience? Well, why not? Check with our Sales team to see what can KnownHost do for you in improving your webhosting experience.