How to restore full cPanel backup with JetBackup 5?
JetBackup is a suitable and ready-to-use backup functionality that KnownHost offers with the web hosting services*. If you have web hosting services with us, you will most likely see Jetbackup 5 option within the control panel. Learn, How to restore full cPanel backup with JetBackup 5?
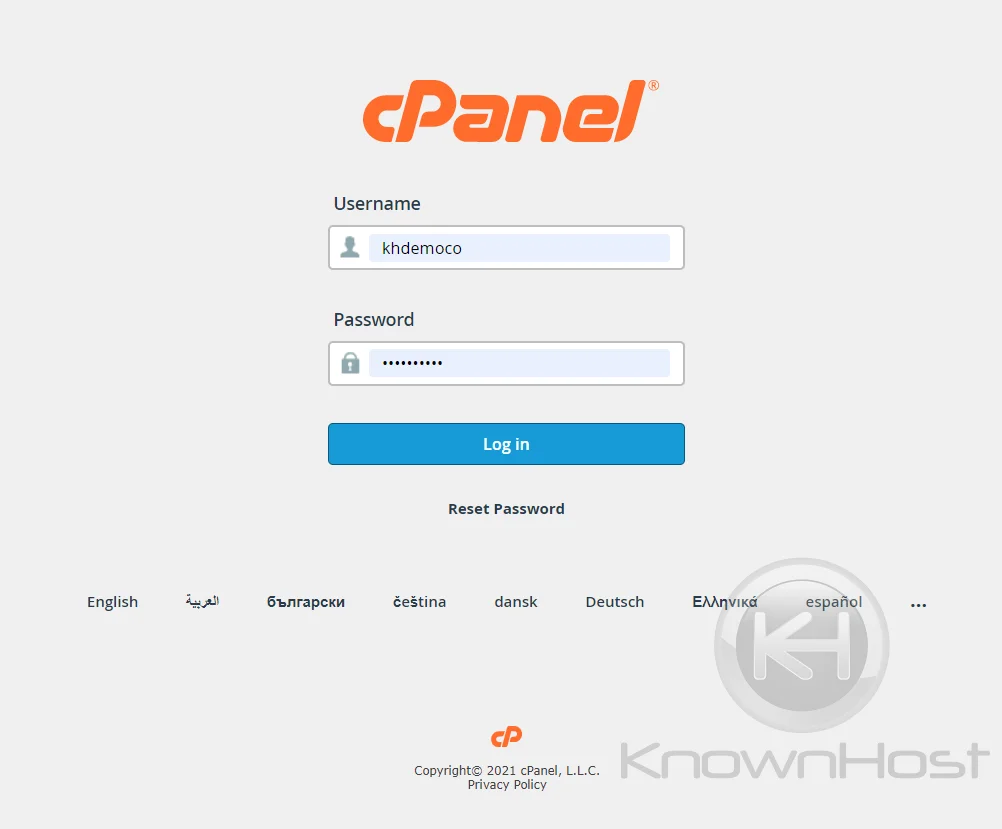
1. Log in to cPanel using Username & Password. i.e; (https://yourdomain.com:2083 or https://yourdomain.com/cpanel)
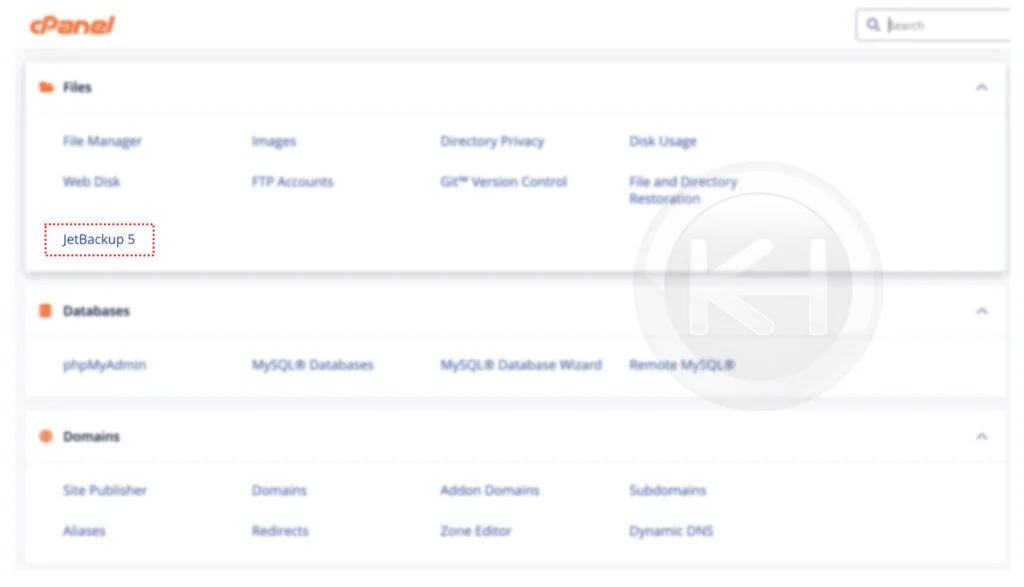
2. Navigate to Files → JetBackup 5.
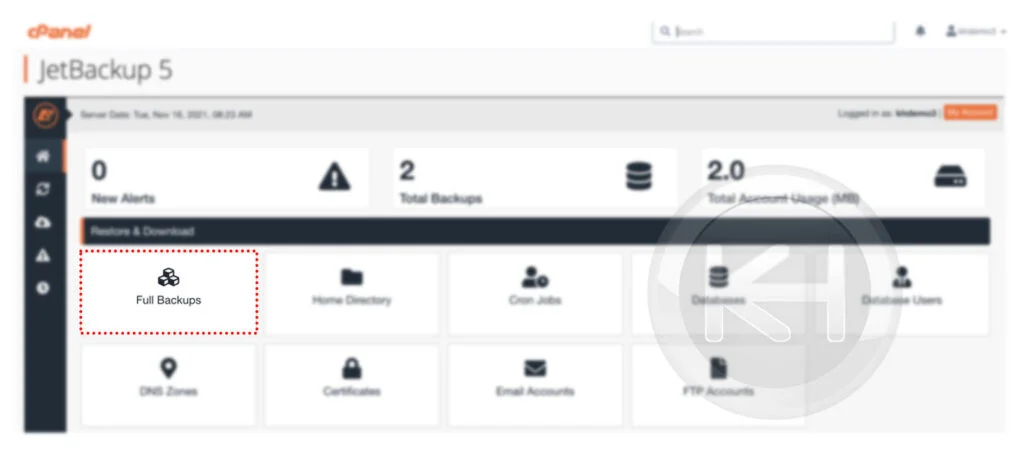
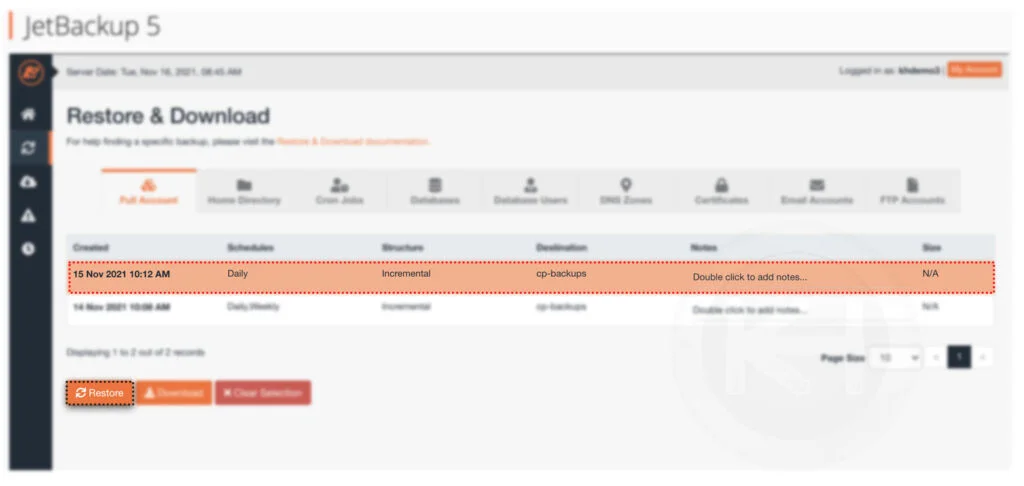
3. To view existing full backups, navigate to Restore & Download → Full Backups.
4. Here, you can see the created/generated full backups of the cPanel account. Furthermore, you can see the schedules, destination, and structure of the generated backups.
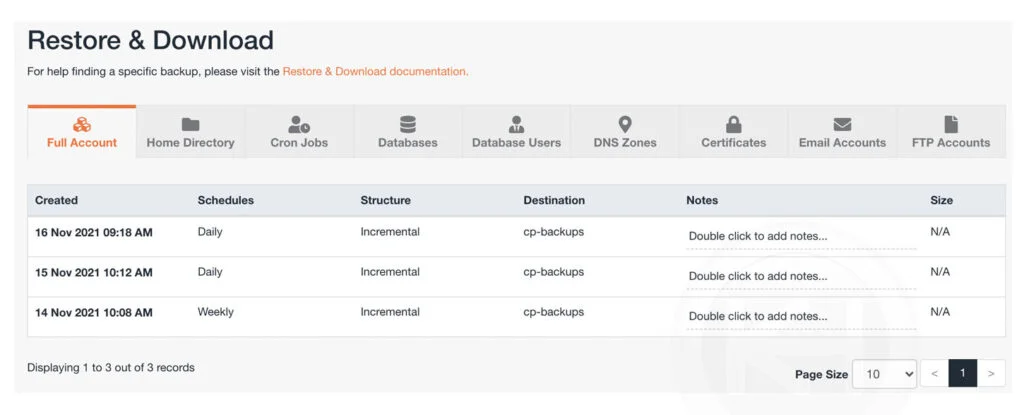
5. To restore → Select Backup from the list → Click on Restore.
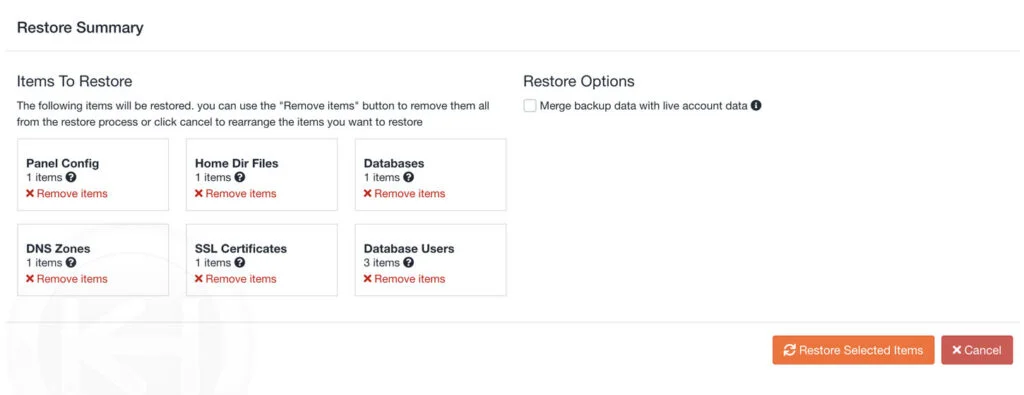
6. Next, in the Restore Summary, you will be asked to select/deselect Items → Click on Restore Selected Items.
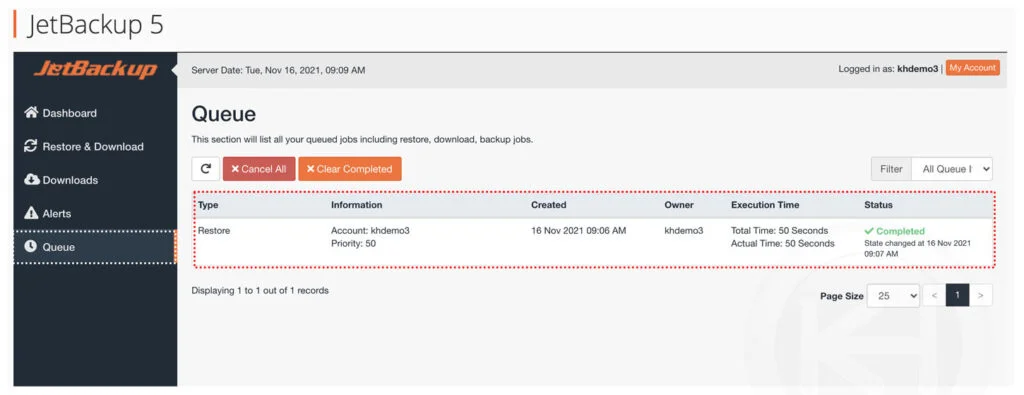
7. Now, from the back-end restoration will begin and that you can monitor from the Jetbackup → Queue. Once the restoration has been complete, you can see the Complete message in the Status section.
8. Congratulations! You have successfully restored full backup with Jetbackup 5.
Conclusion
Now that we’ve gone over how to restore full cPanel backup with JetBackup 5, if you’re not a KnownHost customer then availability of the backups is totally depends on the hosting provider.
KnownHost offers 365 days a year, 24 hours a day, all 7 days of the week best in class technical support. A dedicated team ready to help you should you need our assistance. You’re not using KnownHost for the best webhosting experience? Well, why not? Check with our Sales team to see what can KnownHost do for you in improving your webhosting experience.