How To Manually Migrate Email Accounts?
Email messages will already be transferred as part of the normal migration process if you transfer a website between servers using the normal migration process. But if you are migrating the sites manually, you may be wondering how to get the email accounts and messages transferred.
The easiest way to do this is likely by using a mail client such as Thunderbird. If you prefer a different mail client, it is expected to have similar functionality, but these instructions will be specific to Thunderbird.
Connect to the Old Server and Download
Let us first download the messages from the old server.
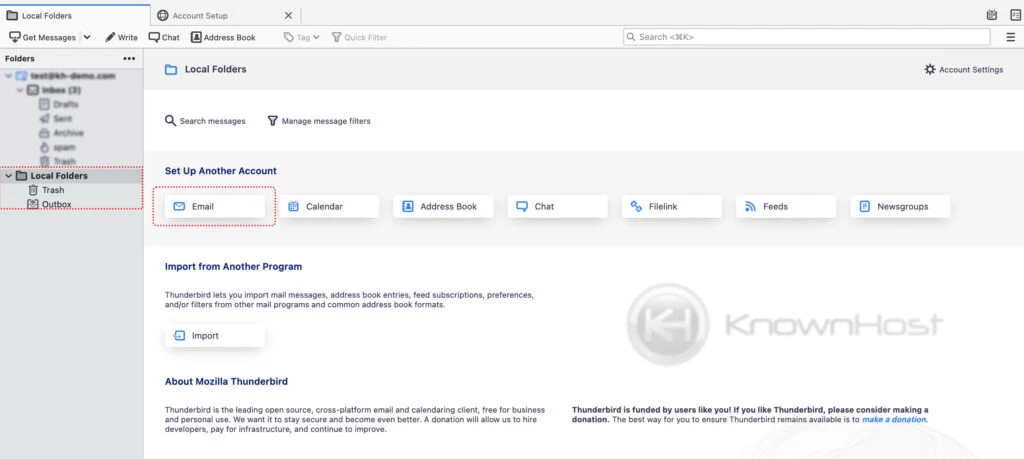
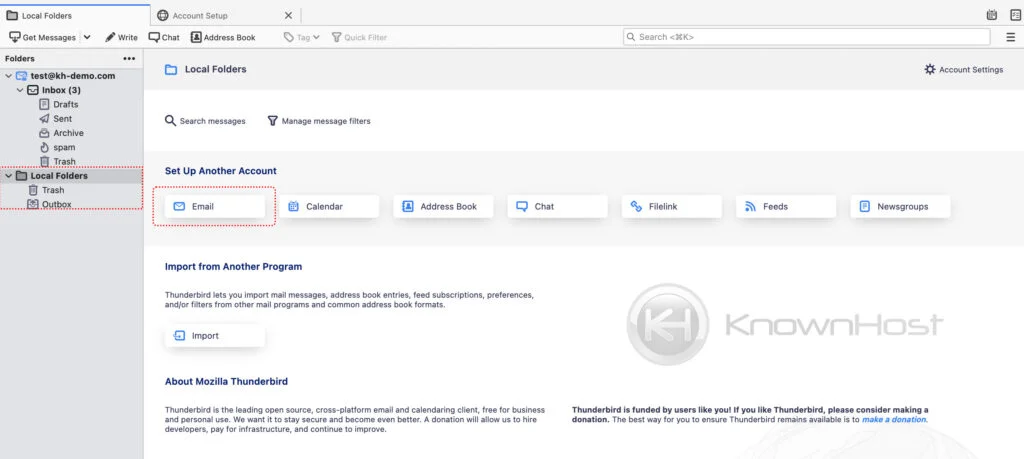
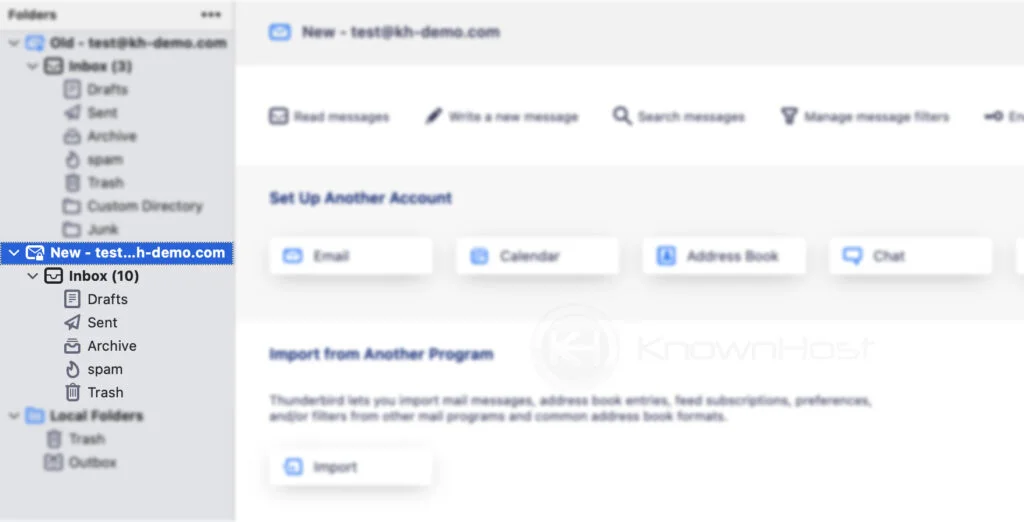
1. Open Thunderbird → Click on the Local Folders → Click on Email.
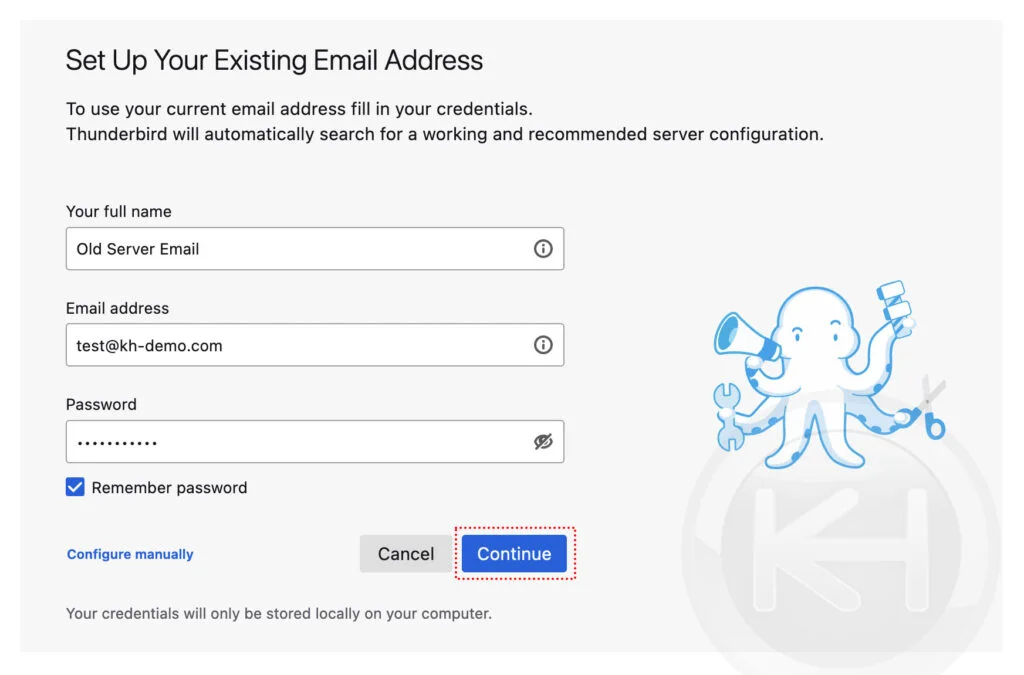
2. Enter the required information → Click on Continue.
Full Name: Enter the full name for the email account.
Email Address: Enter the email address.
Password: Enter the password of the email.
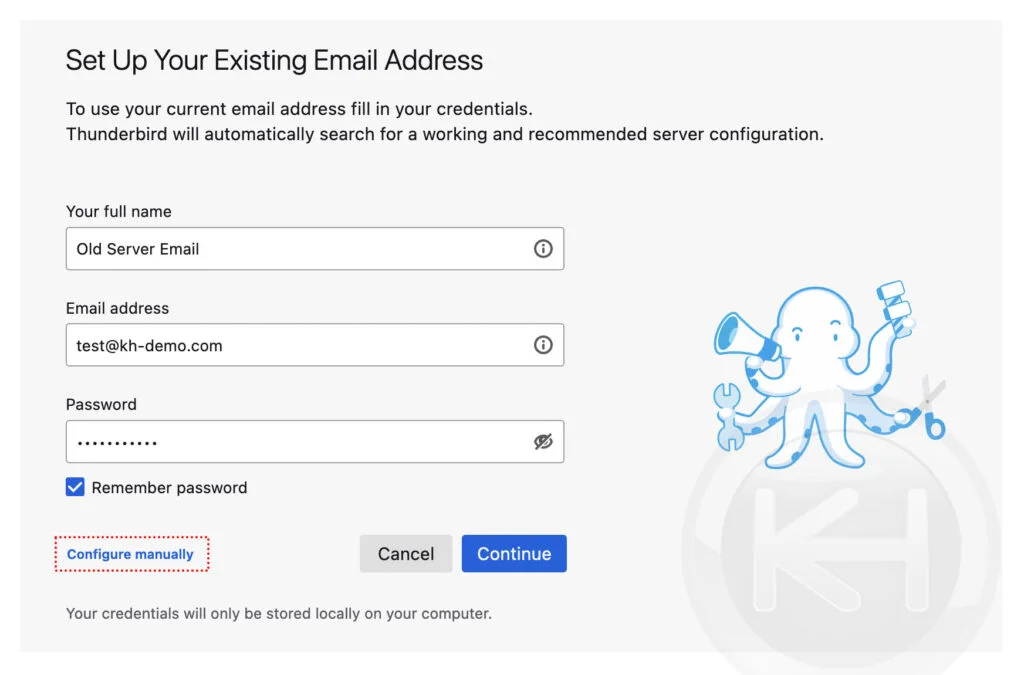
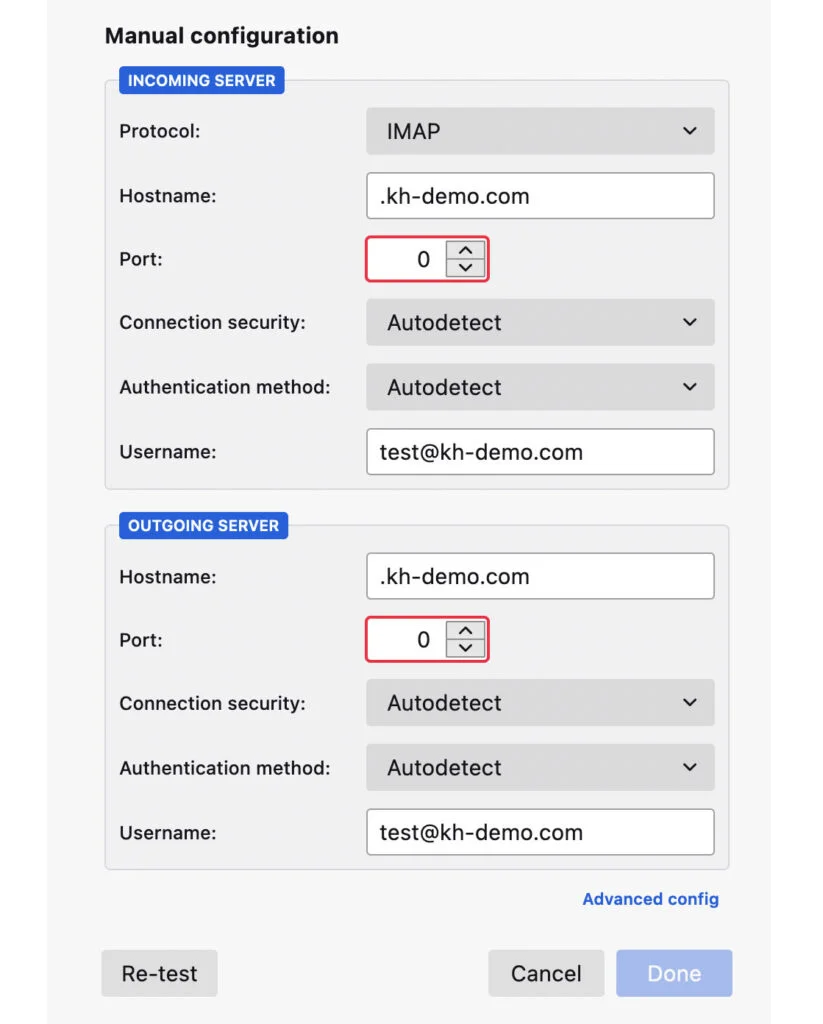
3. (Optional) If the system doesn’t fetch the IMAP and the SMTP details of the server, click on Configure Manually → Enter the SMTP, IMAP details manually if it doesn’t sync it automatically → Click on Done.
4. Congratulations! You have successfully configured the email account (old server), and in the background, thunderbird will start syncing (Downloading) the available data from the server (old).
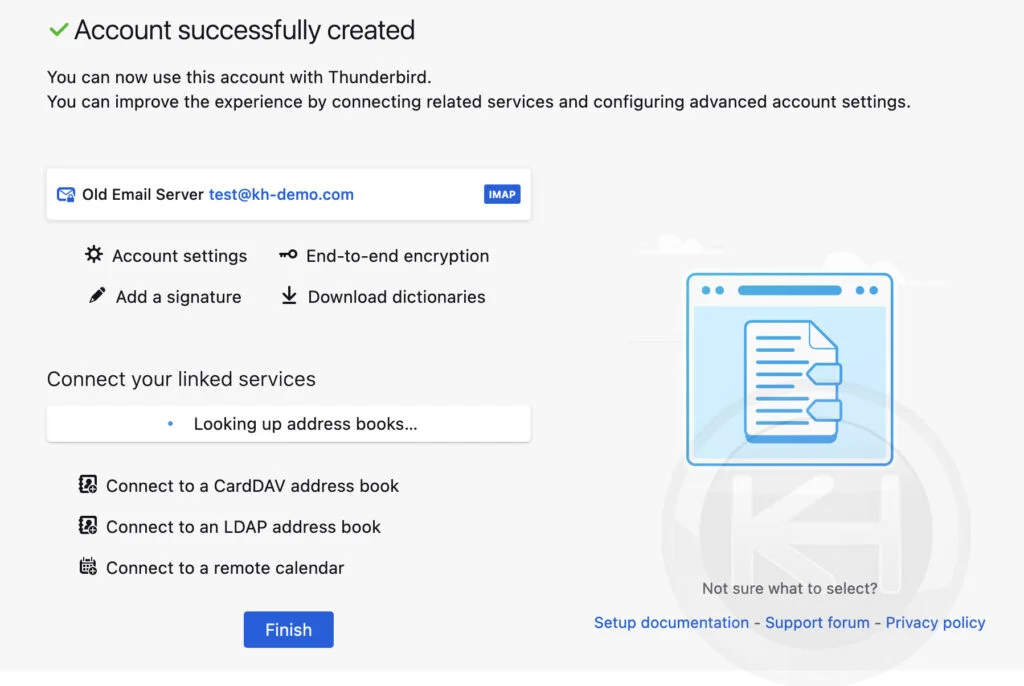
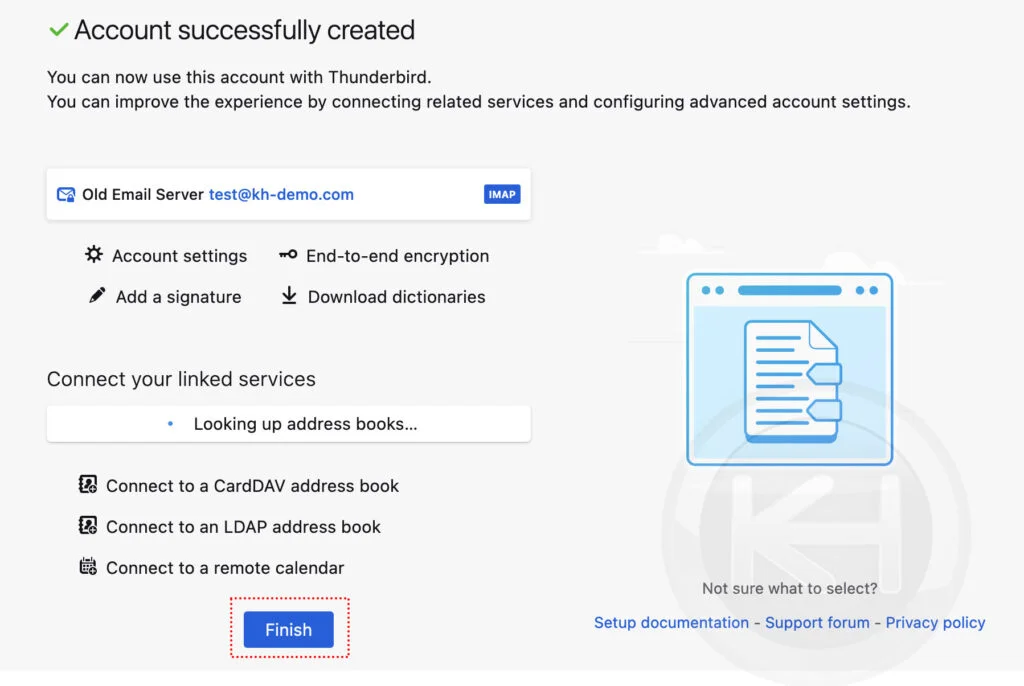
5. Finally, click on Finish.
6. Depending on the size of the messages (emails) and the internet connection, it will take time for the download. Once it has been done, you should be able to see the emails, directories, attachments.
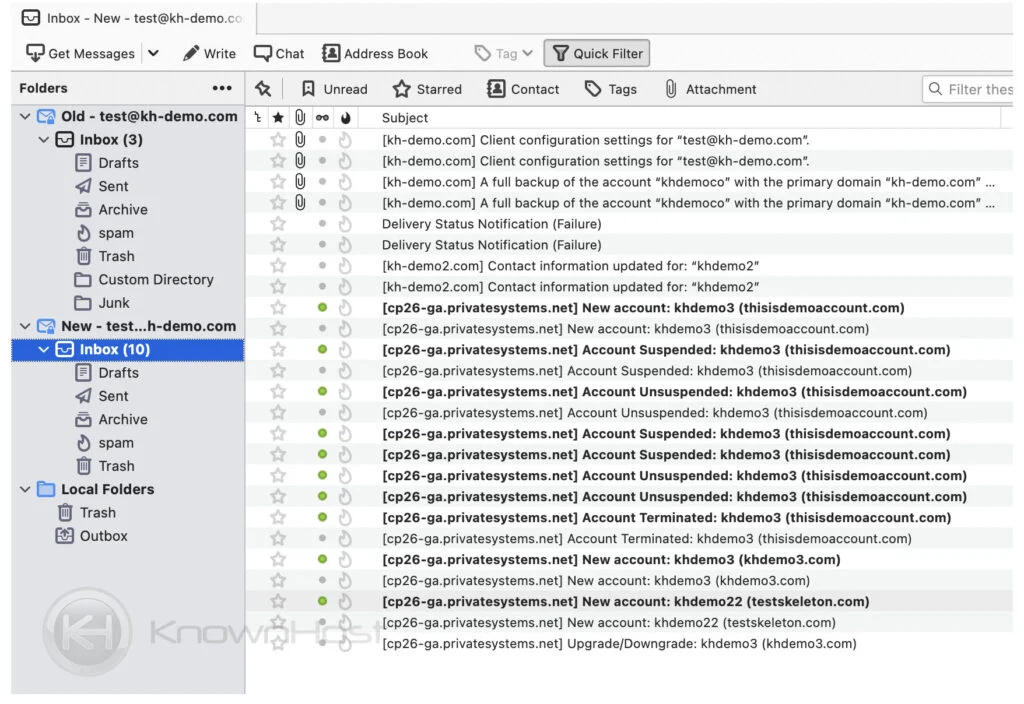
Connect to the New Server and Copy
1. Using the same method described above, configure the Email Account (New Server) on the Thunderbird email client.
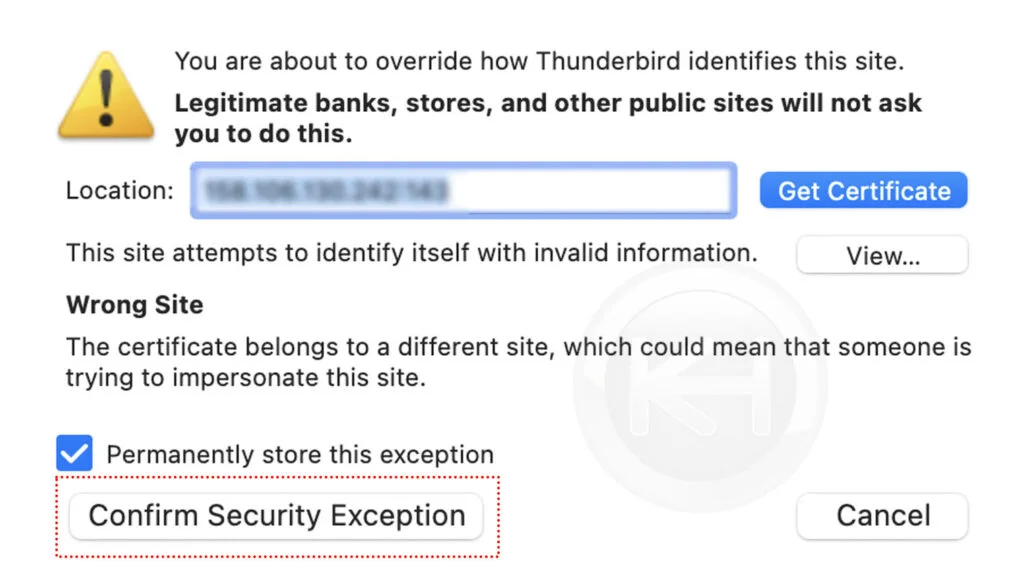
2. At the time of configuration, if you encounter with SSL warning → Click on Confirm Security Exception.
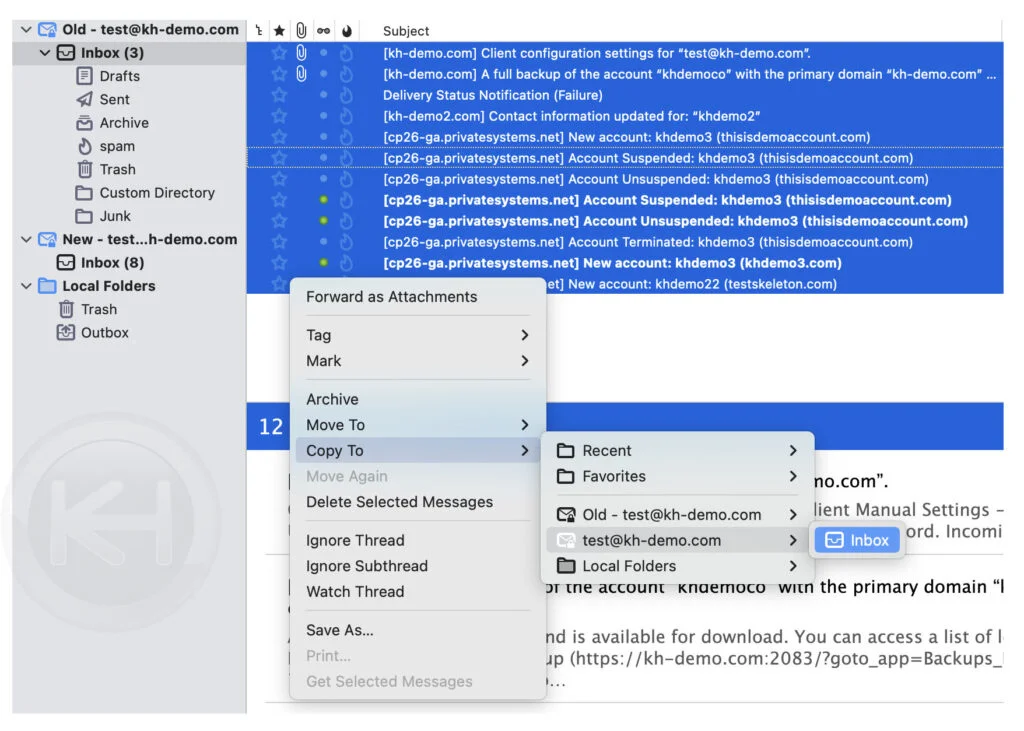
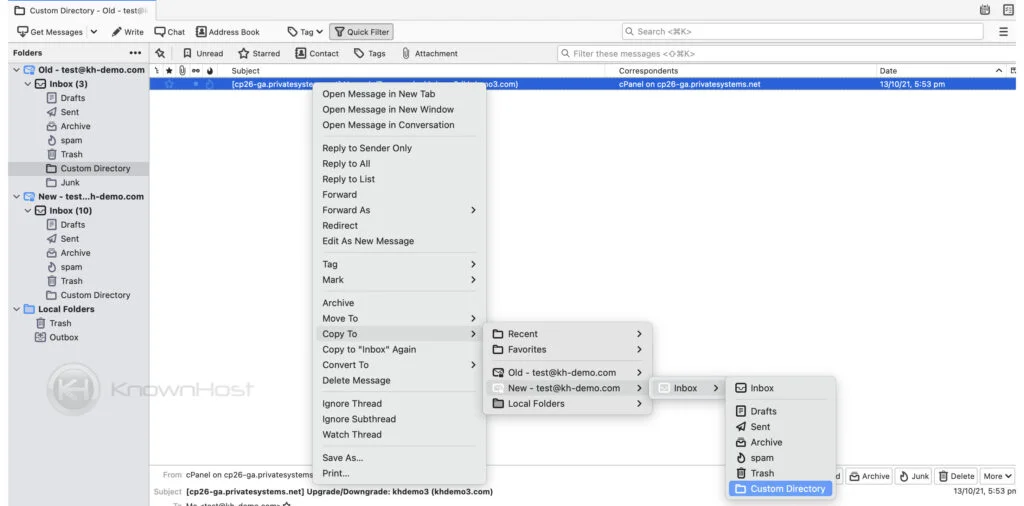
3. To copy emails, select the emails → Right–click → Click on the Email Account (New Server) → Select the Directory (Inbox, Spam, Junk, etc.).
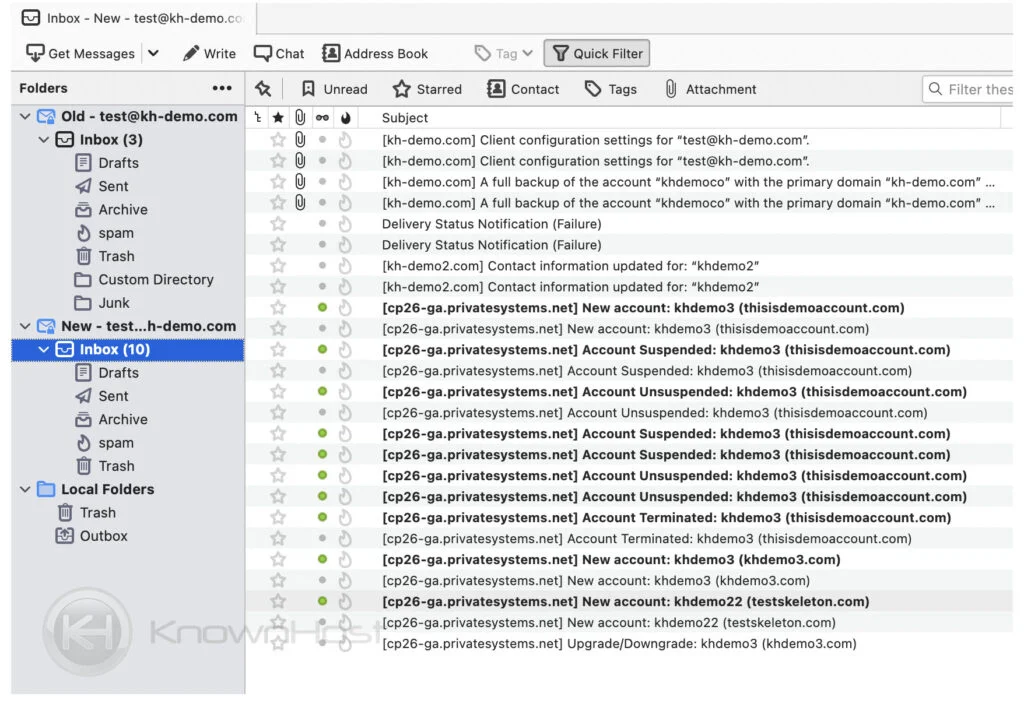
4. It will take some time, depending on the system’s performance. Now, you should see all the copied emails by clicking on the New Server email account. The system will also sync the copied emails on the server (new).
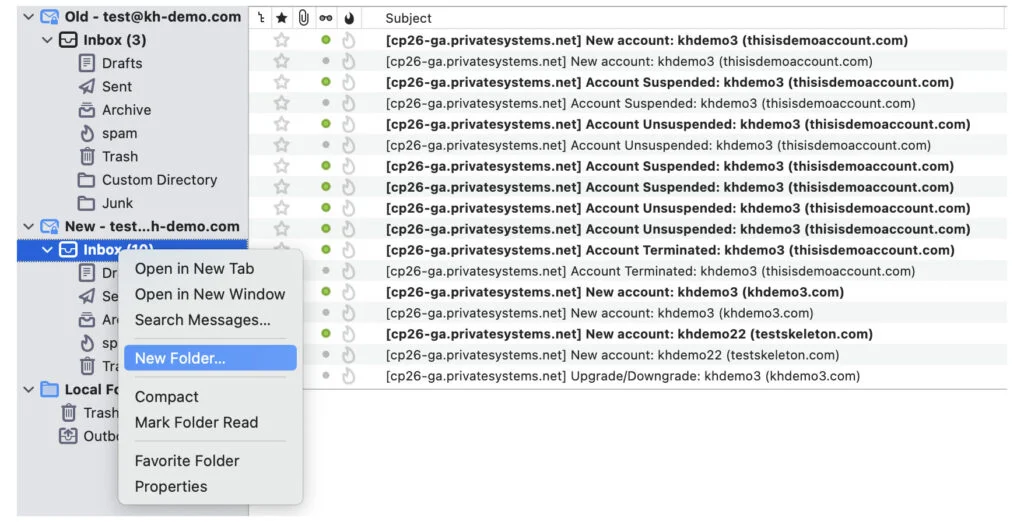
5. For the directories → Right–click on Inbox → Click on New Folder.
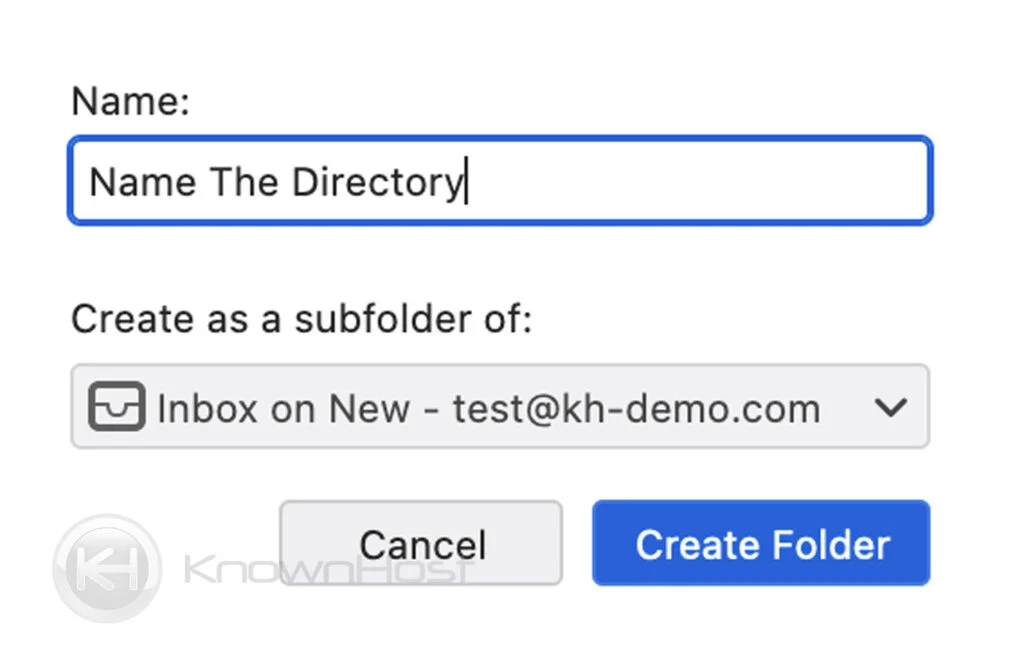
6. Enter the name for Folder → Click on Create Folder. Also, you can select the parent folder to create a sub folder.
7. Using the 2nd, 3rd, 4th steps, you can copy the respective emails available under the sub folder.
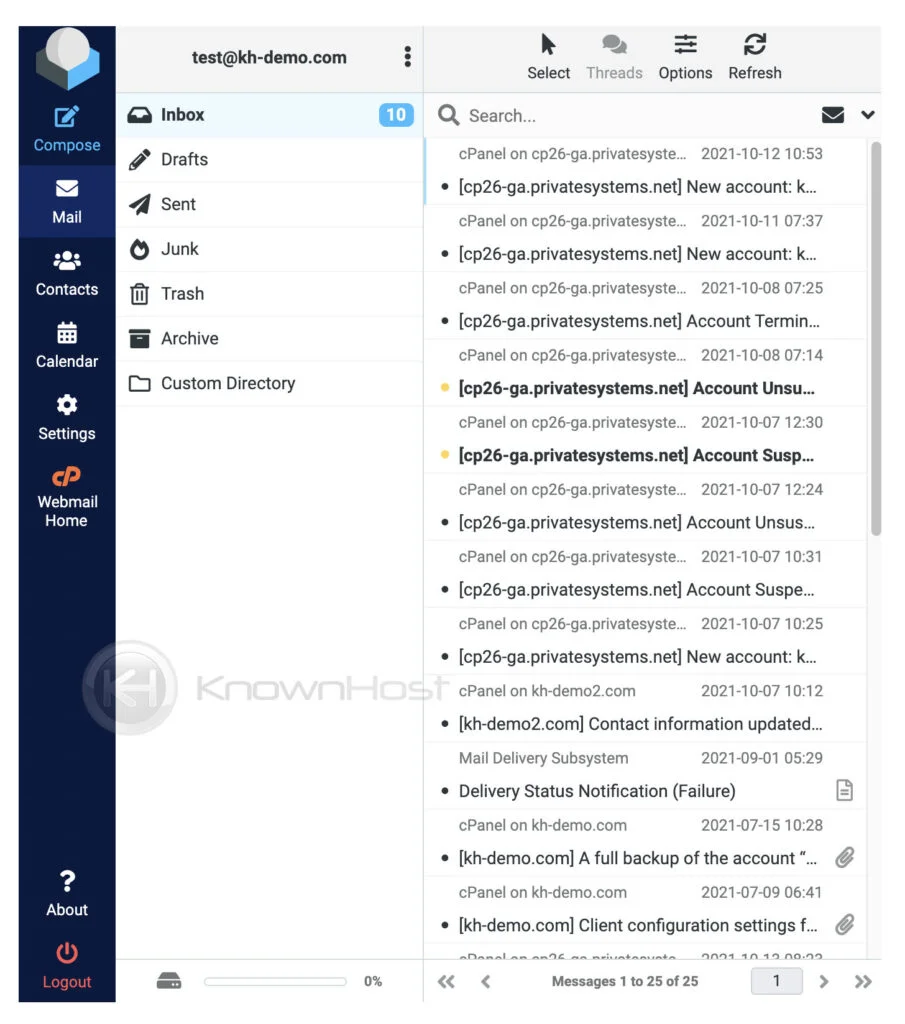
8. If you have cPanel based email account, you can verify whether the emails got synced correctly with the server or not by logging into the webmail. For us, you can see below the emails got adequately synced with the server.
If there are a lot of messages, Thunderbird may take some time to copy the files between one account and another within your computer; it should show a progress message at the bottom of the window. Afterwards, click on each folder in the new account to ensure you see the messages in them. You may need to visit each folder within Thunderbird to make sure it knows to synchronize the folders. It may also help to choose “Get All New Messages” again from the dropdown list at the top next to the “Get Messages” button. The synchronization of the messages back up to the new server will, on most home connections, likely take longer than it took to download the messages from the old account since many home internet connections have slower upload bandwidth than download bandwidth. Also,using the same procedure, you can migrate multiple emails account conveniently.
Conclusion
Now that we’ve gone over how to manually migrate email accounts through Thunderbird (IMAP Method). The copied emails using above method will be synced with the server properly.
KnownHost offers 365 days a year, 24 hours a day, all 7 days of the week best in class technical support. A dedicated team ready to help you with requests should you need our assistance. You’re not using KnownHost for the best webhosting experience? Well, why not? Check with our Sales team to see what can KnownHost do for you in improving your webhosting experience.