How to install WordPress manually?
WordPress is a leading content management system (CMS) and is widely used in various industries due to its versatility and community-driven multipurposesness. Let us learn, how to install WordPress manually?
Download WordPress
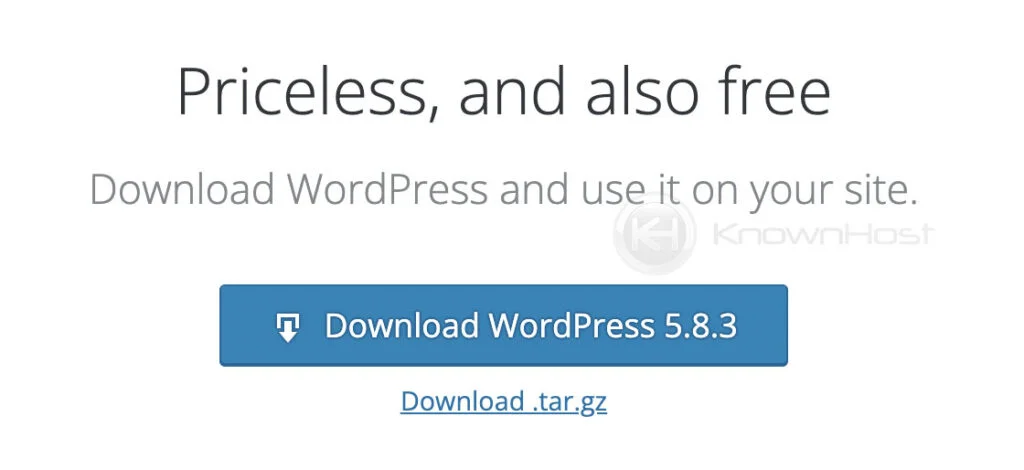
First, you need to download the WordPress files using WordPress.org. Click on the following link to process with the download,
https://wordpress.org/download/
Upload WordPress Files On The Server
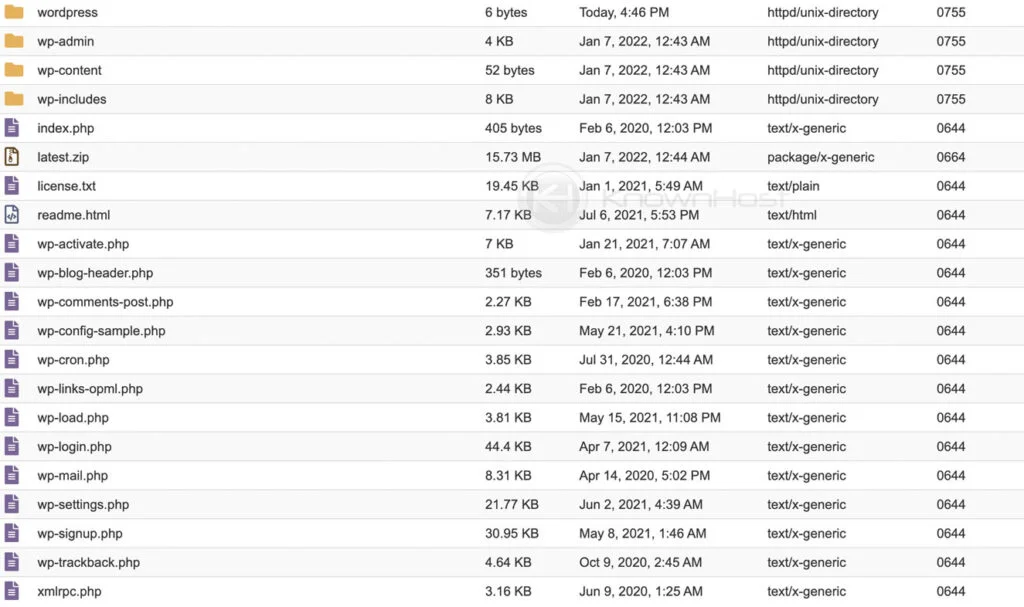
Next, we need to upload the downloaded files of WordPress on the server and extract the archive in the installation directory. To upload the data, you can use the FTP or the GUI interface of any control panel (cPanel, DirectAdmin, Plesk, etc.). In this example, we will proceed with the cPanel’s File Manager. You can refer to the following relevant articles:
- How to Upload Files Using the File Manager in cPanel?
- How to upload files in the DirectAdmin?
- How to Configure FileZilla to upload files via sFTP?
- Configuring Win-SCP to upload files via FTP, sFTP
Create Database & Assign User
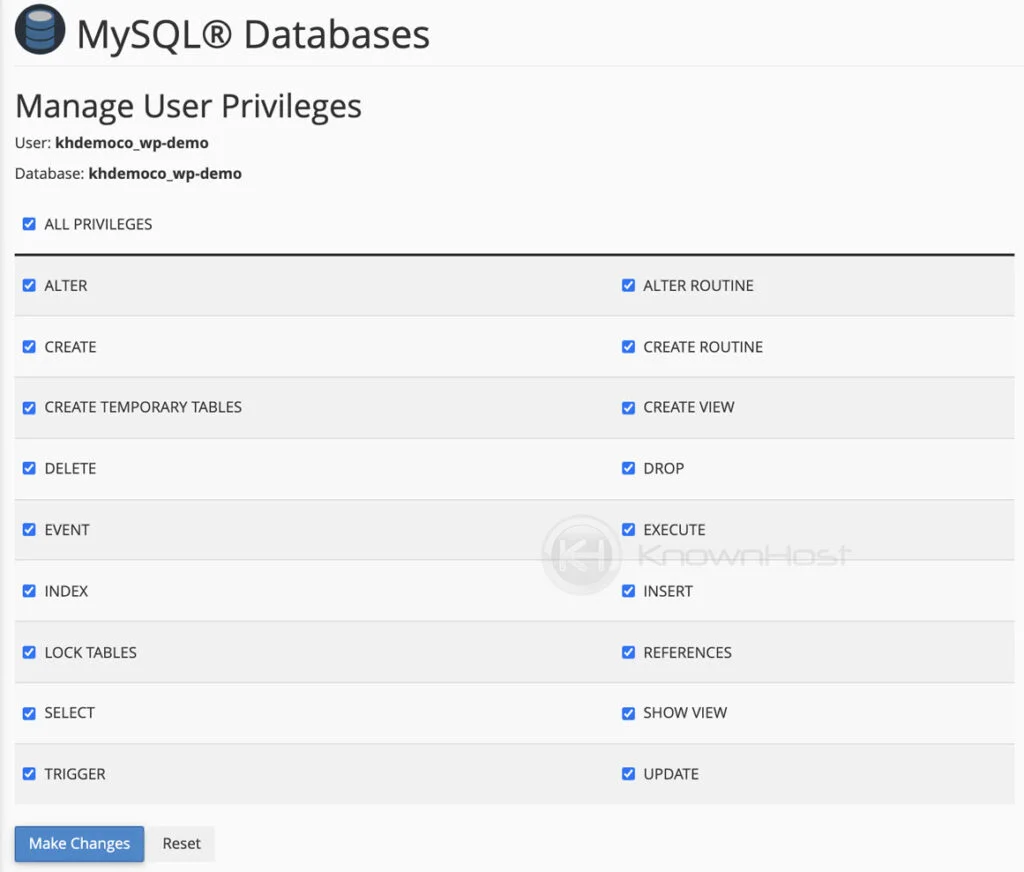
The database is the crucial part to store all of your WordPress data. You need to create the database and assign the user all the privileges. You can refer the following articles to create the database,
Installation
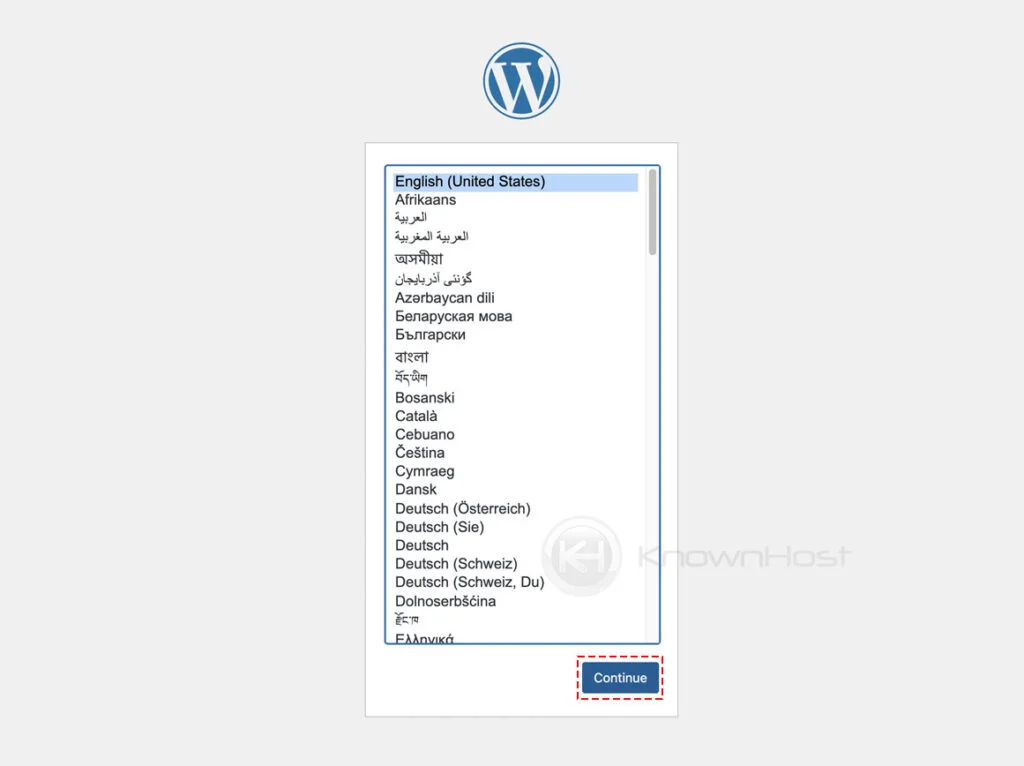
1. If you have uploaded the WordPress directly in the root directory of a domain, then directly browse the domain name or browse the WordPress installation directory using any browser and you should see the WordPress installation screen → Select language → Click on Continue,
https://domainname.com or https://domainame.com/wordpress-installation-directory
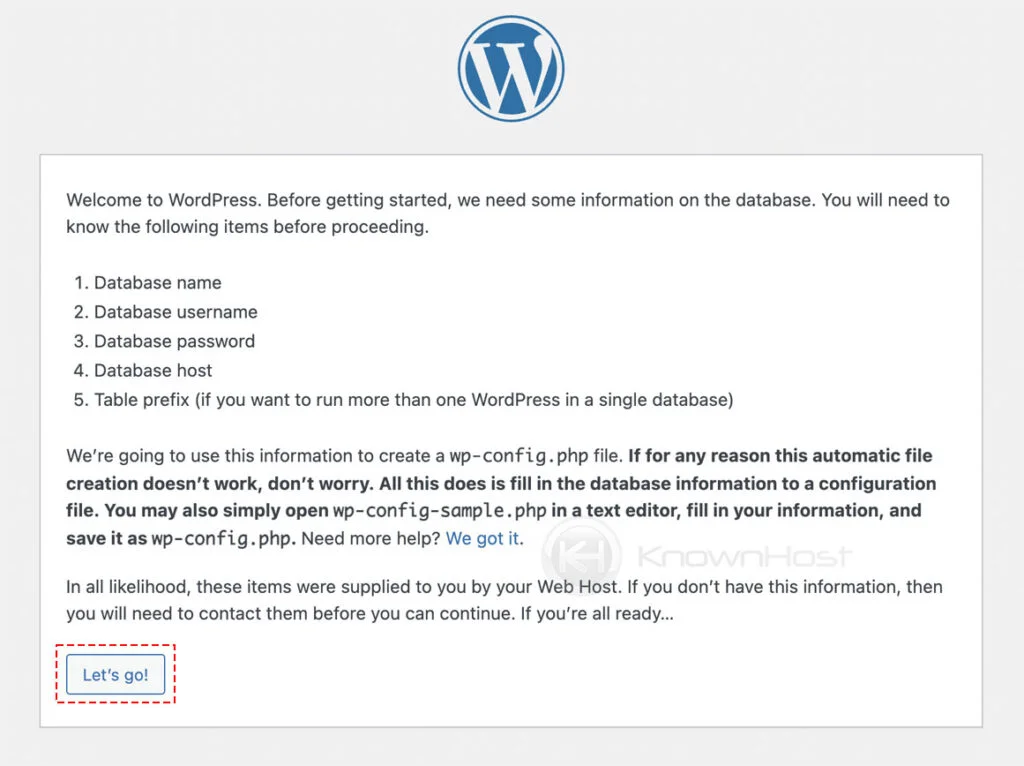
2. On the next screen you should see an Welcome screen → Click on Let’s go!
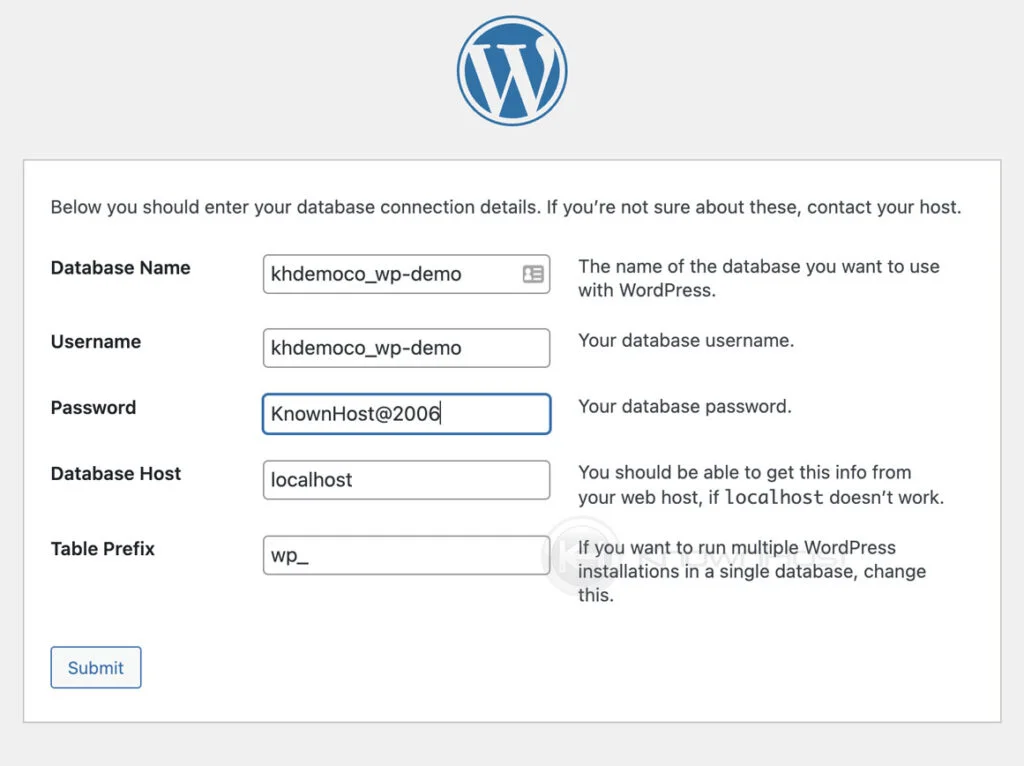
3. Enter the Database Name, Database Username, User Password, Desired Database Prefix details → Click on Submit.
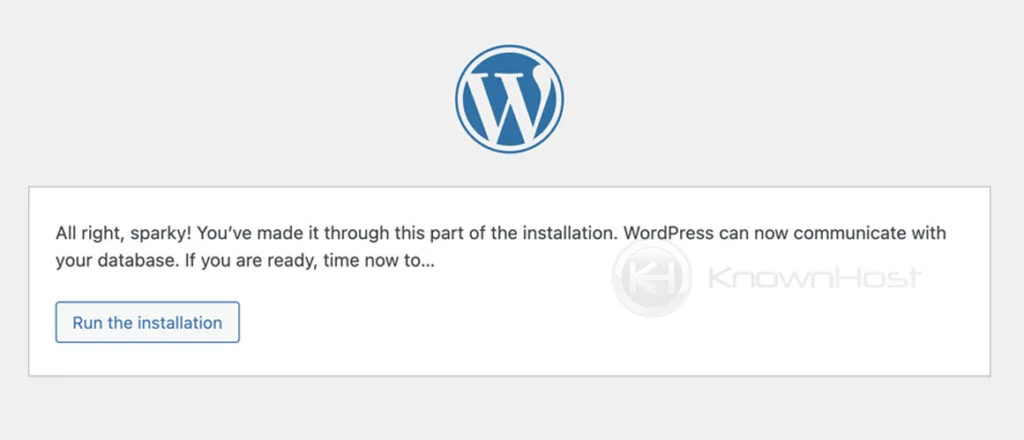
4. WordPress will try to communicate with the database server with submitted login credentials; if nothing is wrong, you should see the confirmation screen just like the below image → Click on Run the Installation.
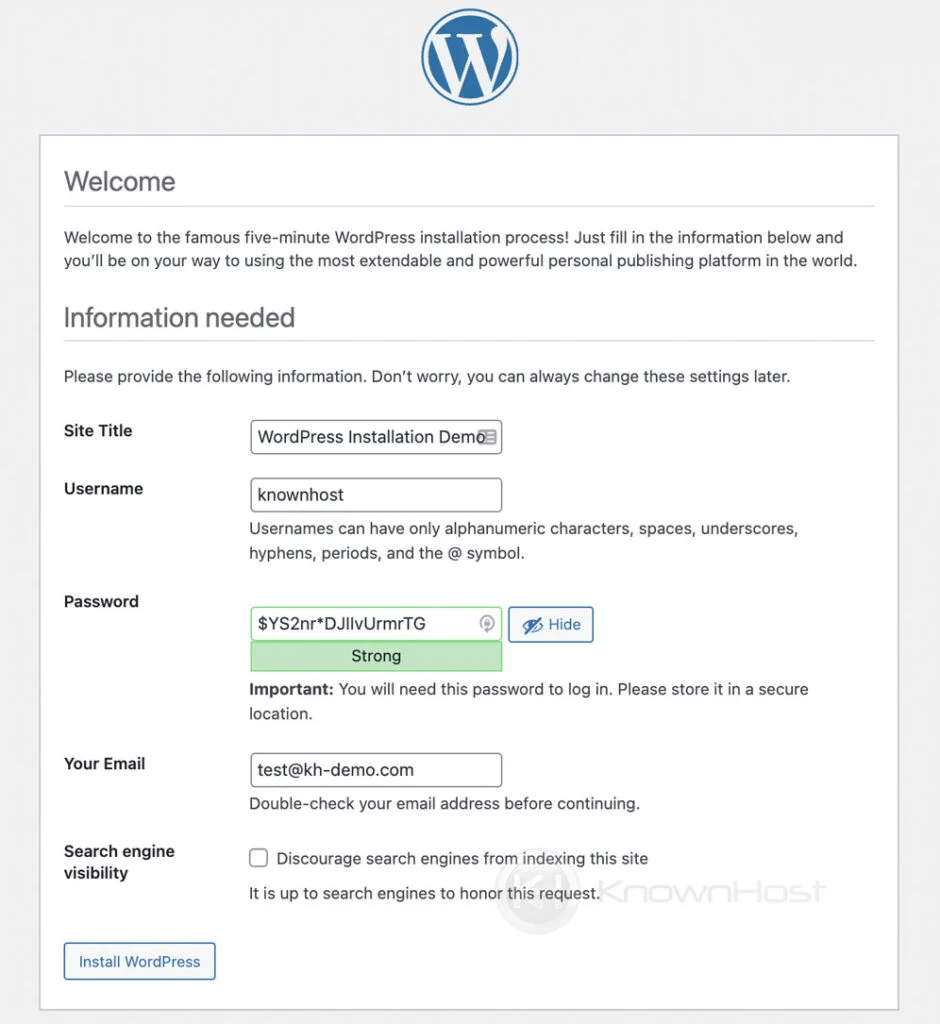
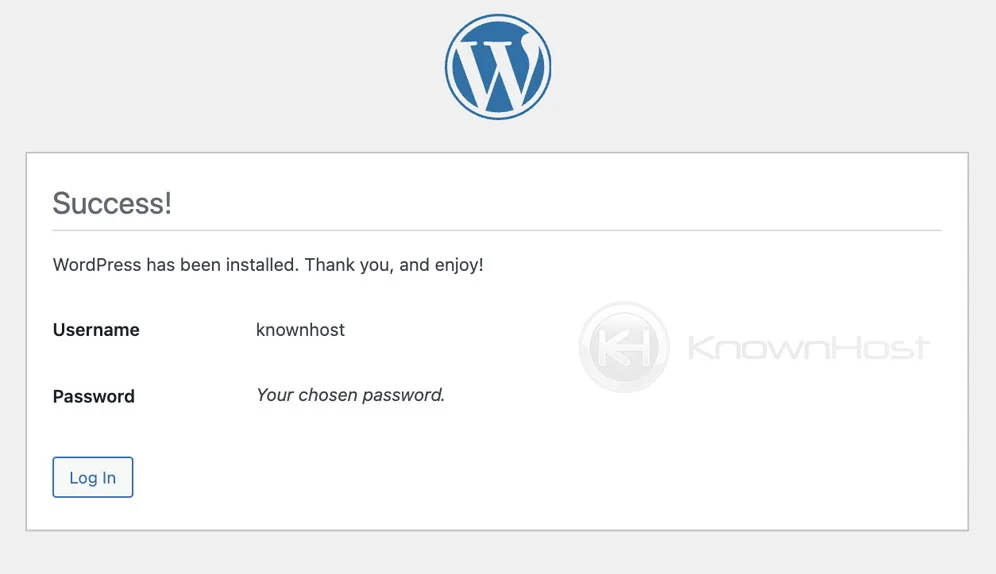
5. On the next step, configure the Administrator User, Title & Tagline for the WordPress website → Click on Install WordPress.
6. Congratulations! You have successfully installed WordPress manually.
Conclusion
Now that we’ve gone over how to install WordPress manually. In this article, we used the control panel to upload files to create a database, and if you have plain VPS without any control panel, this article might not help you that much.
KnownHost offers 365 days a year, 24 hours a day, all 7 days of the week best in class technical support. A dedicated team ready to help you with requests should you need our assistance. You’re not using KnownHost for the best webhosting experience? Well, why not? Check with our Sales team to see what can KnownHost do for you in improving your webhosting experience.