How To Install cPanel – Complete Installation
cPanel has been a leading control panel since 1997 in the hosting industry. If you have Unmanaged services with KnownHost, you can add a cPanel license as an addon. Let’s learn, How To Install cPanel – Complete Installation.
Prerequisites
License
cPanel license is based on tiers,
- cPanel Admin (Available on VPS/Cloud only): Upto 5 Accounts.
- cPanel Pro (Available on VPS/Cloud only): Upto 30 Accounts.
- cPanel Premier (Available on VPS/Cloud/Metal): Upto 100 Accounts.
cPanel distinguishes licenses between two types ‘Cloud‘ and ‘Metal‘. In this regard, ‘Cloud‘ is referred to in terms of a Virtual Private Server.
‘Metal‘ refers to Dedicated Servers, which is limited to the cPanel Premier license or higher.
After 100 cPanel accounts, cPanel charge an additional price per cPanel account. You can choose any pre-defined package/tiers (listed above) or get in touch with our team for the custom limits cPanel license.
Hostname
Your hostname must meet the following requirements (Recommended by cPanel):
- Registered and fully-qualified domain name (Example: host.kh-demo.com).
- Does not match any of your server’s domains.
- Maximum of 60 characters in length.
- Resolves to a valid IPv4 or IPv6 address.
Disable Firewall
If your server has firewalld service up and running, it may cause trouble for the installer as the installer opens required ports at the time of the installation process. We highly suggest, deactivate the firewall using following commands,
iptables-save > ~/firewall.rules
systemctl stop firewalld.service
systemctl disable firewalld.service
Disable SELinux
cPanel is not compatible with the SELinux, so before heading forward disable the SELinux. Edit /etc/selinux/config file using any text editor, change the parameter of SELINUX to disabled (Find the sample of /etc/selinux/config below). Finally, reboot the server.
# This file controls the state of SELinux on the system.
# SELINUX= can take one of these three values:
# enforcing - SELinux security policy is enforced.
# permissive - SELinux prints warnings instead of enforcing.
# disabled - No SELinux policy is loaded.
SELINUX=disabled
# SELINUXTYPE= can take one of these two values:
# targeted - Only targeted network daemons are protected.
# strict - Full SELinux protection.
SELINUXTYPE=targeted
Let’s get started with the installation!
Installation
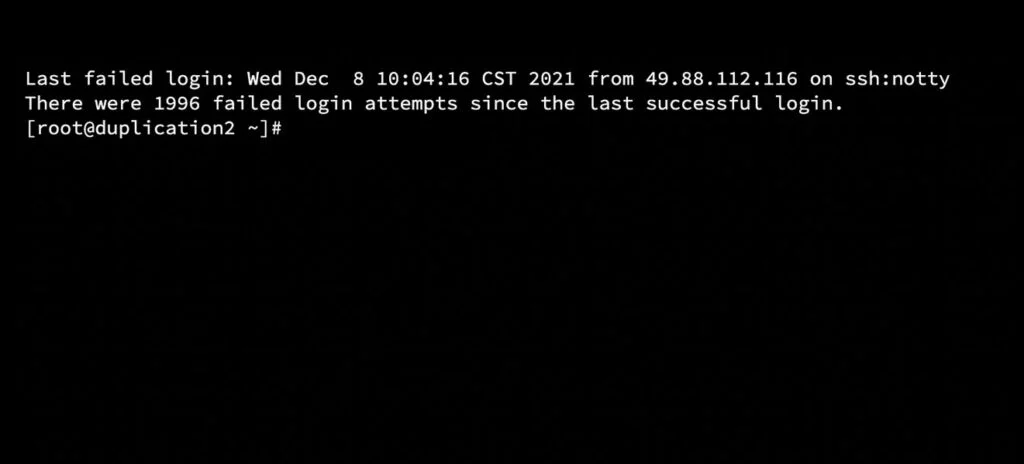
1. Login to server as root.

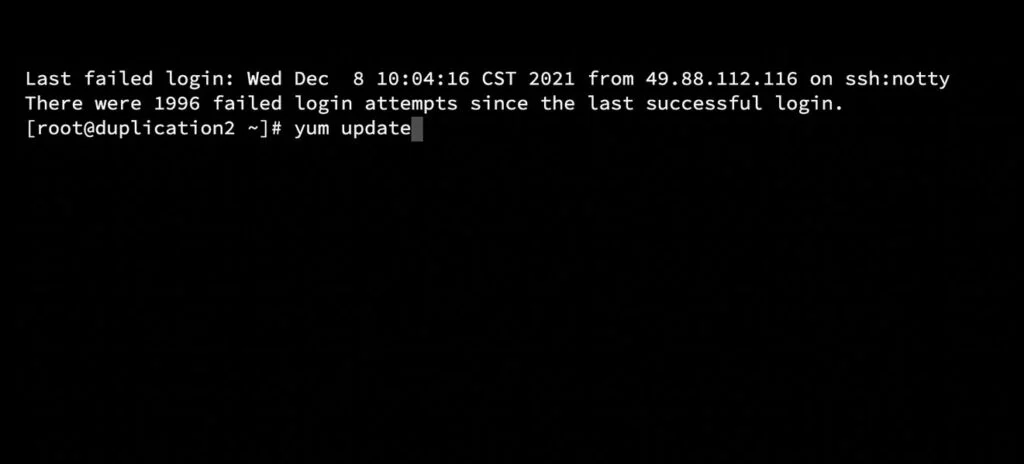
2. We recommend updating the server packages using the following command,
yum update
yum upgrade
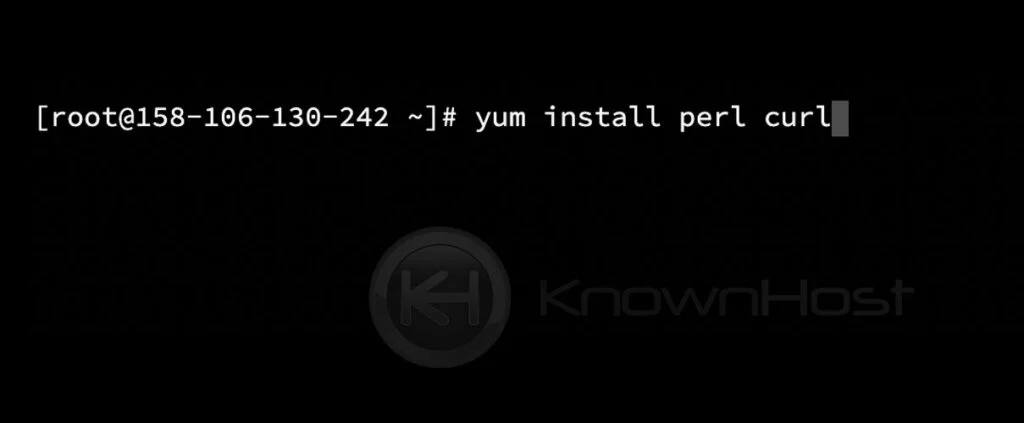
3. cPanel is written in Perl; let us first install it on the server using the following command (if it is not pre-installed),
yum install perl curl
4. Next, run the following command to initiate cPanel/WHM installation,
cd /home && curl -o latest -L https://securedownloads.cpanel.net/latest && sh latest
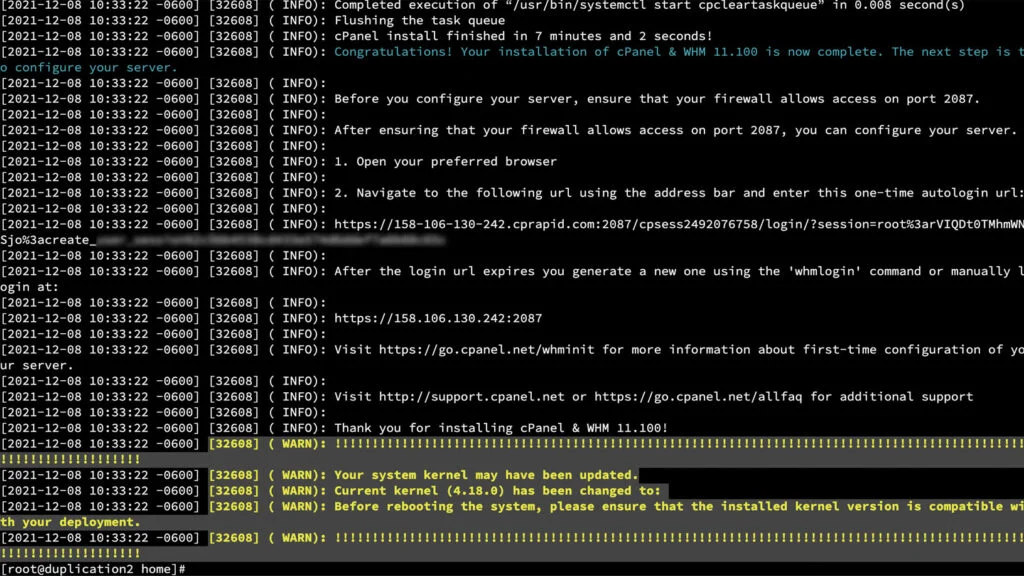
5. Installation will take up to 30 minutes to 60 minutes, depending on the server resources. Once the installation is done, you mostly see a message like “Congratulations! Your installation of cPanel & WHM 11.100 is now complete. The next step is to configure your server“. Now, login to the Web Host Manager (WHM) panel using https://your-domain.com:2087 or https://IP-address: 2087 or https://server-hostname: 2087 for further configuration of the cPanel/WHM server.

Congratulations! You have successfully installed cPanel/WHM control panel.
Conclusion
Now that we’ve gone over how to install the cPanel / WHM control panel. We highly recommend choosing the correct tier of cPanel license according to your budget and the requirements to save bucks.
KnownHost offers 365 days a year, 24 hours a day, all 7 days of the week best in class technical support. A dedicated team ready to help you with requests should you need our assistance. You’re not using KnownHost for the best webhosting experience? Well, why not? Check with our Sales team to see what can KnownHost do for you in improving your webhosting experience.