How to delete a DNS Zone from WHM?
Sometimes you might encounter an error “DNS entry already exists”, or you might have added the DNS zone manually using “Add a DNS Zone“, to resolve that issue, you need to remove/delete the DNS zone from the WHM server. Learn, How to delete a DNS Zone from WHM?
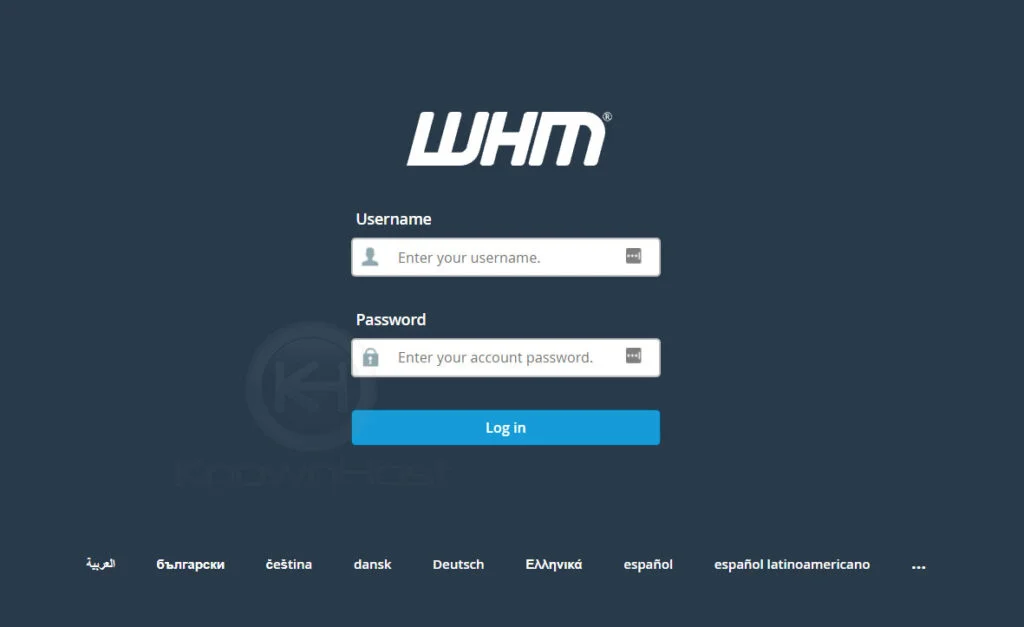
1. First, login into WHM panel,
https://your-domain.com:2087 or https://IP-address: 2087 or https://server-hostname: 2087.
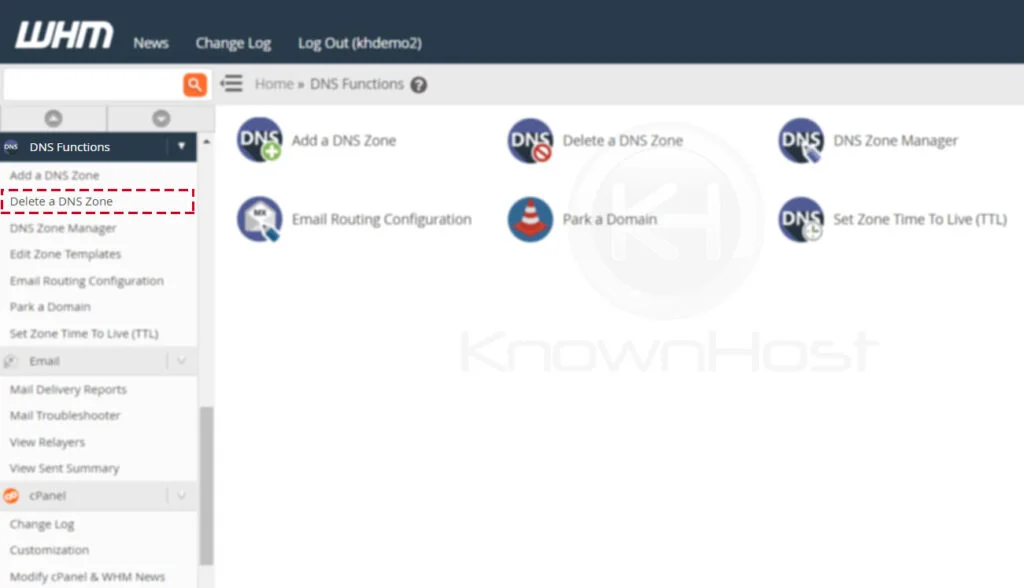
2. Navigate to DNS Functions → Delete a DNS Zone.
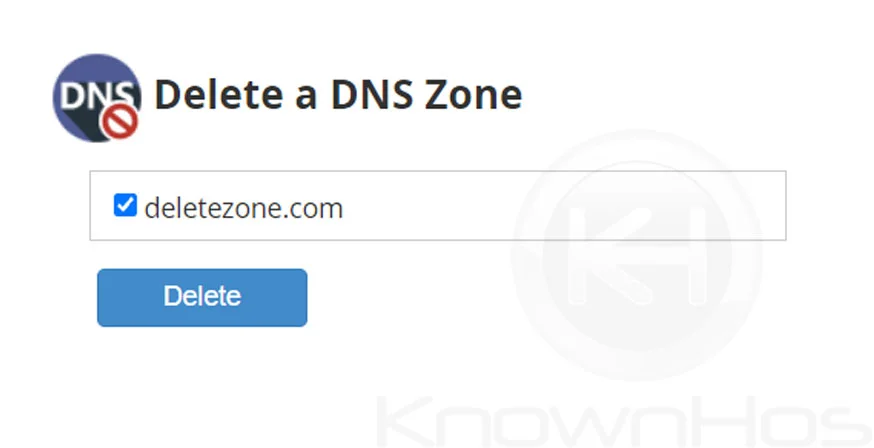
3. Select the DNS Zone entry from the list.
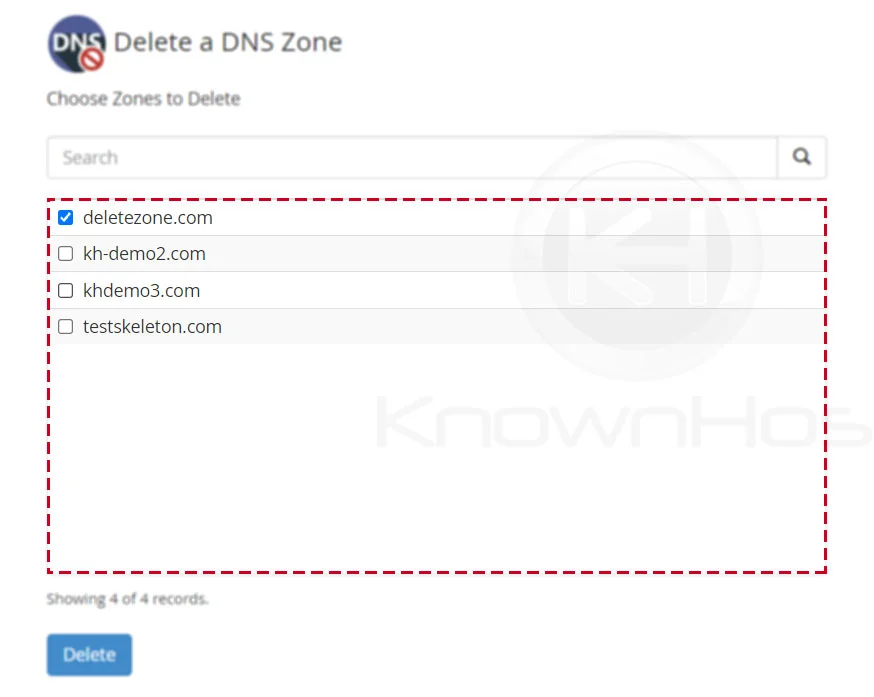
4. Finally, click on Delete.
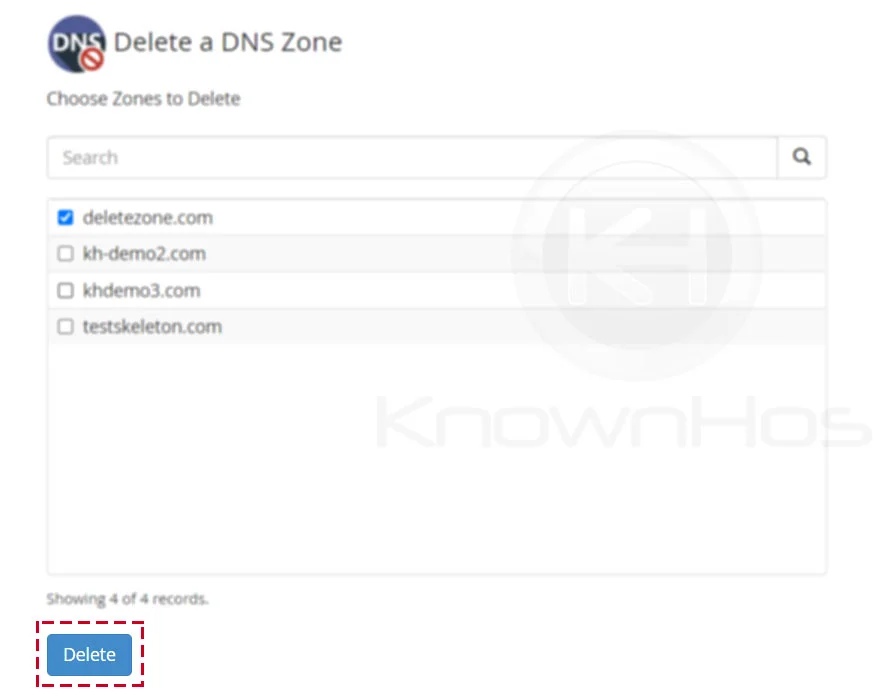
5. Confirm the zone deletion from the WHM → Click on Delete.
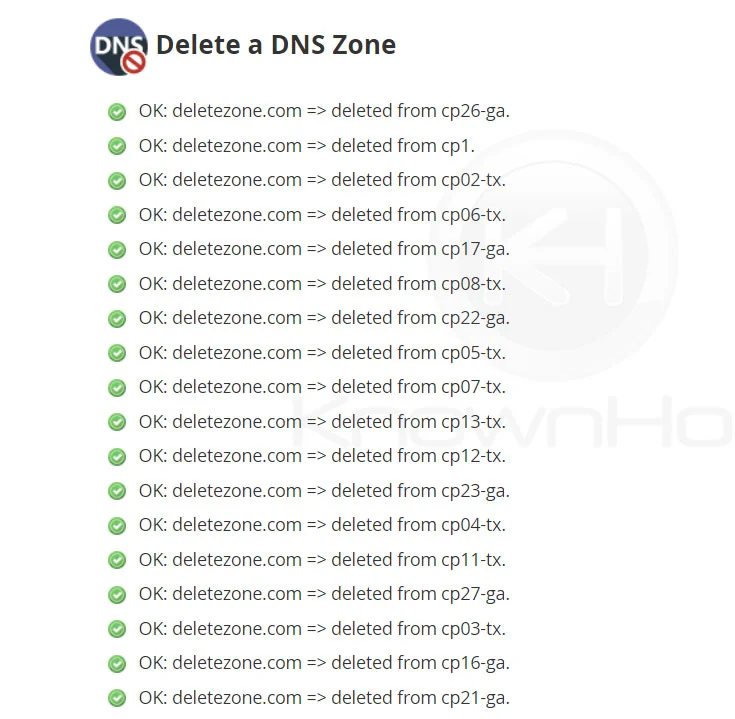
5. Congratulations! You have successfully deleted DNS Zone from WHM.
Conclusion
Now that we’ve gone over how to delete a DNS Zone from WHM panel. Once you delete the DNS Zone, it will also removes all the DNS records associated with the selected domain name.
KnownHost offers 365 days a year, 24 hours a day, all 7 days of the week best in class technical support. A dedicated team ready to help you with requests should you need our assistance. You’re not using KnownHost for the best webhosting experience? Well, why not? Check with our Sales team to see what can KnownHost do for you in improving your webhosting experience.