How to Configure FileZilla to upload files via sFTP?
Hosting files over the internet is done by uploading the file’s data from the local computer to servers. You have many options to upload, download, copy, rsync data on the servers. FTP/sFTP is one of the preferred options to upload/download data on the server. In this article, we will se How to Configure FileZilla to upload files via sFTP?
1. Download the FileZilla (FTP Client) from → https://filezilla-project.org/download.php
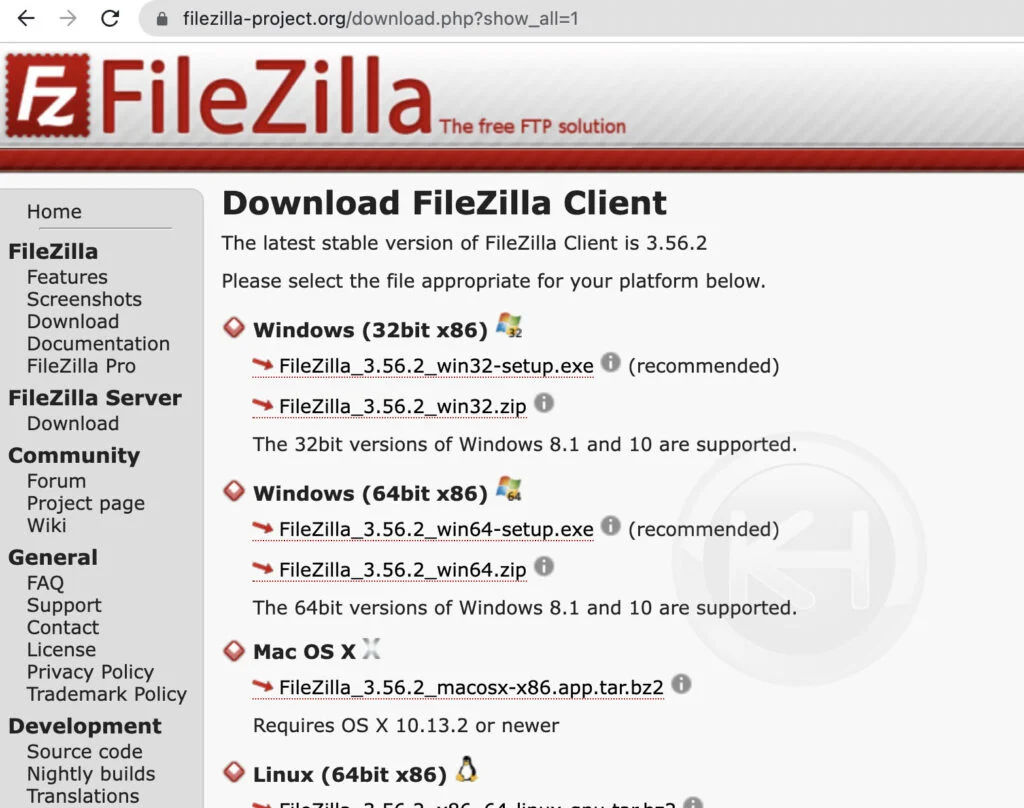
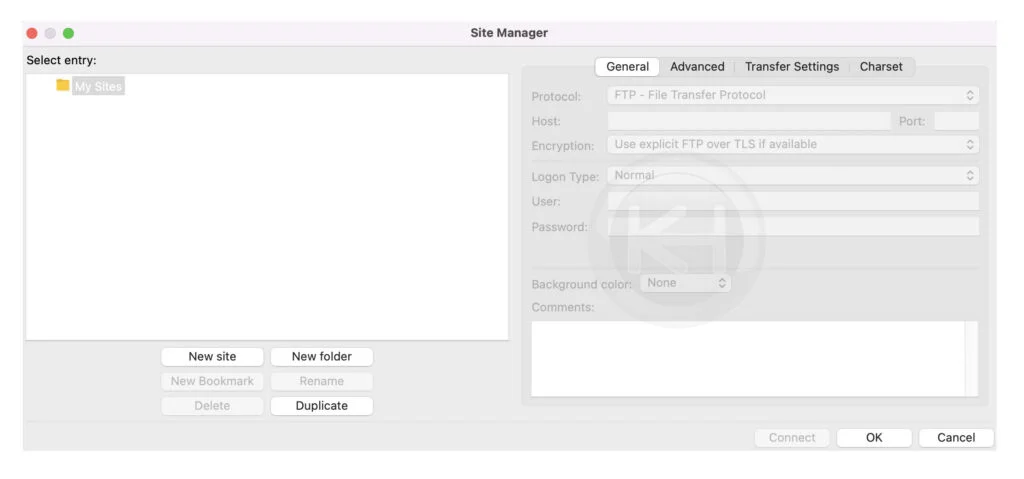
2. Install the FileZilla application and navigate to Files → Site Manager.
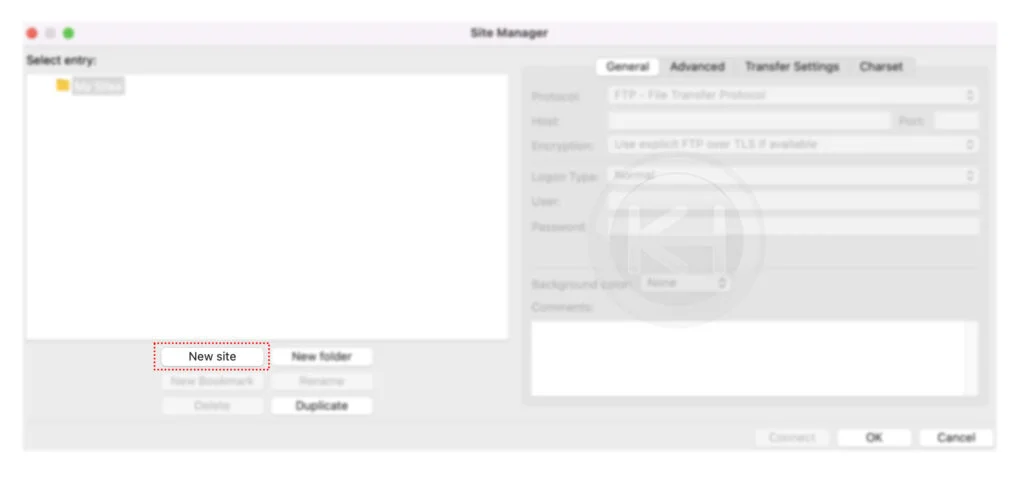
3. Click on New site to configure the new server for sFTP/FTP and name for the reference.
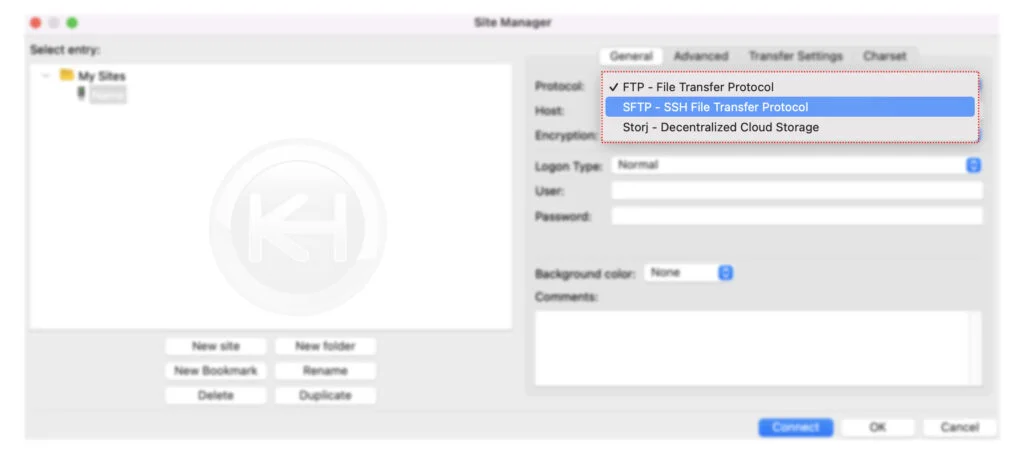
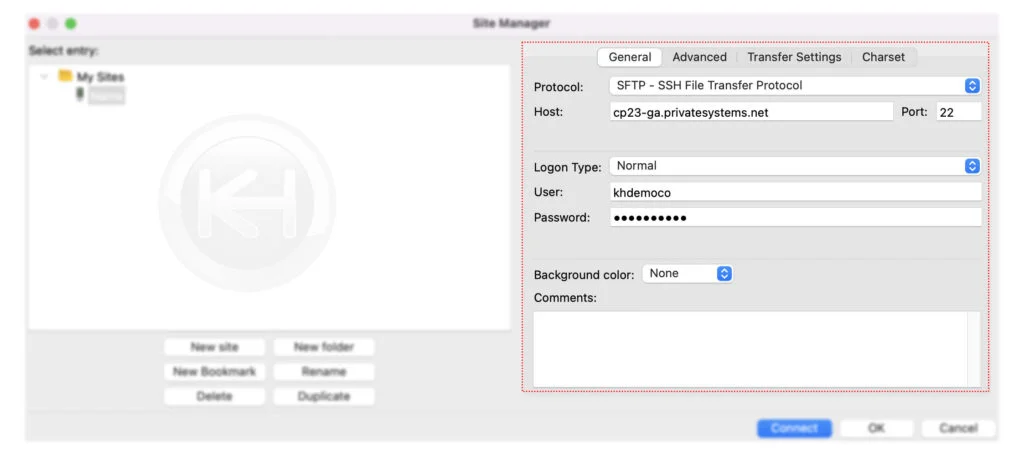
4. From the General → Protocol select SFTP (SSH File Transfer Protocol) or select FTP if you want to continue with File Transfer Protocol.
5. Enter the required details,
Host: Enter the server hostname or IP address.
Port: Enter the SSH Port if you’ve selected the sFTP or enter 21 for FTP connection.
Logon Type: Select Normal.
User: Enter the FTP/sFTP username.
Password: Enter the password of FTP/sFTP user.
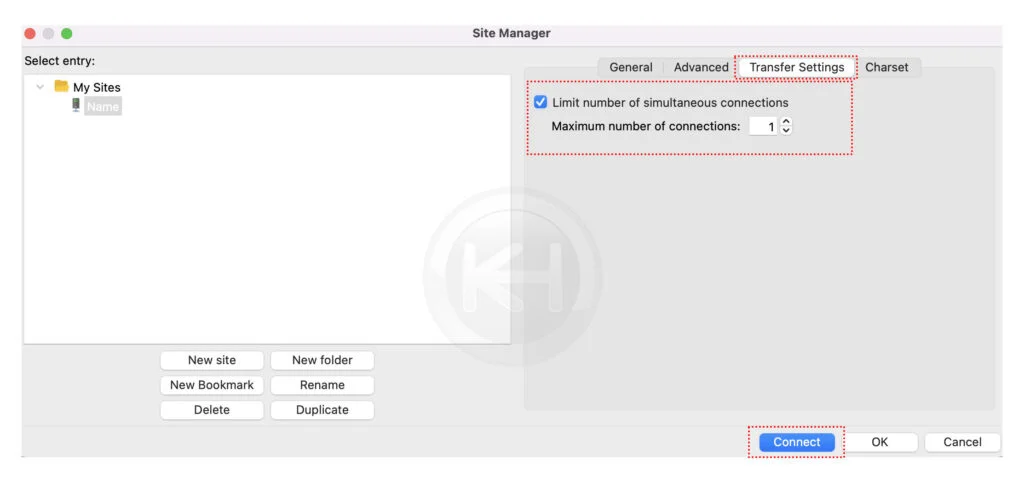
6. Navigate to Transfer Settings → Check the option “Limit number of simultaneous connections” → Enter the connection limit. → Finally, click on Connect.
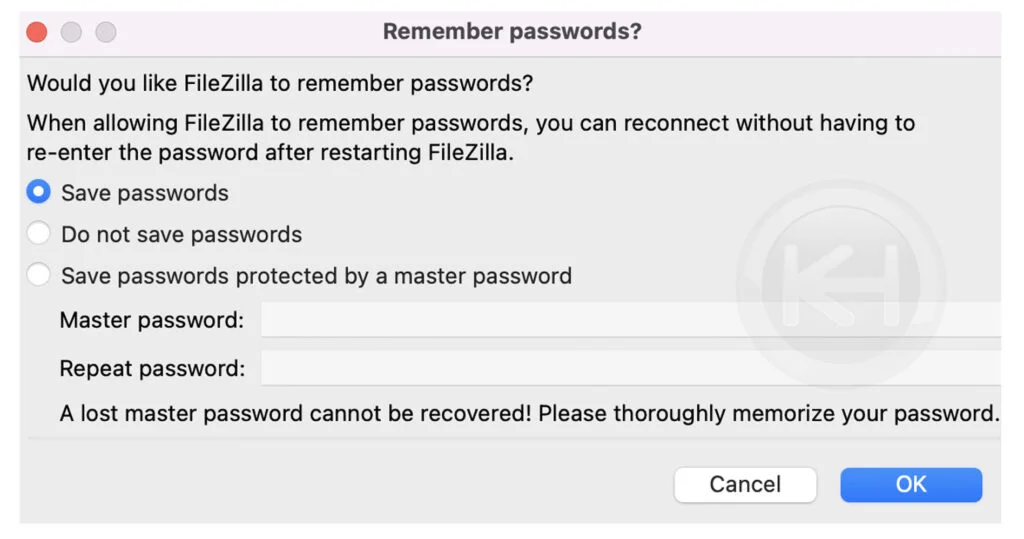
7. Here, you can save the password, ignore the saving or save the password with master password → Click on OK.
8. If you have chosen an encrypted connection method, you should see a prompt for the certificate. Select “Always trust” and hit the “OK” button.
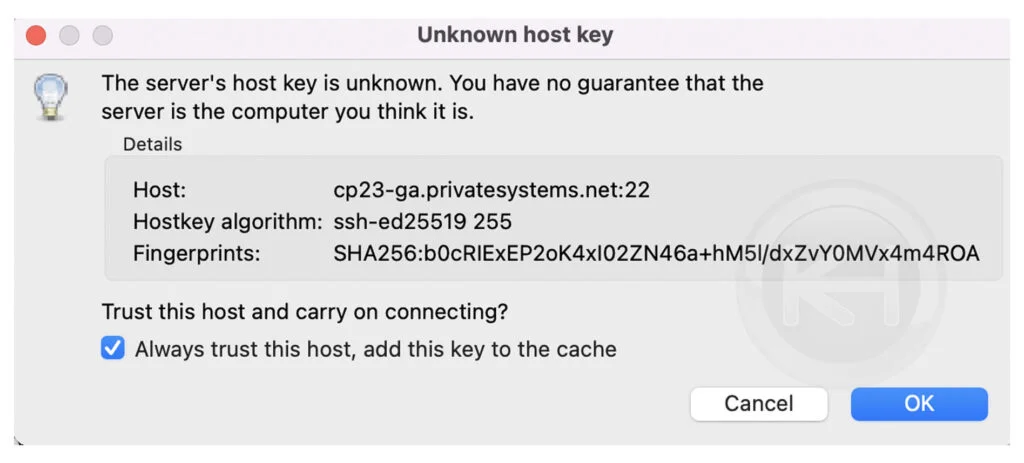
As such, the user must verify it and then decide to connect to that server. FileZilla asking for an unknown certificate doesn’t have anything to do with the validity of a certificate; it’s simply by design how this works regardless of whether or not an actual SSL certificate is in use.
9. Congratulations! You have successfully logged through FTP/sFTP.
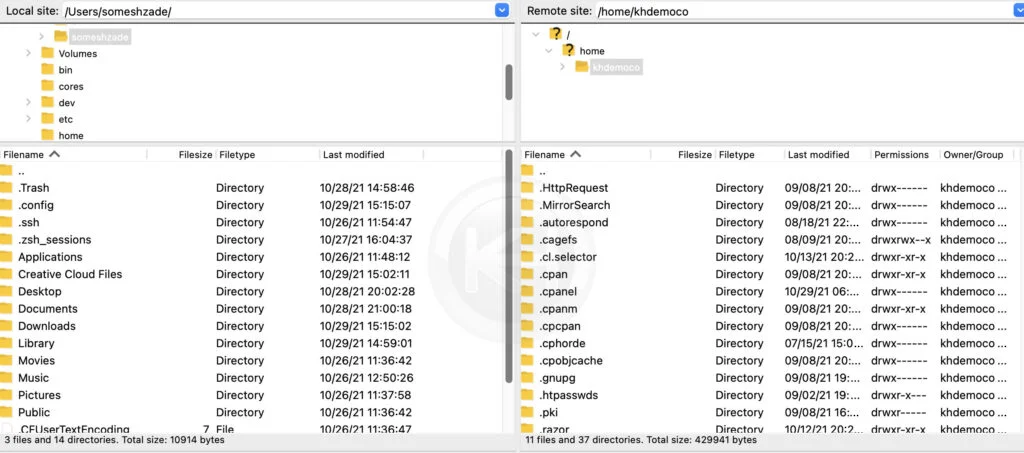
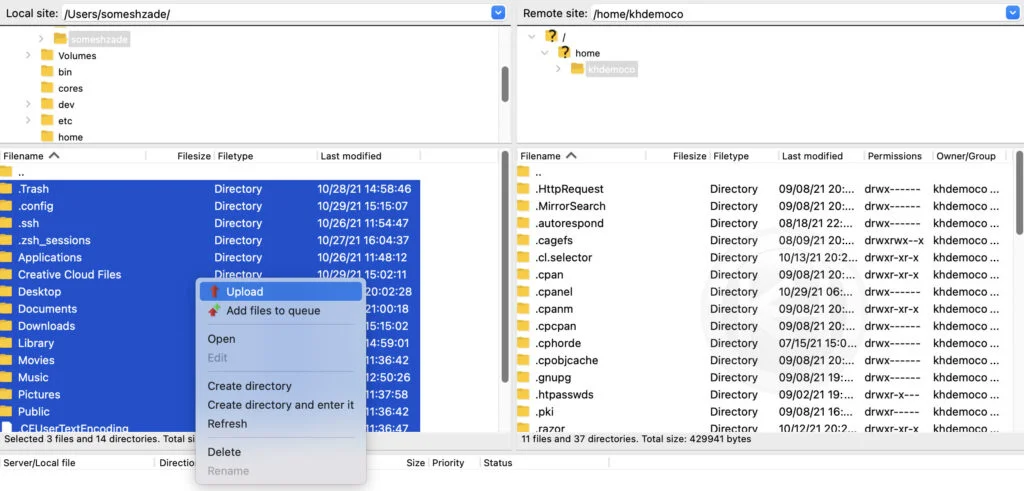
10. To upload any file/files. Select Files → Right–click → Click on Upload.
Conclusion
Now that we’ve gone over how to configure FileZilla to Upload files via sFTP. You can add as many sites as per requirements through Files → Site Manager. For future logins, navigate to Site Manager → Select Site → Click on Connect.
KnownHost offers 365 days a year, 24 hours a day, all 7 days of the week best in class technical support. A dedicated team ready to help you with requests should you need our assistance. You’re not using KnownHost for the best webhosting experience? Well, why not? Check with our Sales team to see what can KnownHost do for you in improving your webhosting experience.