How to clone your WordPress for staging using cPanel’s WordPress Toolkit?
WordPress toolkit shares the best feature called Staging and Cloning, which enables the dedicated site to test new features for the WordPress site; after evaluating the changes, you can deploy the same on the production site. Learn, how to clone your WordPress for staging using cPanel’s WordPress Toolkit?
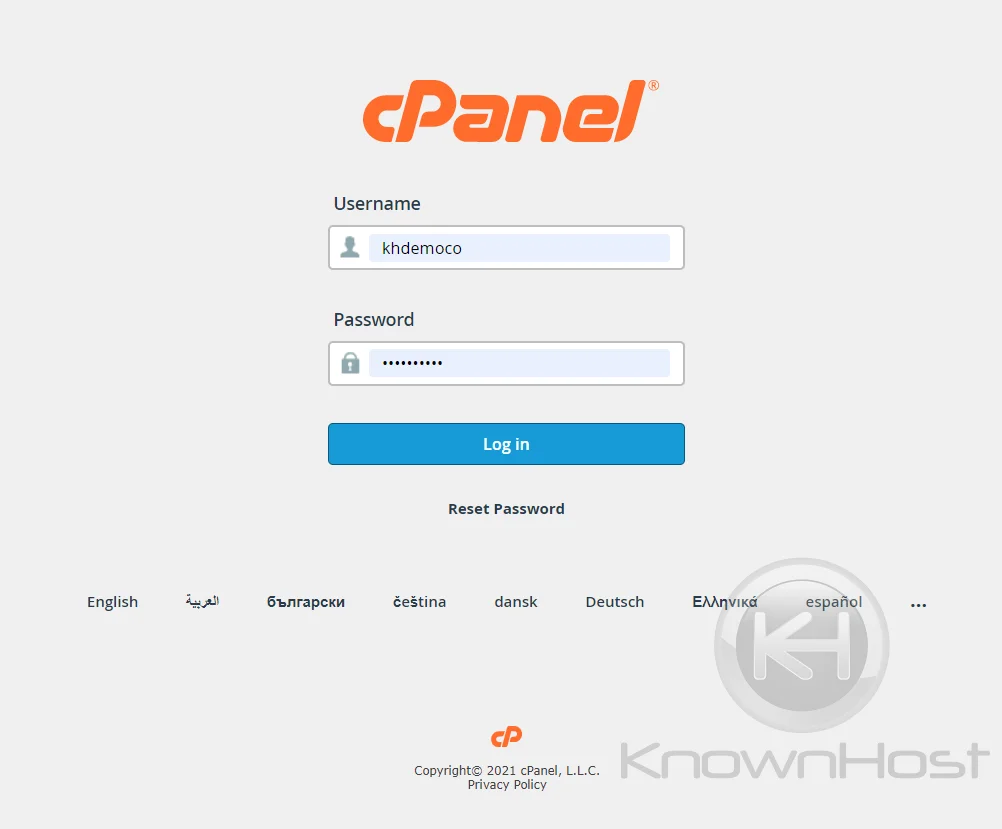
1. Log in to cPanel using Username & Password. i.e; (https://yourdomain.com:2083 or https://yourdomain.com/cpanel)
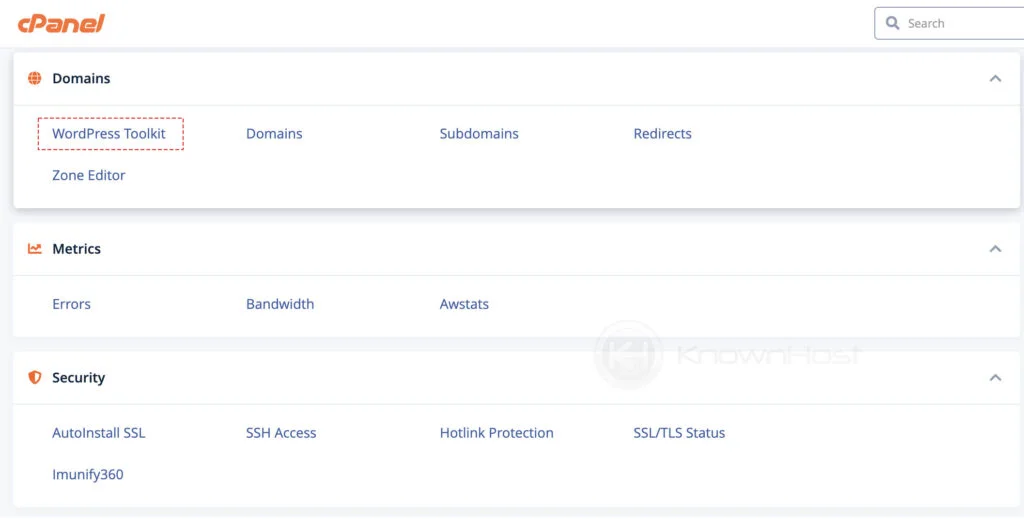
2. Navigate to Domains → WordPress Toolkit.
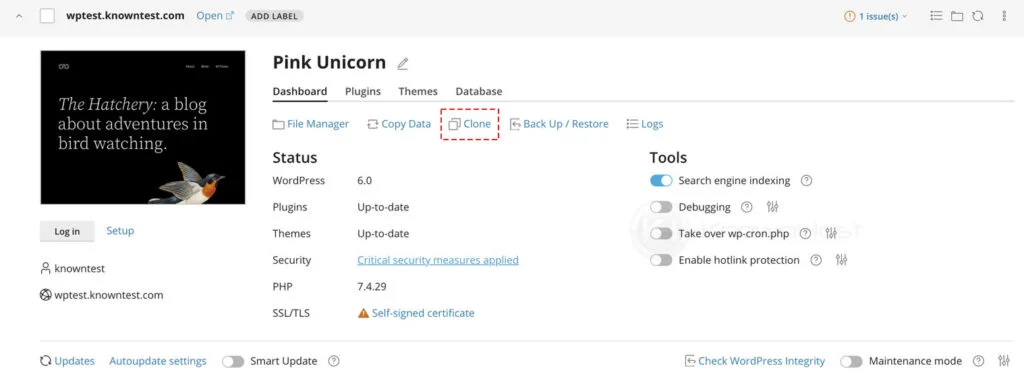
3. You can navigate to the required WordPress site if you have multiple WordPress setups. Then, click on Clone.
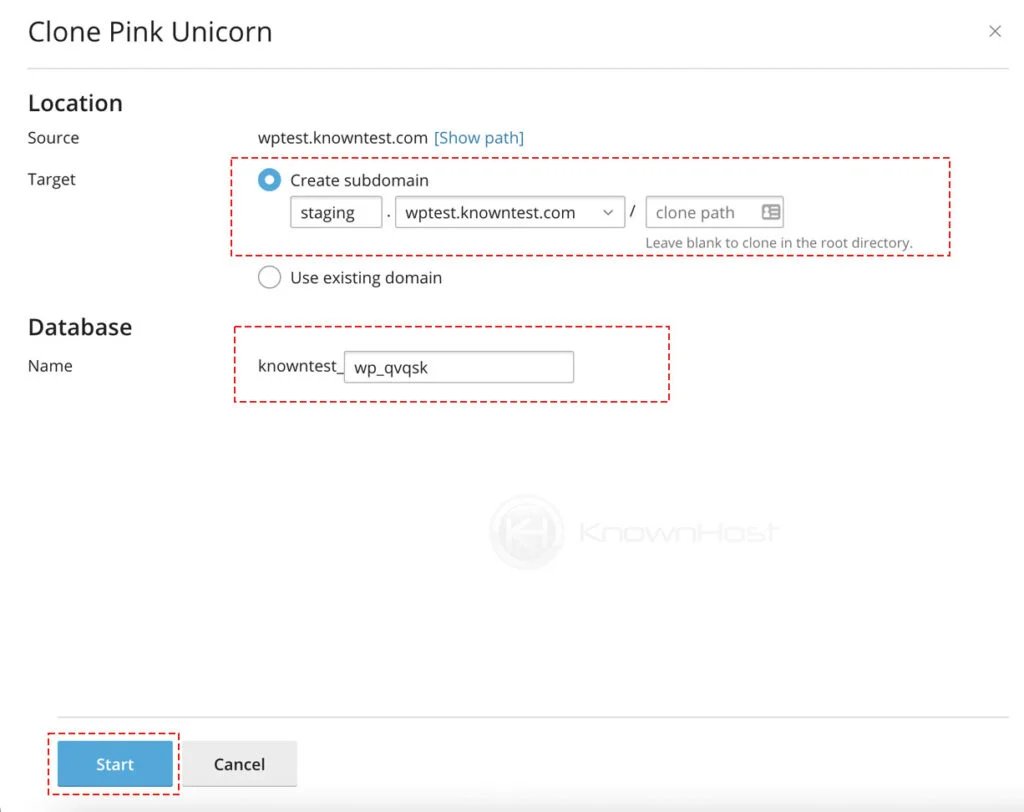
4. Enter the required information,
Target: You can create a subdomain or use the existing domain hosted under cPanel account for staging website.
Database: Enter the database name which will be used for the staging site.
Next, click on the Start.
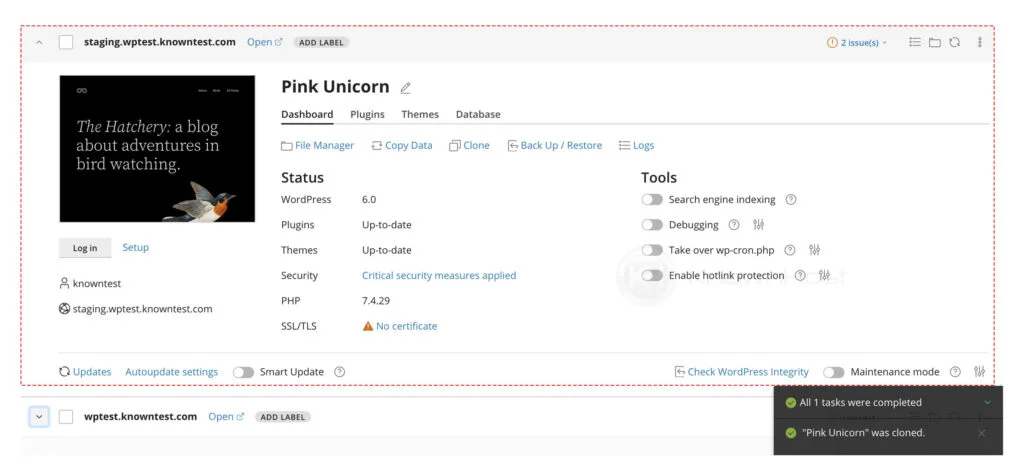
5. cPanel will start the process of cloning the WordPress website; the time for the cloning depends on the server performance. Once the staging WordPress site is ready, you’re good to go!
Conclusion
Create the staging website for any testing before deploying directly to the production WordPress site. We have elaborated a step-by-step guide on creating a staging WordPress website.
KnownHost offers 365 days a year, 24 hours a day, all 7 days of the week best in class technical support. A dedicated team ready to help you with requests should you need our assistance. You’re not using KnownHost for the best webhosting experience? Well, why not? Check with our Sales team to see what can KnownHost do for you in improving your webhosting experience.