How to assign a Dedicated IP address to a DirectAdmin account?
Last Updated: June 12, 2023
If you have a DirectAdmin-based VPS or Dedicated server, you can manually assign a Dedicated IP address for an individual account. Let us learn, How to assign a dedicated IP address to a DirectAdmin account?
1. First, to login into the DirectAdmin control panel visit,
https://your-domain.com:2222 or https://IP-address:2222 or https://server-hostname:2222.
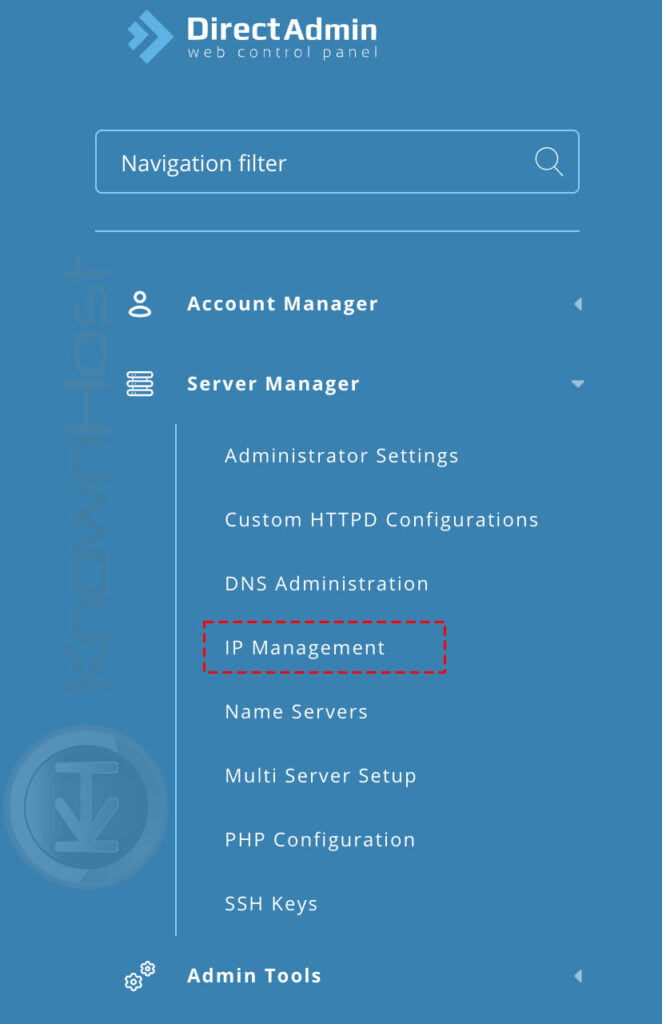
2. Navigate to Server Manager → IP Management.
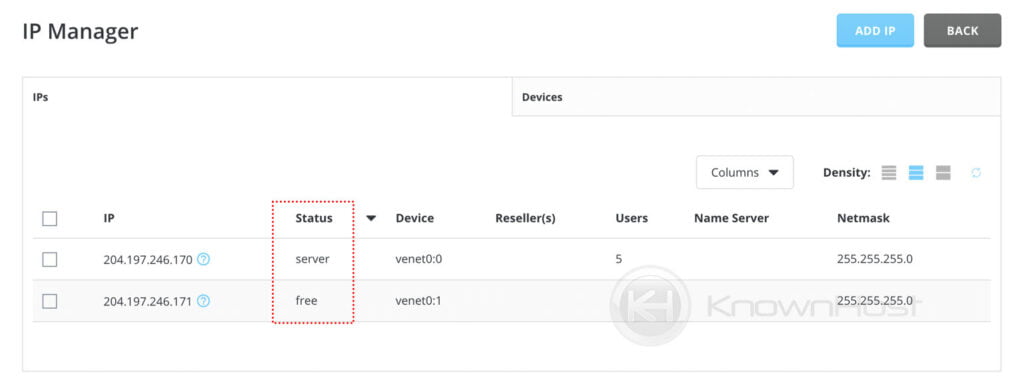
3. Here, besides the IP address, Free and Server are noted in the status section. Free means the specific IP address is not assigned to any of the accounts, and the Server status indicates the specific IP is a shared IP address for the DirectAdmin server.
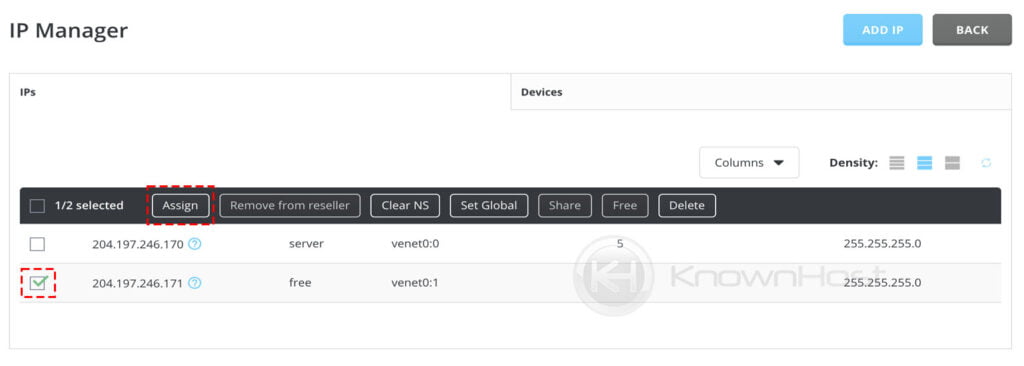
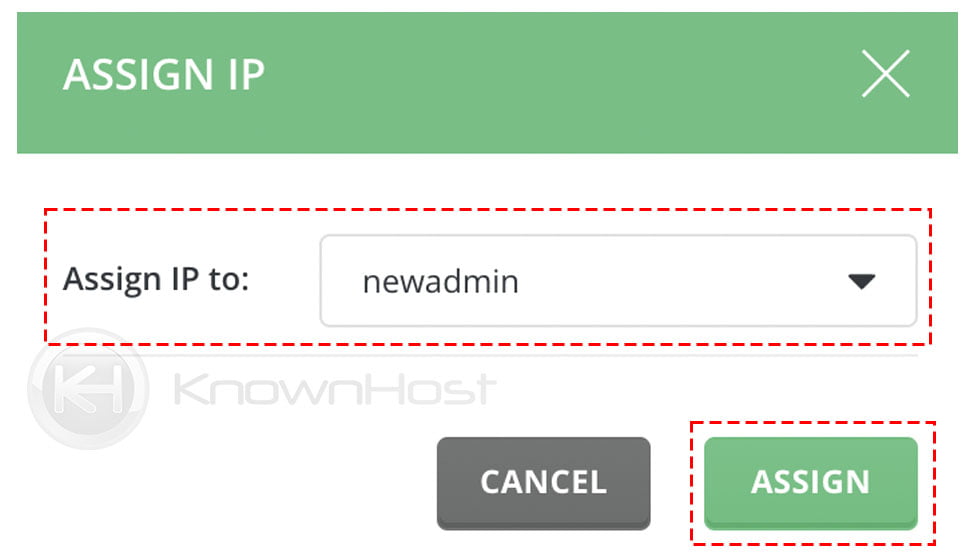
4. First, you need to assign the IP address to a Reseller user. To assign a free IP address to a DirectAdmin reseller account → Select the IP Address → Click on Assign.
5. Next, from the drop-down select the reseller username → click on ASSIGN.
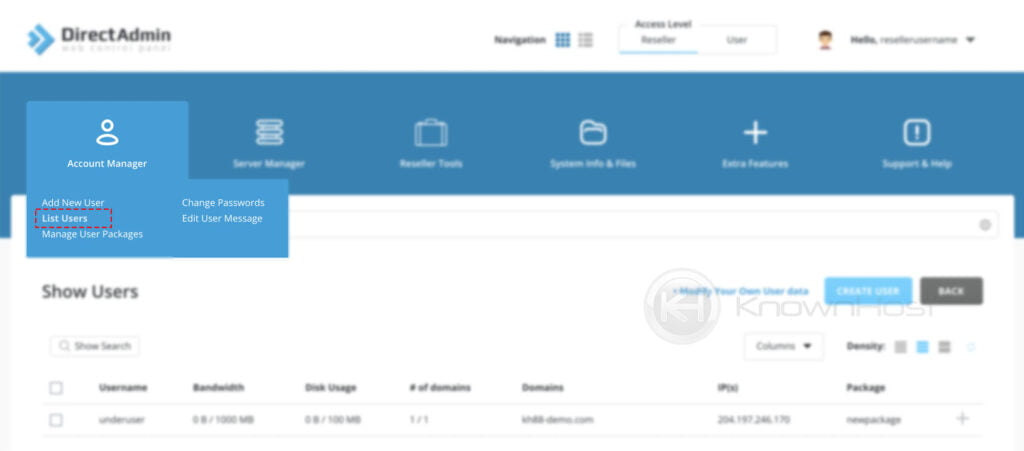
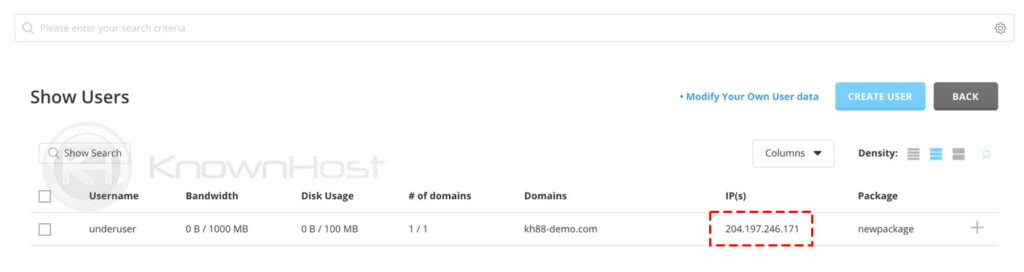
6. Next, login as Reseller and navigate to Account Manager → List Account.
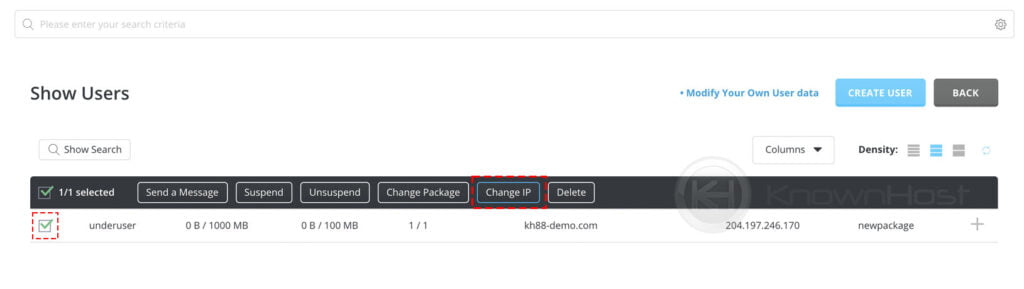
7. Select the user account → click on Change IP.
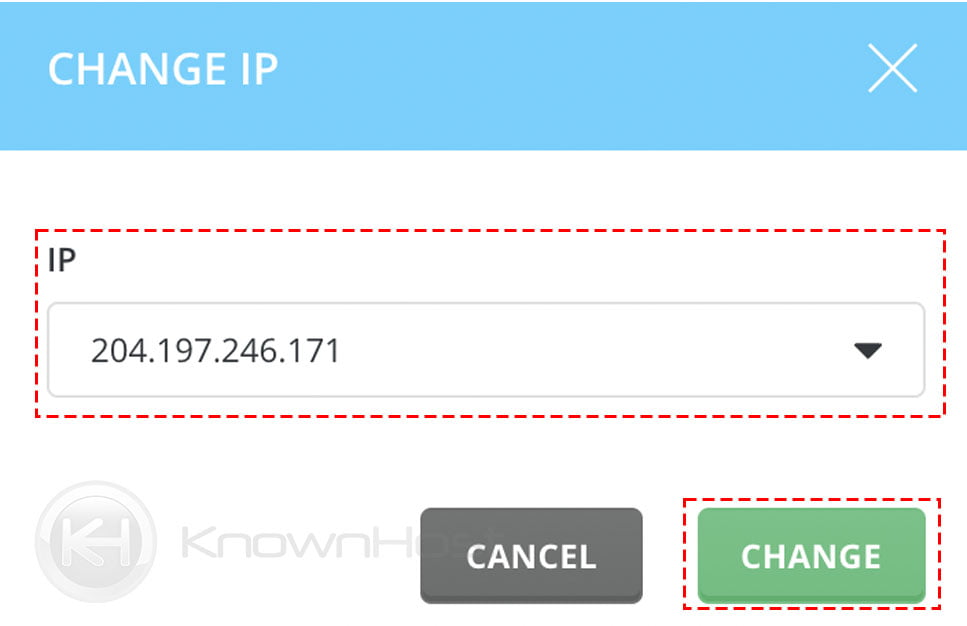
8. From the dropdown → Select the Dedicated IP → Click on Change.
9. Congratulations! You have successfully assigned a dedicated IP address to a DirectAdmin account.
Conclusion
Now that we’ve gone over how to configure nameservers in the Directadmin control panel. We already mentioned that newly configured nameservers would only be assigned to the new user accounts, and existing ones will not get affected.
KnownHost offers 365 days a year, 24 hours a day, all 7 days of the week best in class technical support. A dedicated team ready to help you should you need our assistance. You’re not using KnownHost for the best webhosting experience? Well, why not? Check with our Sales team to see what can KnownHost do for you in improving your webhosting experience.