How to assign a Dedicated IP address to a cPanel account?
Are you looking for dedicated IP? Don’t worry! KnownHost got you to cover everything which is required for the hosting environment. After getting Dedicated IPs assigned and configured with your WHM server, the next step is the assignment of dedicated IPs to cPanel accounts. Let us learn how to assign a dedicated IP address to a cPanel account?
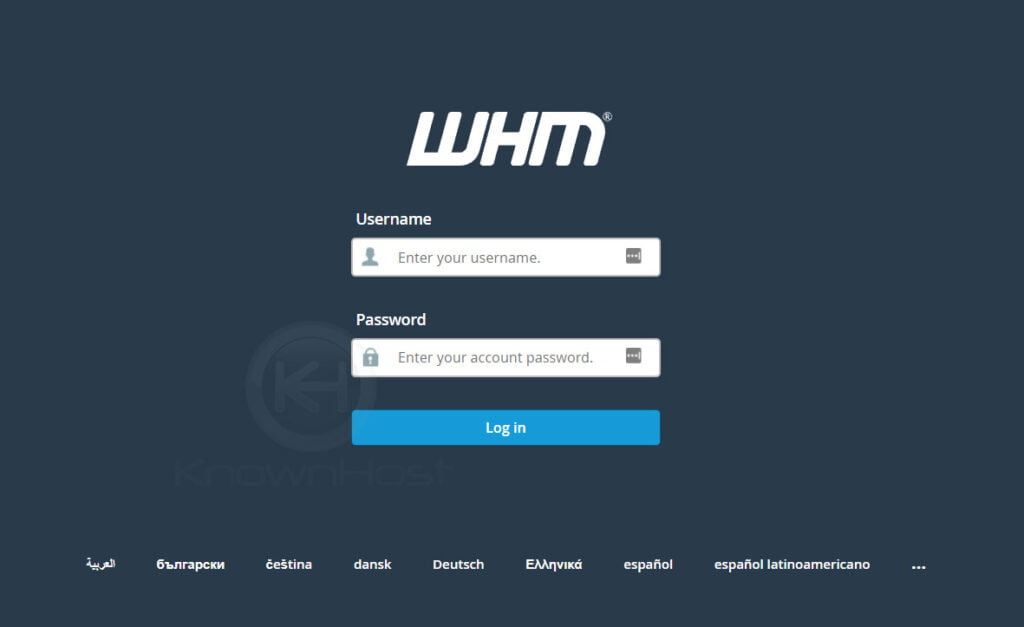
1. First, login into WHM panel,
https://your-domain.com:2087 or https://IP-address: 2087 or https://server-hostname: 2087.
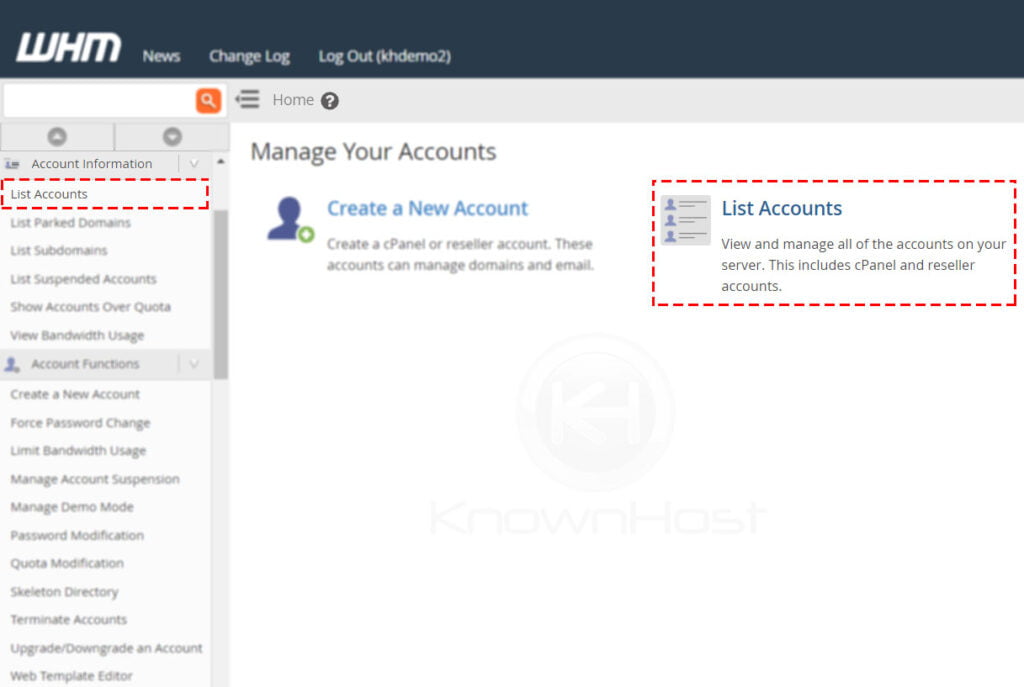
2. Navigate to Account Information → List Account or Home → List Account.
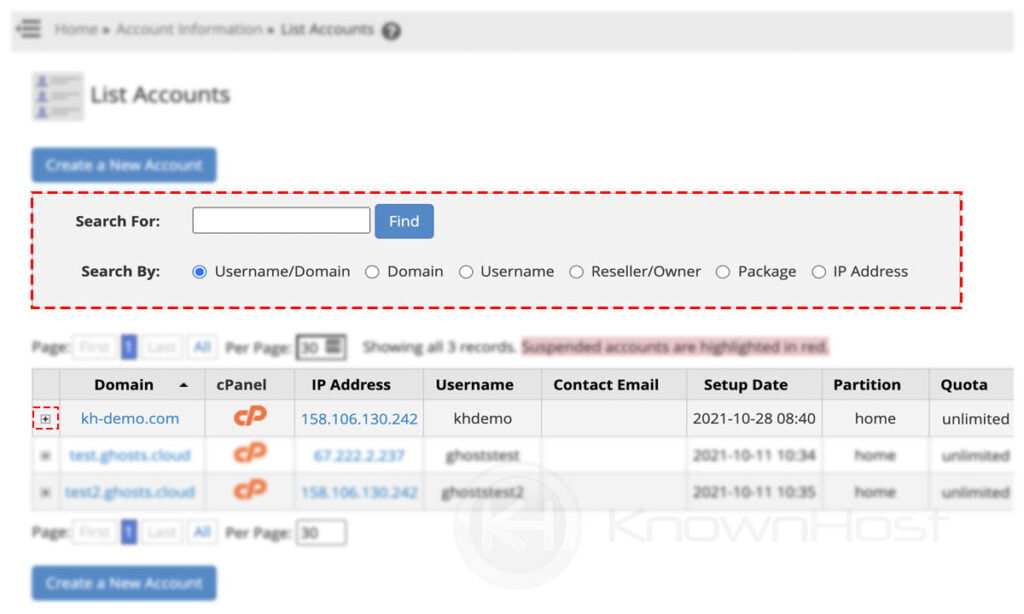
3. Here, you have a list of cPanel account, search for the specific cPanel account using multiple filters. To expand the available options for the cPanel account, click on “+”.
4. Now, click on Change IP Address.
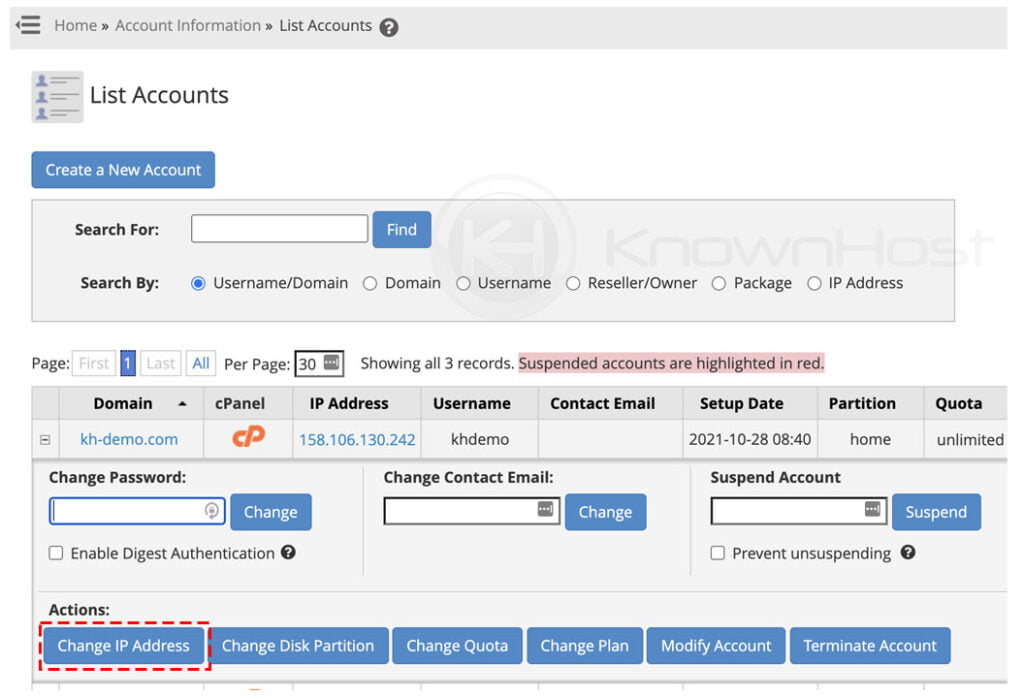
5. Select the Dedicated IP from the dropdown → Click on Change.
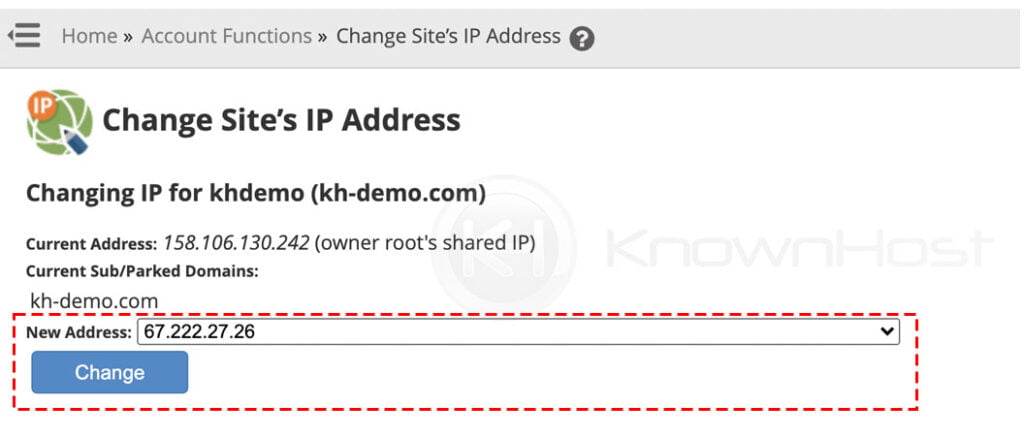
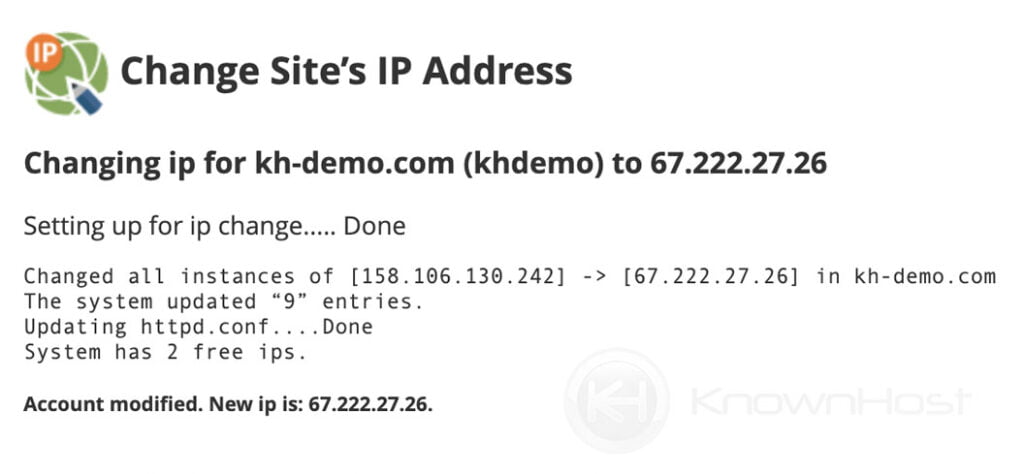
6. Congratulations! You have successfully assigned a dedicated IP address for the cPanel account.
Conclusion
Now that we’ve gone over how to assign a Dedicated IP address to a cPanel account. Once you are done with the changes, it might take some time for the DNS propagation (24 Hours to 48 Hours), depending on the local DNS resolver.
KnownHost offers 365 days a year, 24 hours a day, all 7 days of the week best in class technical support. A dedicated team ready to help you with requests should you need our assistance. You’re not using KnownHost for the best webhosting experience? Well, why not? Check with our Sales team to see what can KnownHost do for you in improving your webhosting experience.