How to change your VPS hostname?
The hostname is an identical name to the Linux machine. You can configure the hostname through CLI while ordering the VPS from KnownHost. This article will demonstrate how you can change the VPS hostname through the billing portal.
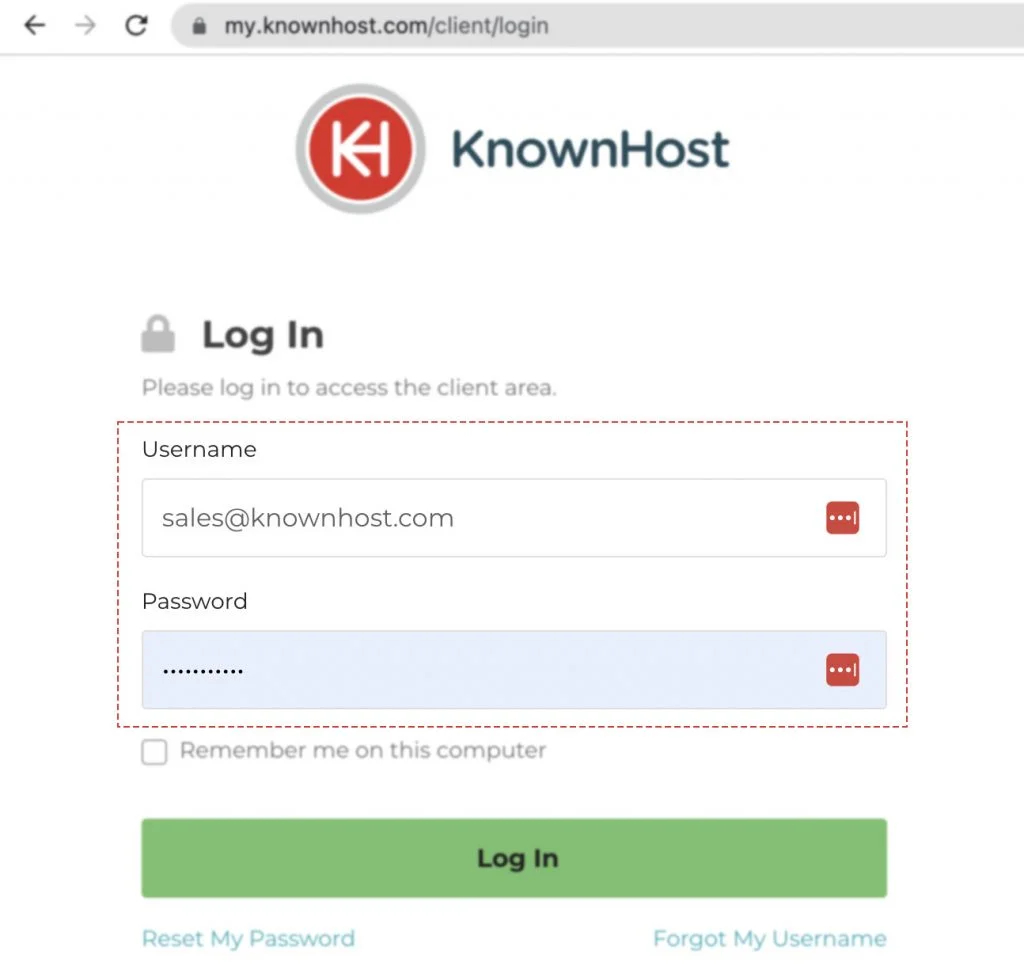
1. First, login into Billing Portal (my.knownhost.com) with registered email address and password.
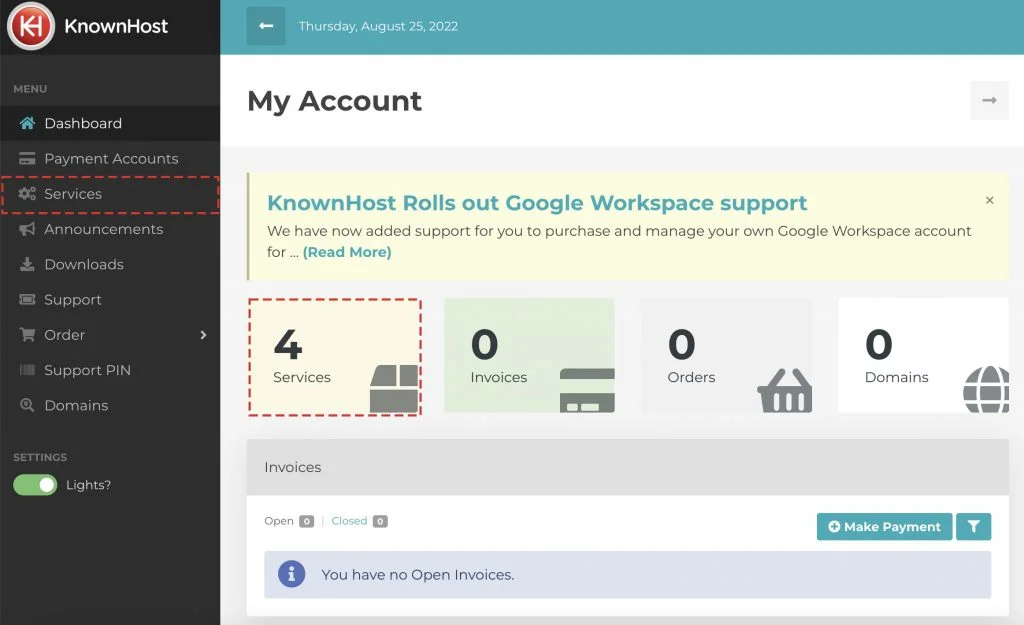
2. In the Navigation tray, you can find the option “Services” click on that or you can navigate to Dashboard → Click on Services.
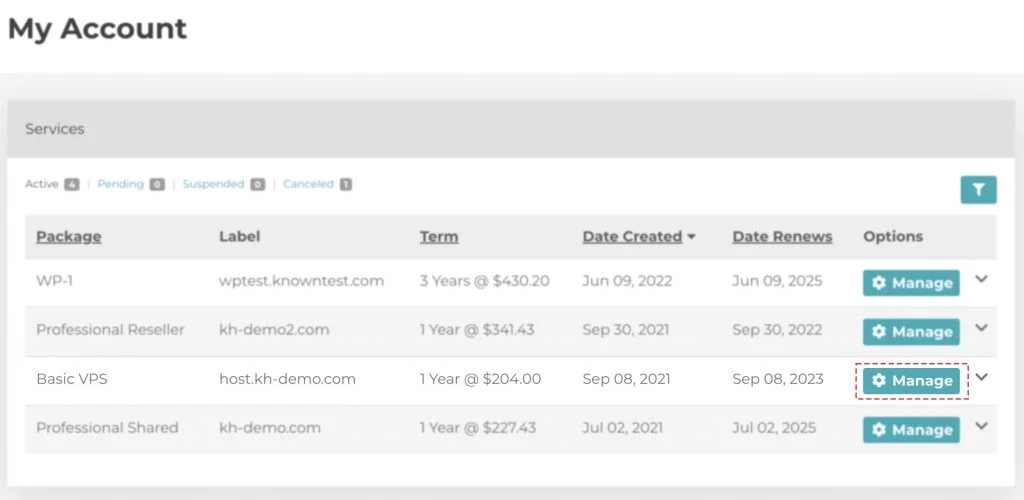
3. Locate the VPS → Click on Manage.
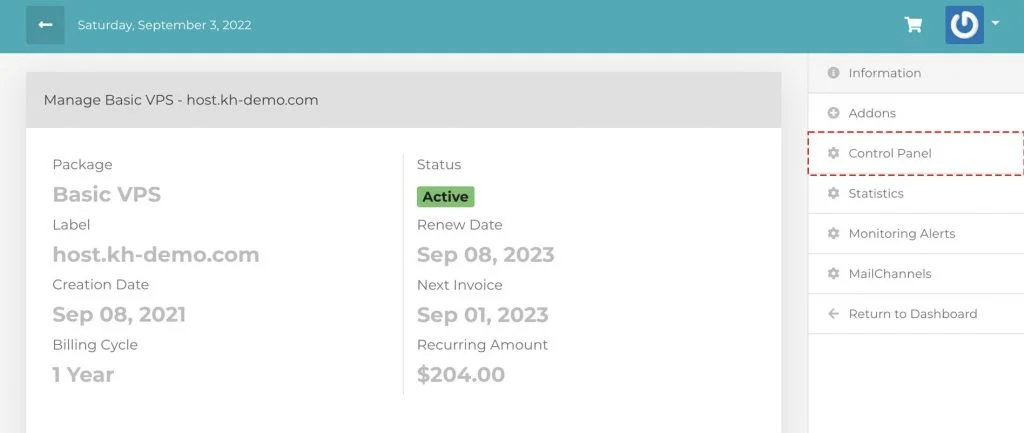
4. Navigate to Control Panel.
5. Scroll down a bit, navigate to Settings.
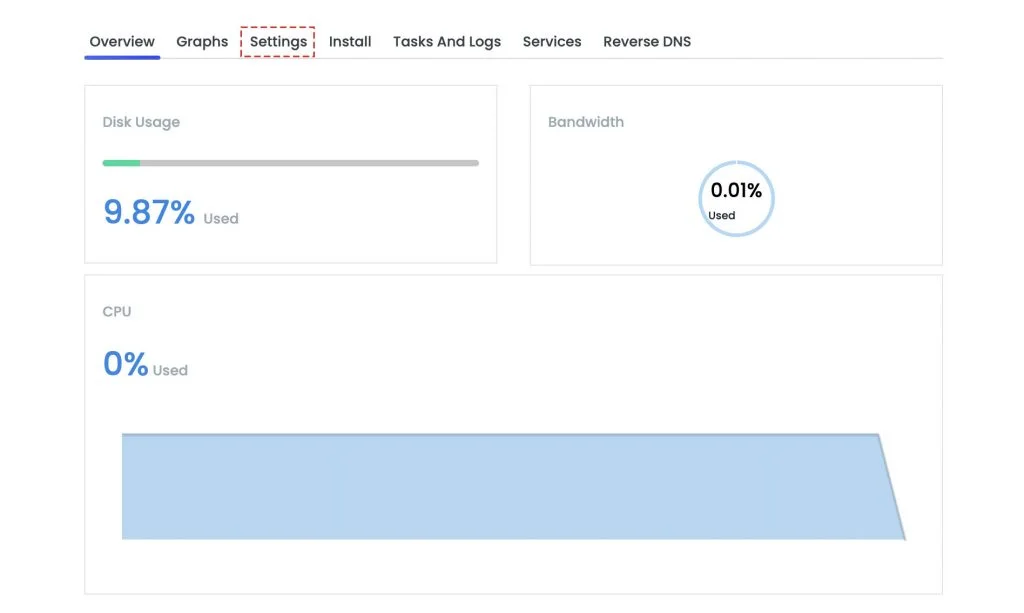
6. Again, navigate to Hostname → Enter the new hostname.
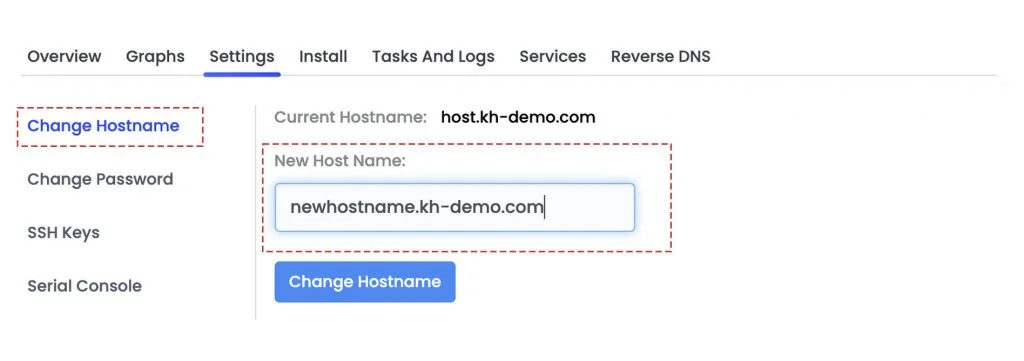
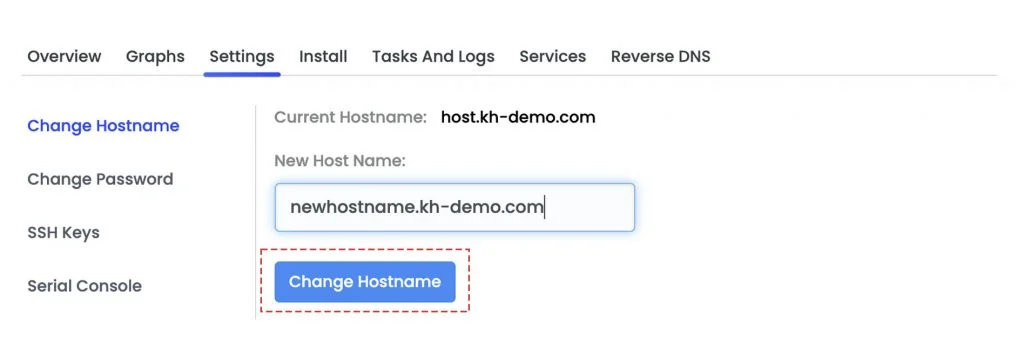
7. Finally, click on Change Hostname.
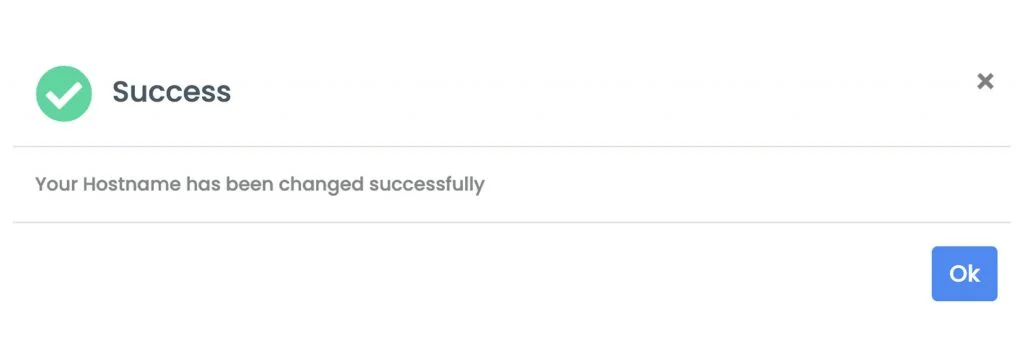
8. Congratulations! You have successfully changed the hostname for your VPS.
Conclusion
Now that we’ve gone over it, how to change the hostname for your Linux VPS? Earlier, we just had a few options to do that; but to provide you with better control of the VPS, we have introduced a full-fledged control panel within the billing portal through which you can change the VPS hostname instantly.
KnownHost offers 365 days a year, 24 hours a day, all 7 days of the week best in class technical support. A dedicated team ready to help you with requests should you need our assistance. You’re not using KnownHost for the best webhosting experience? Well, why not? Check with our Sales team to see what can KnownHost do for you in improving your webhosting experience.