How to add a Payment Accounts in KnownHost?
If you have a credit card with you and are looking to process the payments through it, you need to add it as a Payment Account in Billing Portal. Follow this article to add your next payment account.
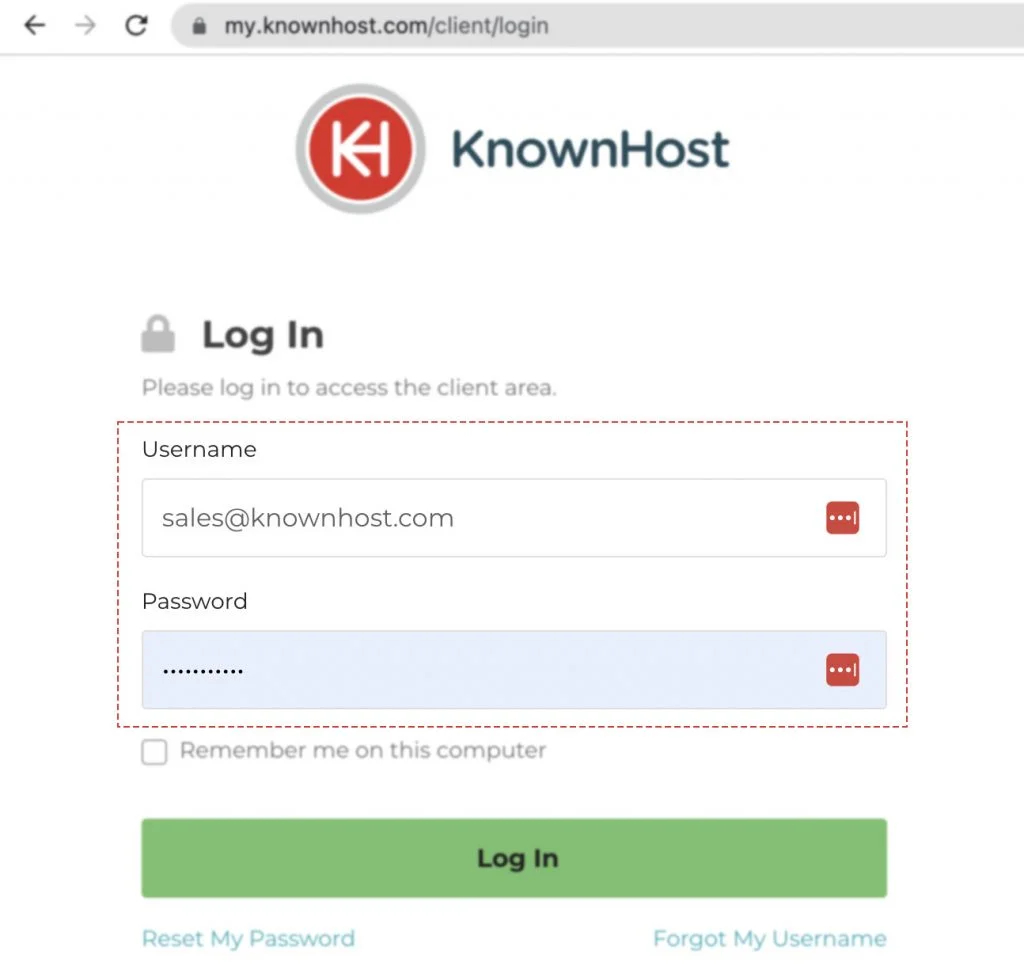
1. First, login into Billing Portal (my.knownhost.com) with registered email address and password.
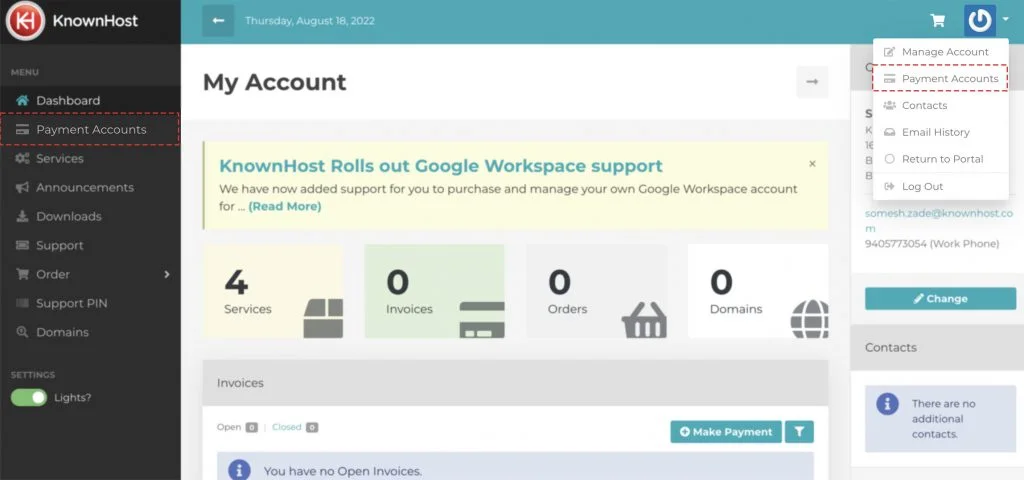
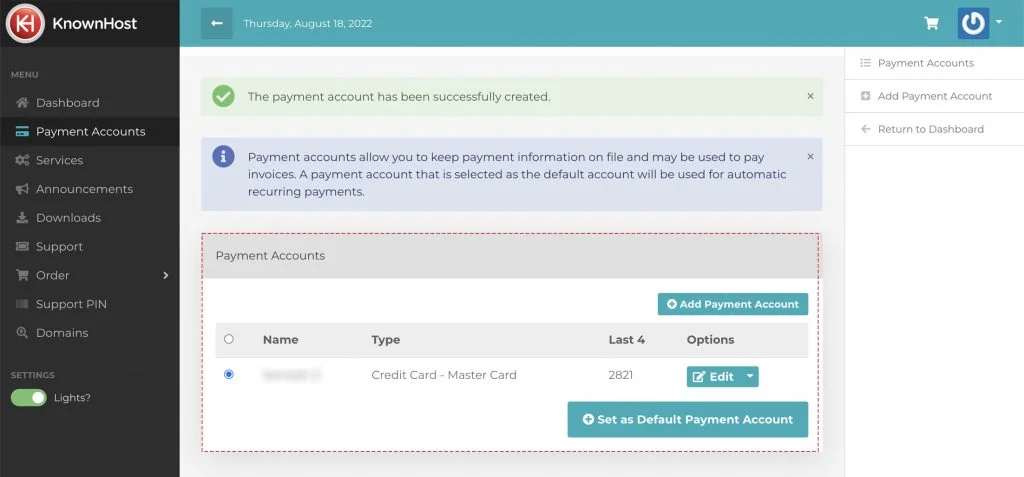
2. Next, in the Navigation tray, you can find the option “Payment Accounts” click on that or you can navigate to Profile Icon → Payment Accounts.
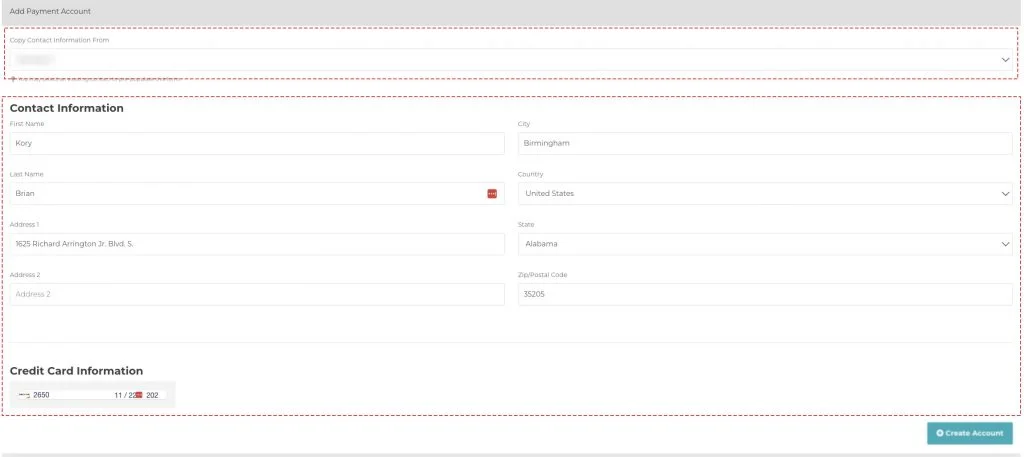
3. Here, you have two options,
- You can choose the existing profile from “Copy Contact Information From” dropdown; if you have the payment account with the exact details as your registered account.
- Create a new profile with the required details.
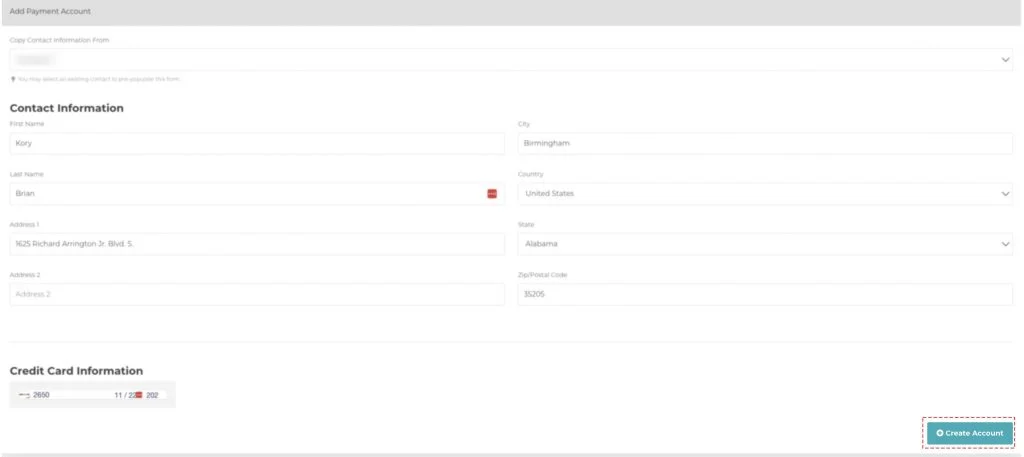
3. Finally, click on Create Account.
4. You can manage the payment details from the same “Payment Accounts” tab. Using the same tab, you can make the selected payment method as default for further payment using the “Set as Default Payment Account” option.
Conclusion
Payment accounts is one of the best features we are offering to the customers to manage multiple cards simultaneously. Just select the card saved as a payment account, and you are good to proceed with the payment without any hustle. Isn’t that smooth?
KnownHost offers 365 days a year, 24 hours a day, all 7 days of the week best in class technical support. A dedicated team ready to help you with requests should you need our assistance. You’re not using KnownHost for the best webhosting experience? Well, why not? Check with our Sales team to see what can KnownHost do for you in improving your webhosting experience.