How to set/change contact permissions?
KnownHost billing portal allows you to add, remove and update the existing contact’s information as well as their permissions. Let’s learn how to set/change contact permission.
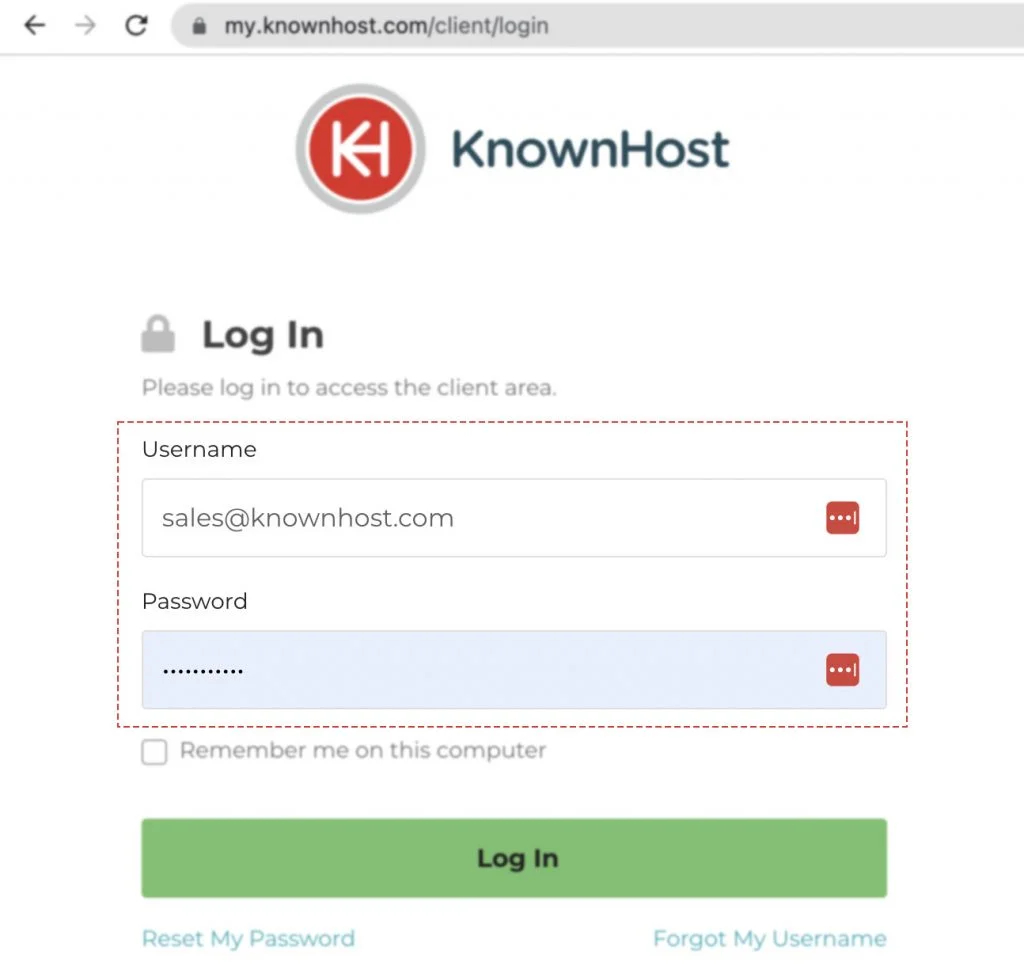
1. First, login into Billing Portal (my.knownhost.com) with your registered email address and password.
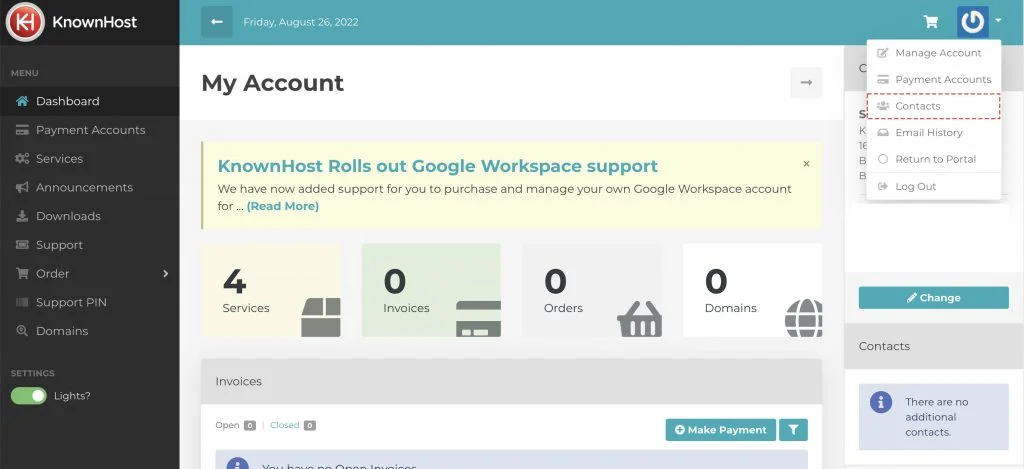
2. Navigate to Profile → Contacts (my.knownhost.com/client/contacts/).
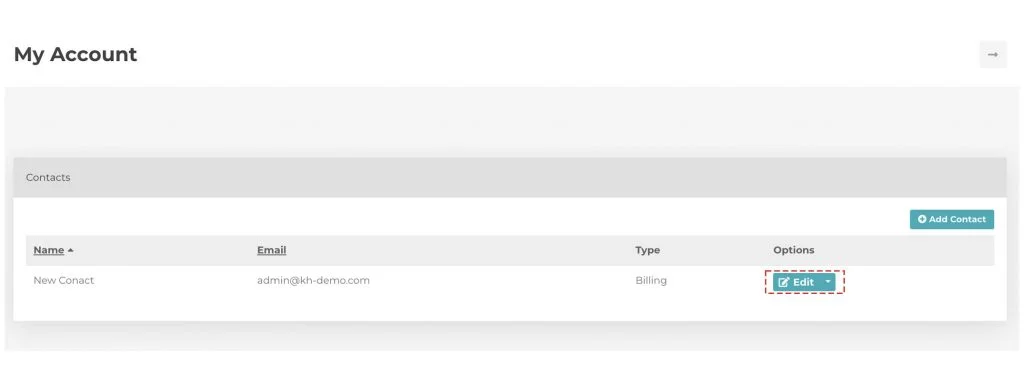
3. Now, click on the Edit.
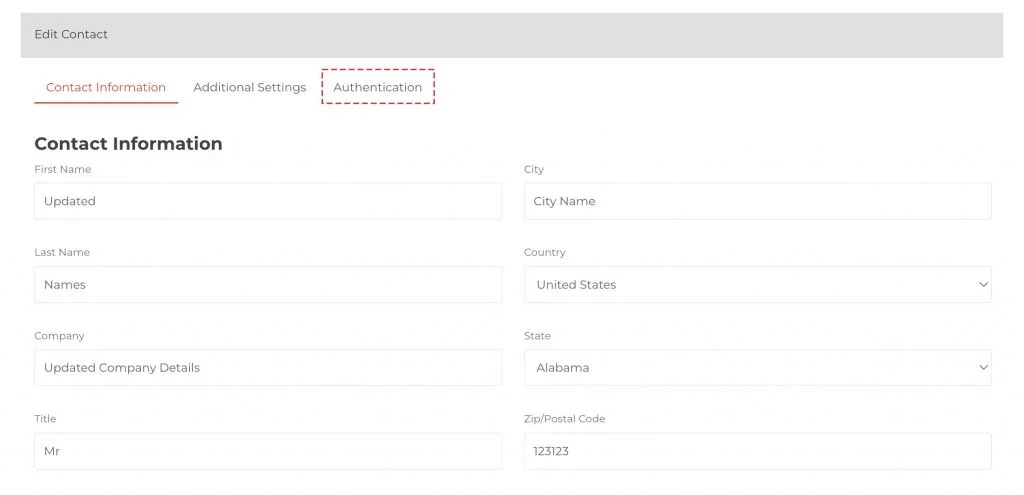
4. Navigate to the Authentication tab to make permission changes for the selected contact.
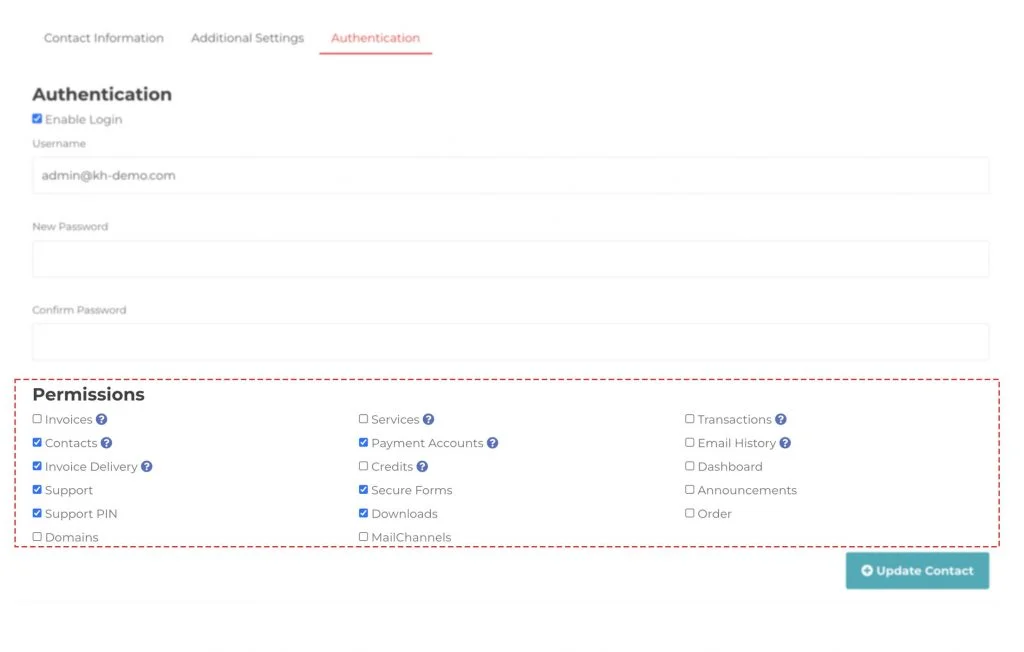
5. Make sure you have Enable Login option checked. Then, scroll down to Permissions section and select the required permissions.
- Invoices – Display invoices on the dashboard as well as any payment reminders.
- Services – Display services on the dashboard and allow them to be managed.
- Transactions – Display transactions on the dashboard.
- Contacts – Allow contacts to be managed.
- Payment Accounts – Allow payment accounts to be managed.
- Invoice Delivery – Allow the invoice deliver method to be viewed and changed.
- Credits – Allow the account credits to be viewed.
- Downloads – Grant access to any downloads authorized to the account.
- Support – Grant access to login to our support portal or submit tickets to it via email (this was previously referred to as the “Helpdesk” permission).
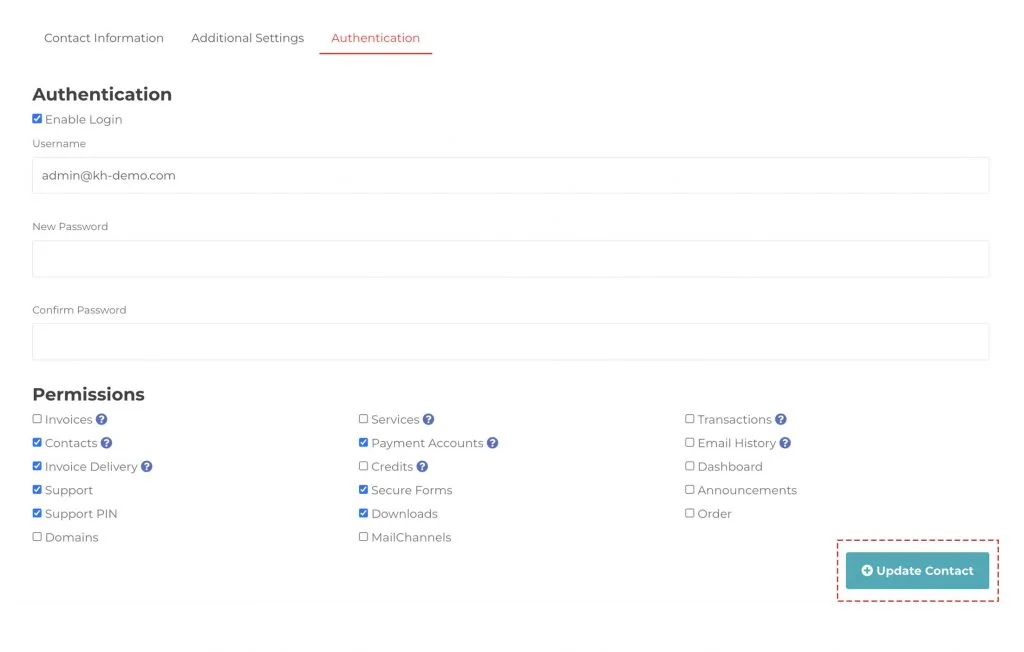
6. Finally, click on Update Contact.
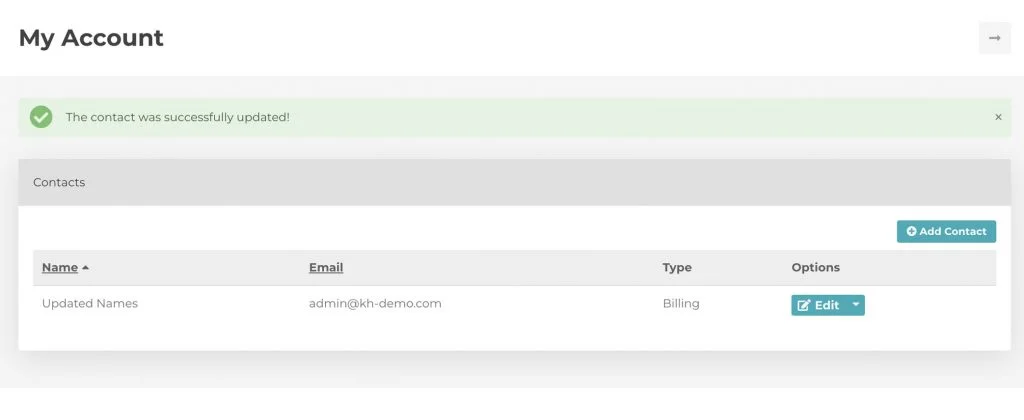
7. Congratulations! You have successfully updated the contact’s permissions.
Conclusion
Now that we’ve gone over how to set/change contact permissions in KnownHost’s billing portal. We highly recommend being cautious while assigning permission to contacts.
KnownHost offers 365 days a year, 24 hours a day, all 7 days of the week best in class technical support. A dedicated team ready to help you with requests should you need our assistance. You’re not using KnownHost for the best webhosting experience? Well, why not? Check with our Sales team to see what can KnownHost do for you in improving your webhosting experience.