How to install the WordPress plugin using cPanel’s WordPress toolkit?
cPanel recently introduced the WordPress Toolkit to make the end-users tasks more hustle-free. One of the regularly used features is installing plugins. Learn how to install the WordPress plugin cPanel’s WordPress toolkit?
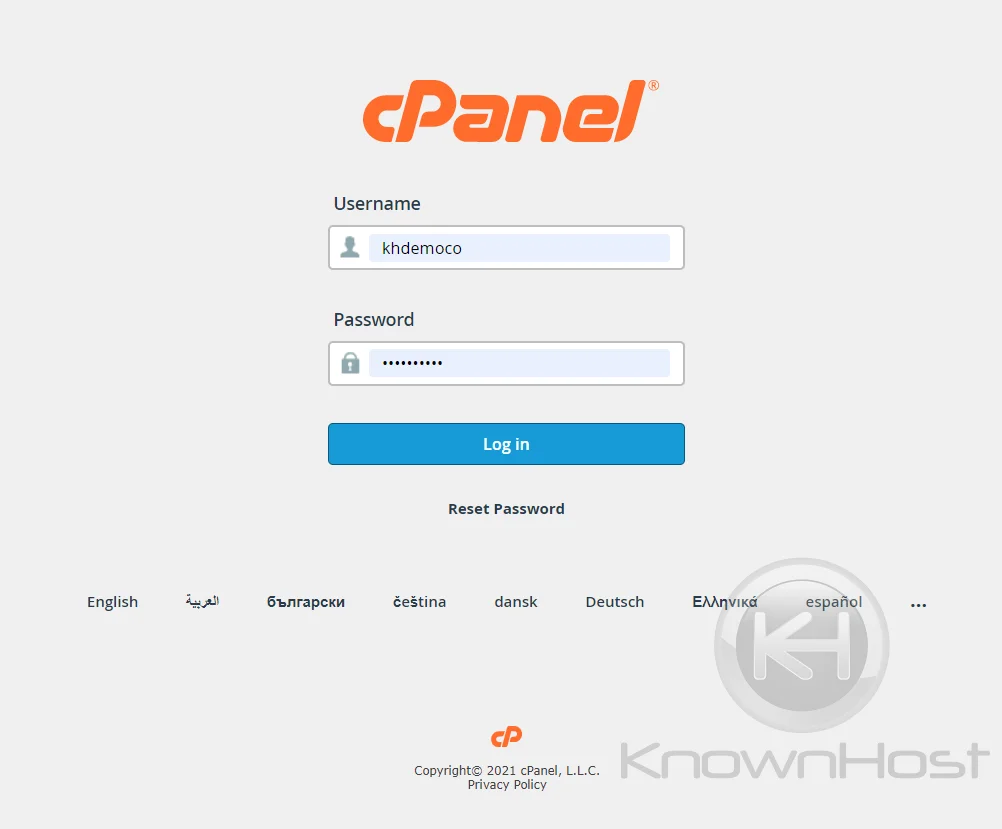
1. Log in to cPanel using Username & Password. i.e; (https://yourdomain.com:2083 or https://yourdomain.com/cpanel)
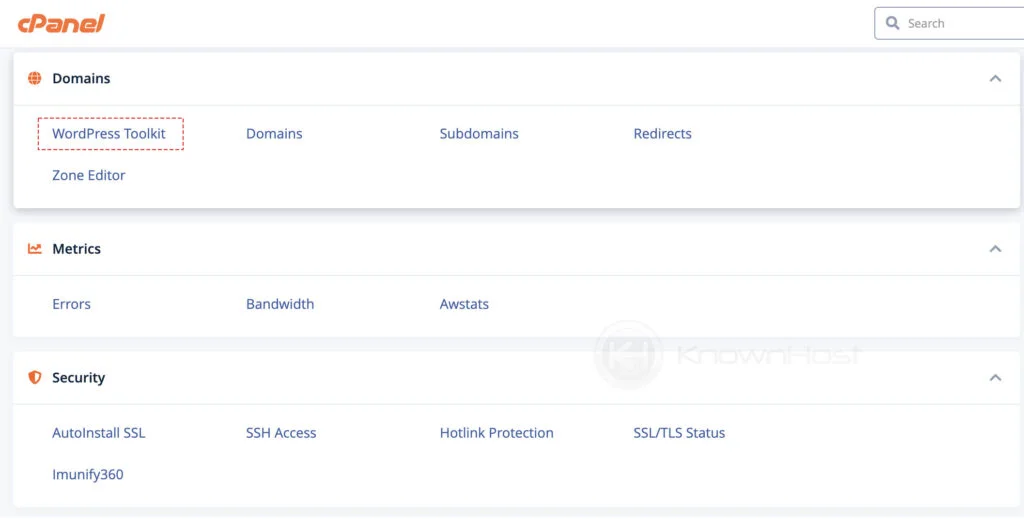
2. Navigate to Domains → WordPress Toolkit.
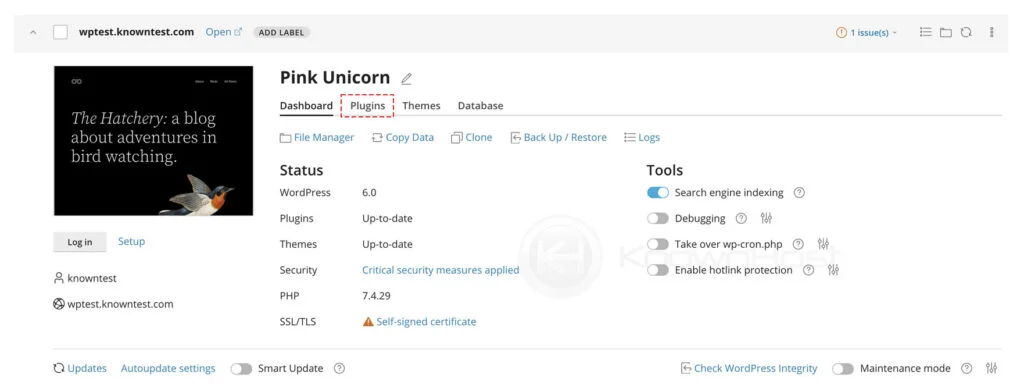
3. You can navigate to the required WordPress site if you have multiple WordPress setups. Then, click on Plugins.
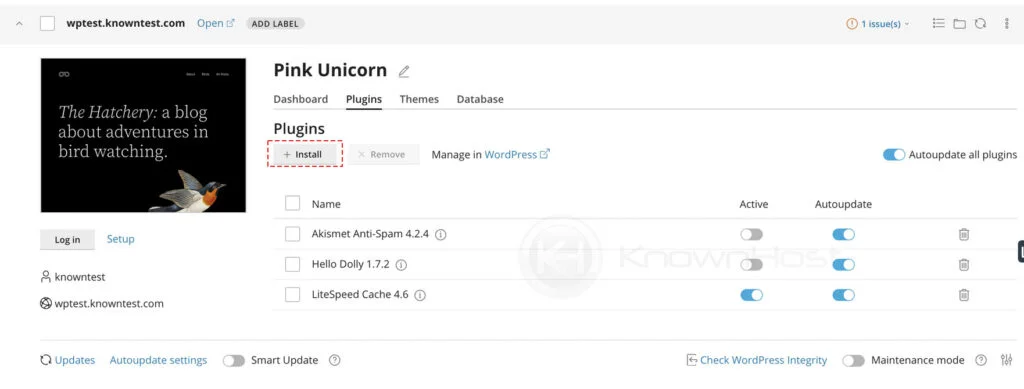
4. Here, you have a list of available Plugins that you can control (Active/Deactive, Autoupdate). To install new plugins, click on + Install.
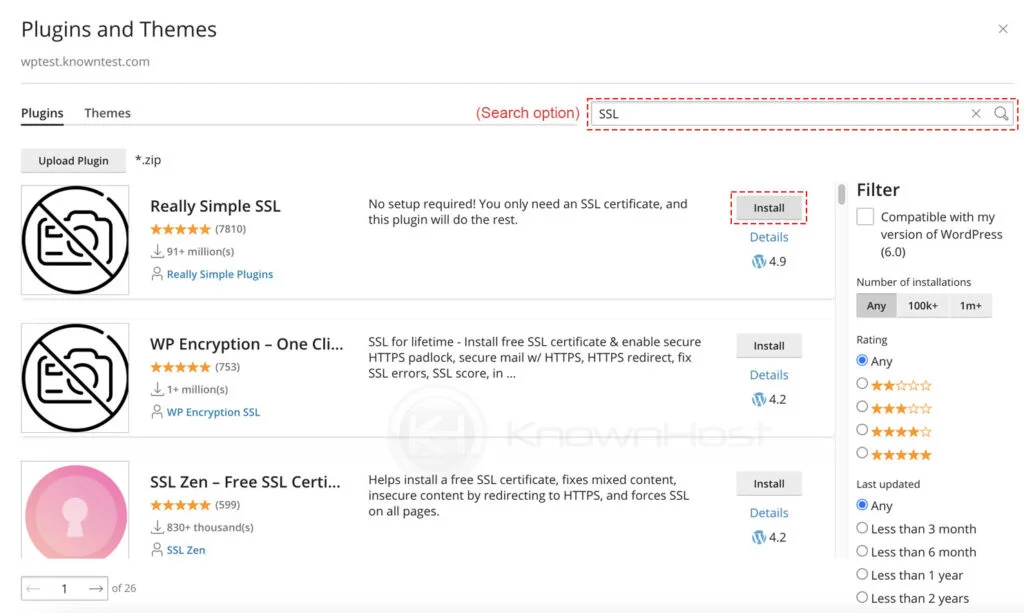
5. Using the search option, you can search for required plugins to install and click on the Install button to start the plugin installation (The required time for the installation depends entirely on the network performance and the assigned server-end resources).
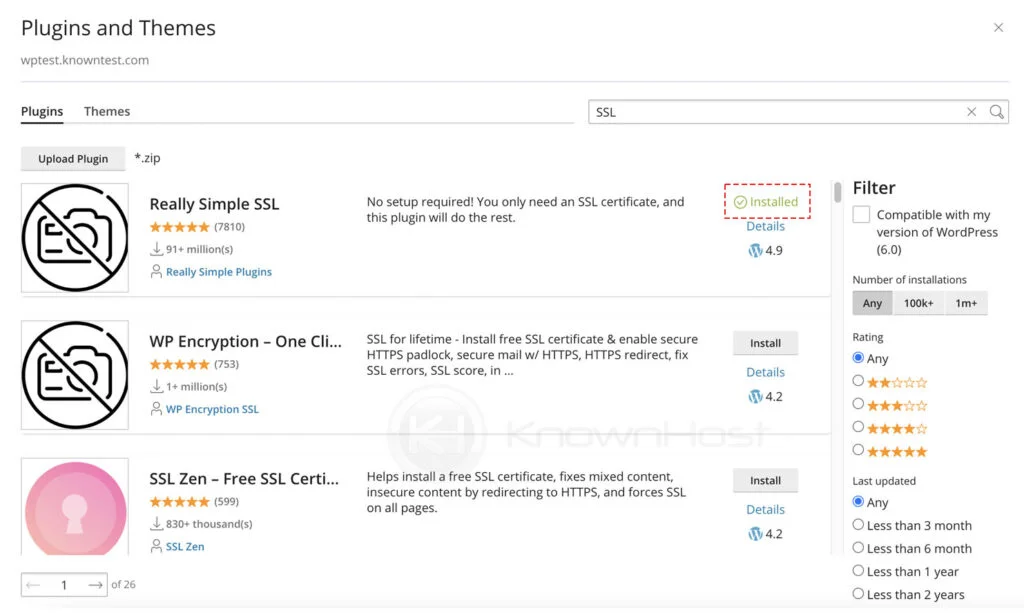
6. Once the installation is completed, you can see the green color highlighted Installed message instead of the Install option.
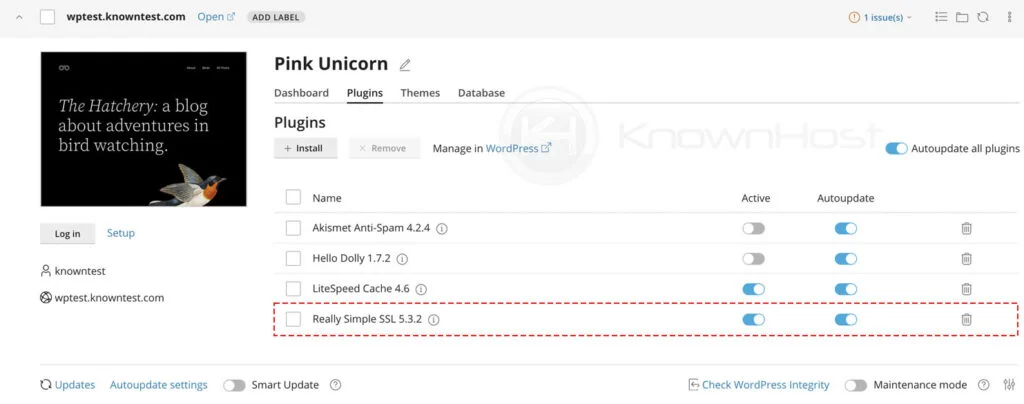
7. Finally, the same installed plugin you can manage from WordPress Toolkit → Website → Plugins.
Conclusion
Search, select, install, and you are good to go! This is how the plugin installation works with the cPanel WordPress Toolkit. Also, managing the plugins is the most efficient way through the Toolkit.
Have a WordPress website? Check out our Managed WordPress Hosting and see if we are a good fit for you. KnownHost offers 365 days a year, 24 hours a day, all 7 days of the week best in class technical support. A dedicated team ready to help you should you need our assistance. You’re not using KnownHost for the best webhosting experience? Well, why not?