How to install and configure Memcached on cPanel / WHM server?
Memcached is a generic memory cache system to increase the performance of dynamic database-driven websites. Earlier, we have covered the installation of Memcached on the DirectAdmin control panel, adding more it is also compatible with the cPanel / WHM server. You can install Memcached and its PHP module conveniently. Learn, How to install and configure Memcached on cPanel / WHM server?
Install Memcached
1. Login to server as root.
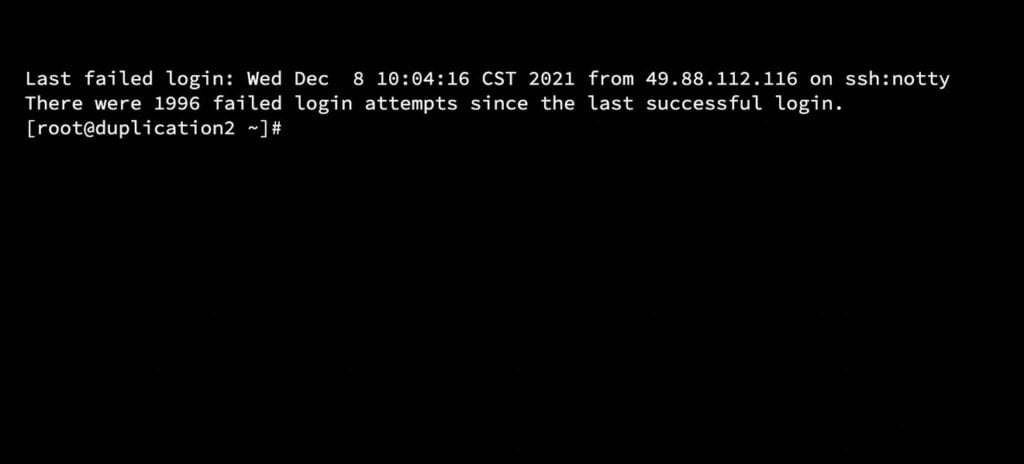
2. Run the following command to install Memcached,
yum -y install memcached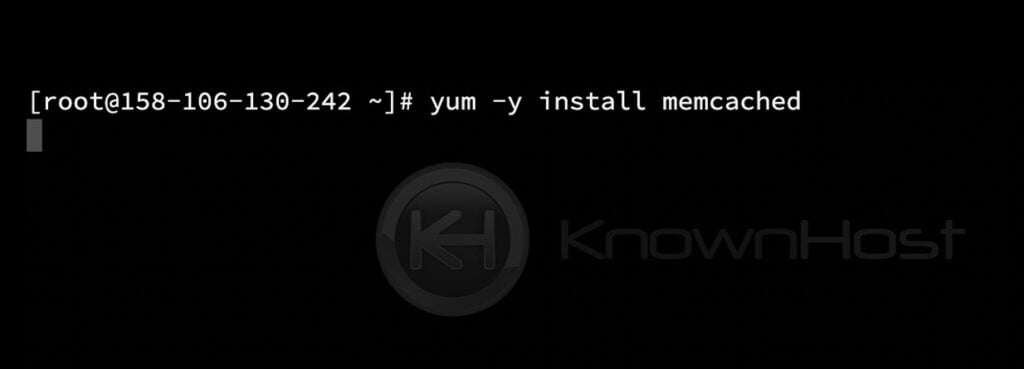
3. Upon successfully installing Memcached, run the following command to enable the Memcached in the systems.
systemctl enable memcached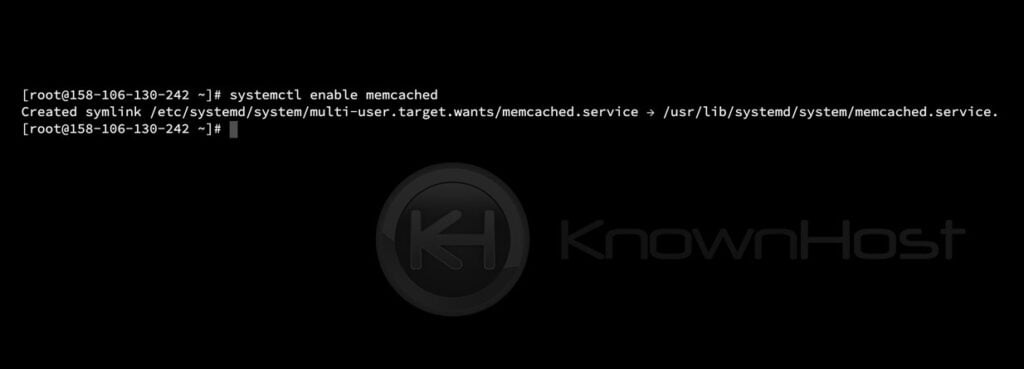
Secure Memcached configuration
By default, Memcached is open to listening to requests from everyone, which may lead to unwanted DDoS or DOS attacks. Let us configure the Memcached in system daemon to listen to only localhost (127.0.0.1).
Securing Memcached configuration needs to be done through the primary configuration file of Memcache, i.e., /etc/sysconfig/memcached. So, edit the /etc/sysconfig/memcached file using any text editor (vi, vim, nano, etc.)
vi /etc/sysconfig/memcached 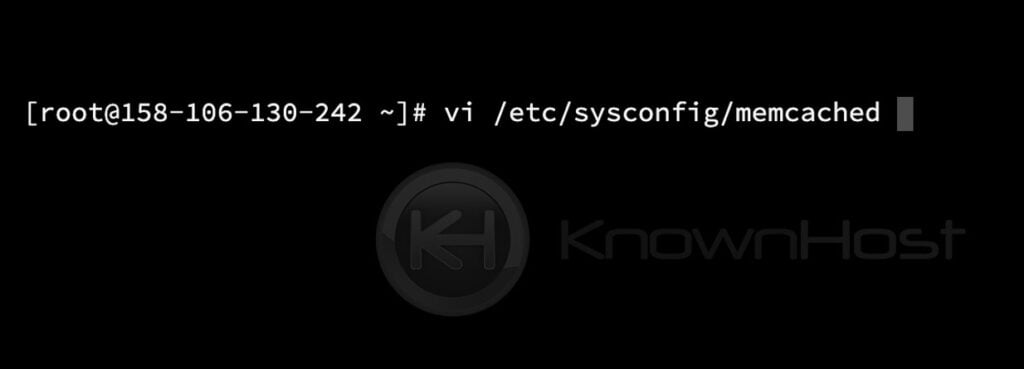
Find the line that starts with “OPTIONS=” and edit the line to look like below and save the file,
OPTIONS="-l 127.0.0.1 -U 0" 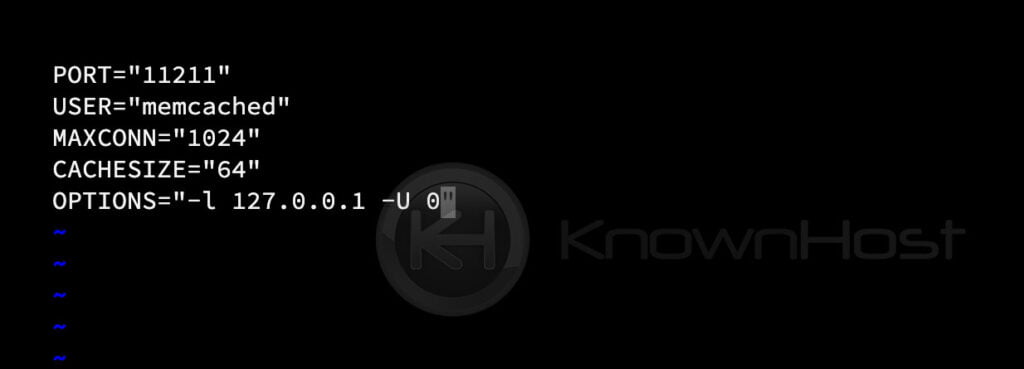
Successfully updating the required changes in the Memcached configuration file, restart the Memcached using the following command,
systemctl restart memcached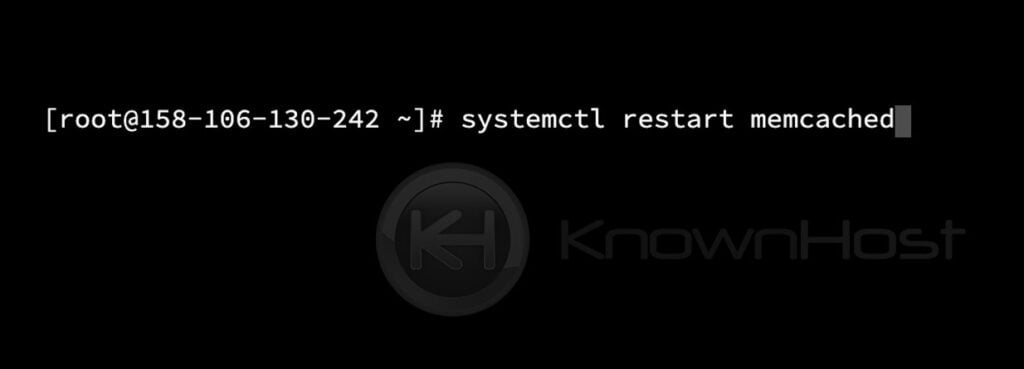
Confirm the status of Memcached by running the following command,
systemctl status memcached 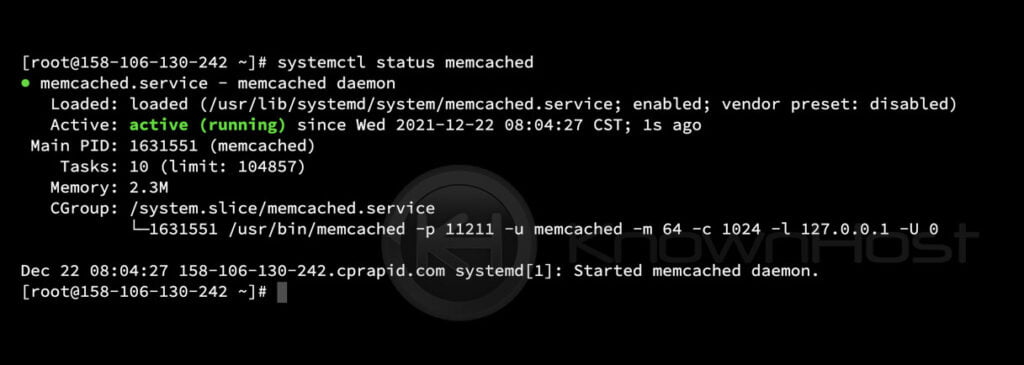
Install Memcached PHP Extension
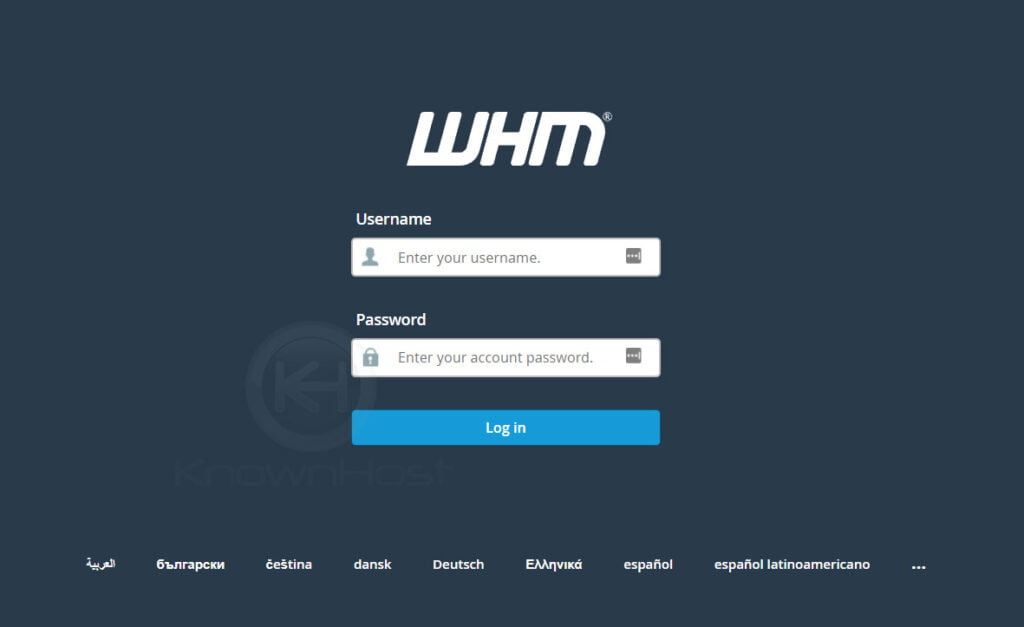
1. First, login into the WHM panel,
https://your-domain.com:2087 or https://IP-address: 2087 or https://server-hostname: 2087.
2. Navigate to Software → EasyApache 4.
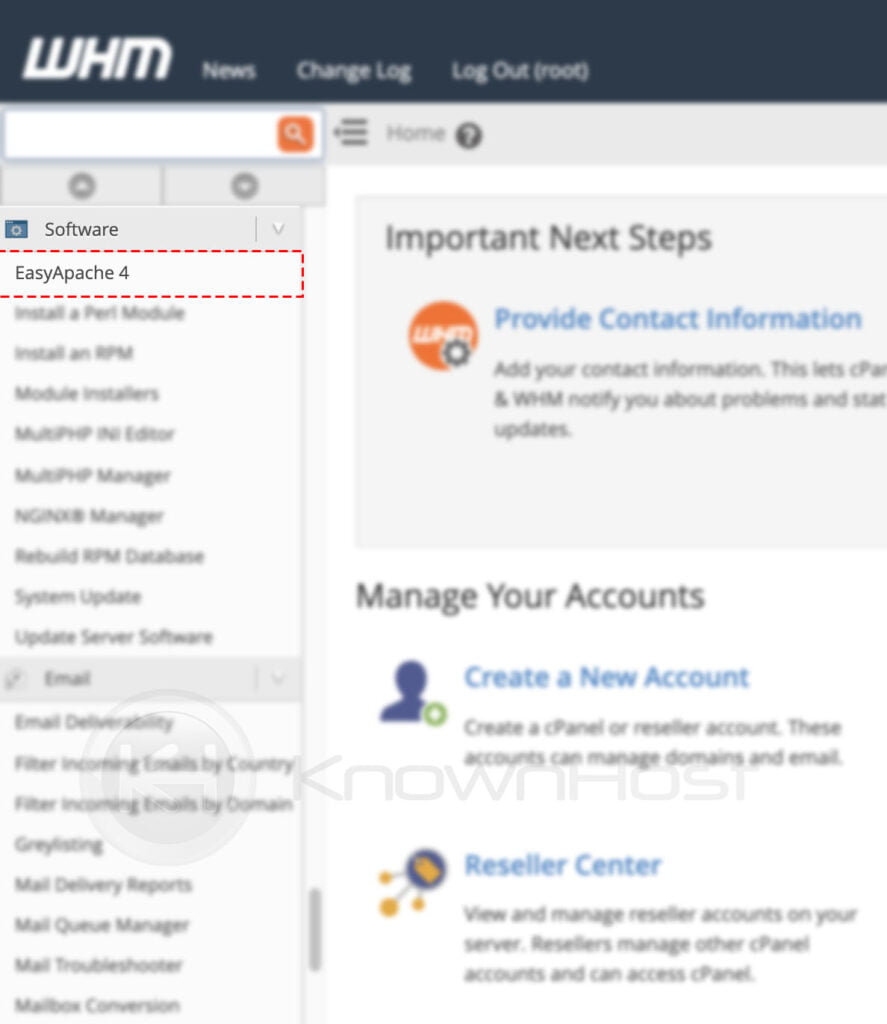
3. Next, click on Customize.
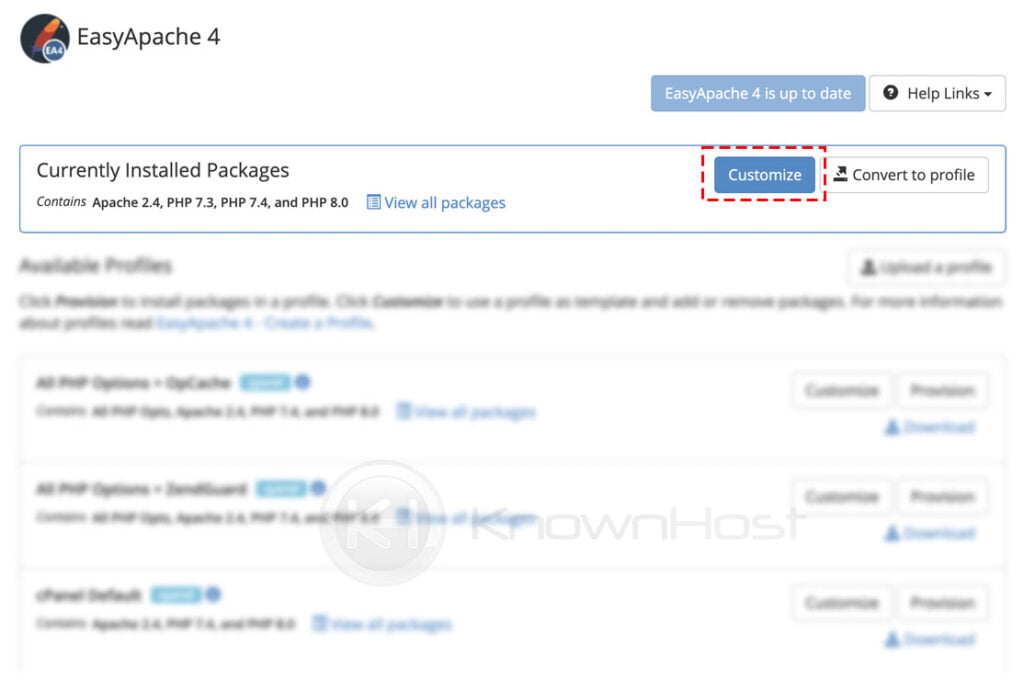
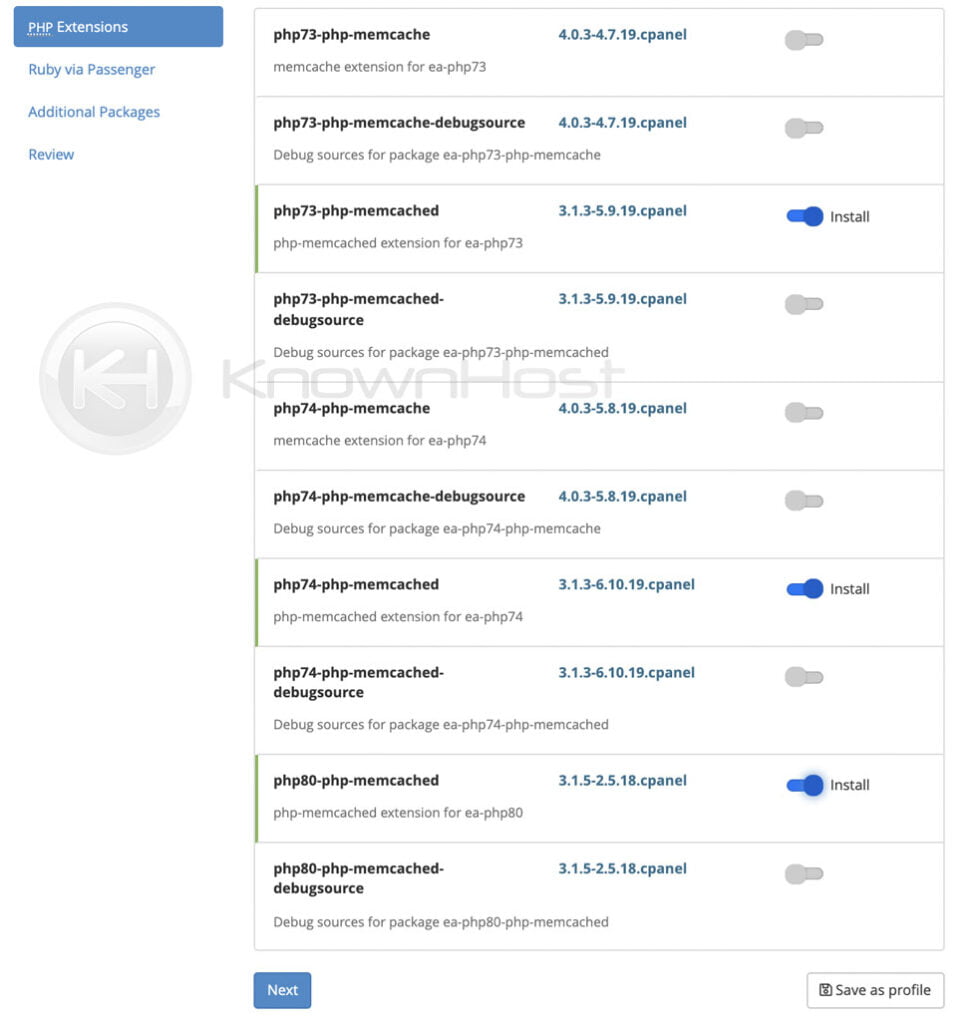
4. Now navigate to the PHP Extension menu from the left sidebar → Search for Memcached → Select the Memcached PHP extensions → Click on Next.
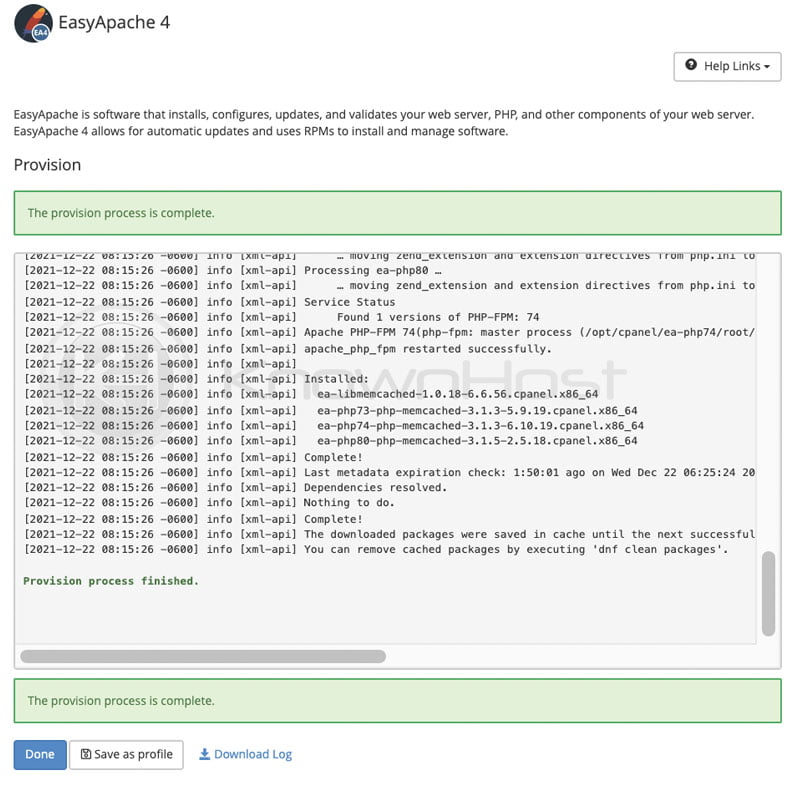
5. In the Review, click on Provision.
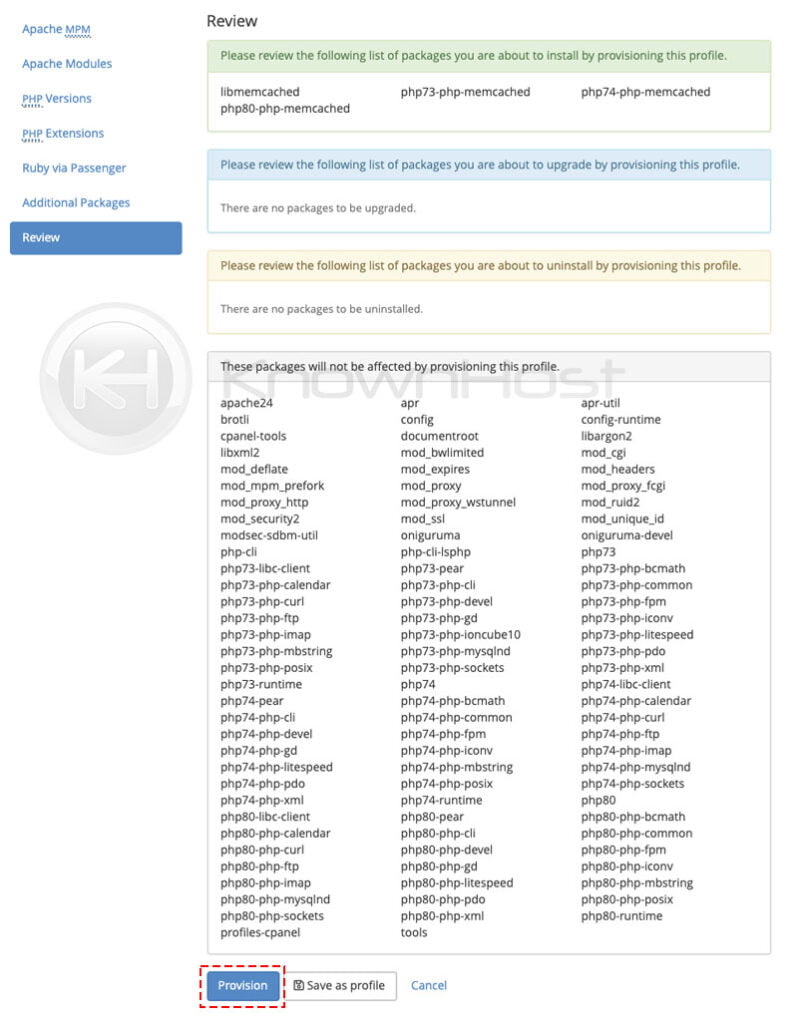
6. Congratulations! You have successfully installed Memcached PHP extensions.
7. Finally, run the following command to restart Memcached,
systemctl restart memcached
Conclusion
Now that we’ve gone over how to install Memcached on the cPanel / WHM server. This article is an administrative tutorial, and you must need root-level access to perform described actions. If you can’t find the Memcached enabled of the server, then get in touch with the administrator.
KnownHost offers 365 days a year, 24 hours a day, all 7 days of the week best in class technical support. A dedicated team is ready to help you with requests should you need our assistance. You’re not using KnownHost for the best web hosting experience? Well, why not? Check with our Sales team to see what can KnownHost do for you in improving your web hosting experience.