How to upload files in the DirectAdmin?
Are you a newbie and getting introduced to the DirectAdmin control panel? Don’t worry; it is just the same as cPanel, Plesk, and other web hosting control panels available in the market. In this article, we will cover the step-by-step guide on “How to upload files in the DirectAdmin?”
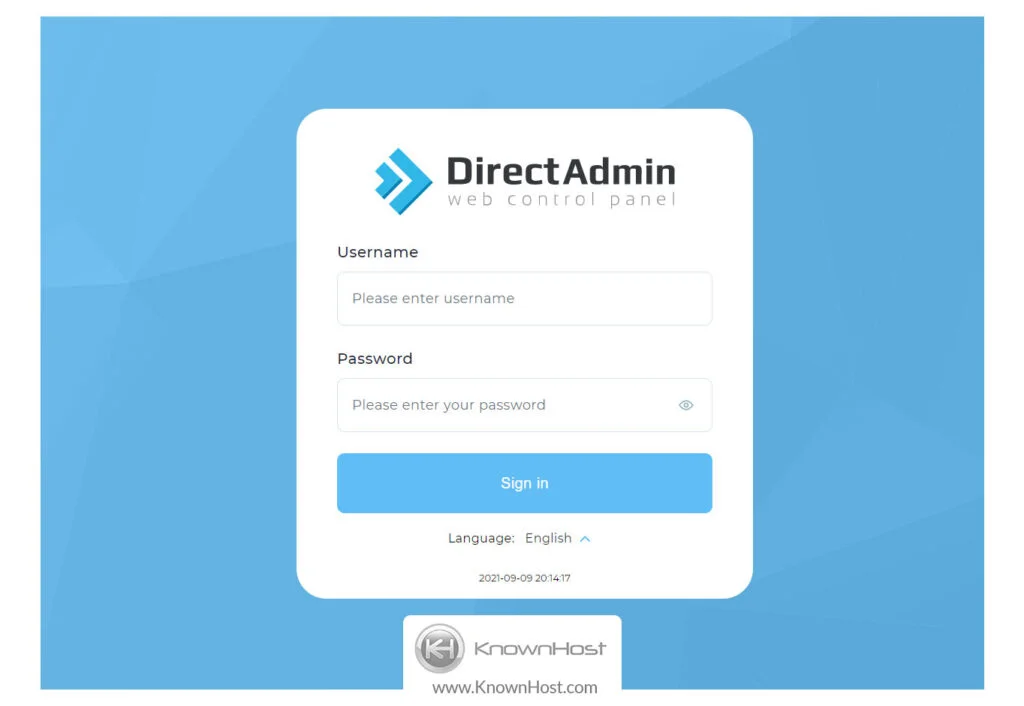
1. First, to login into DirectAdmin control panel visit,
https://your-domain.com:2222 or https://IP-address:2222 or https://server-hostname:2222.
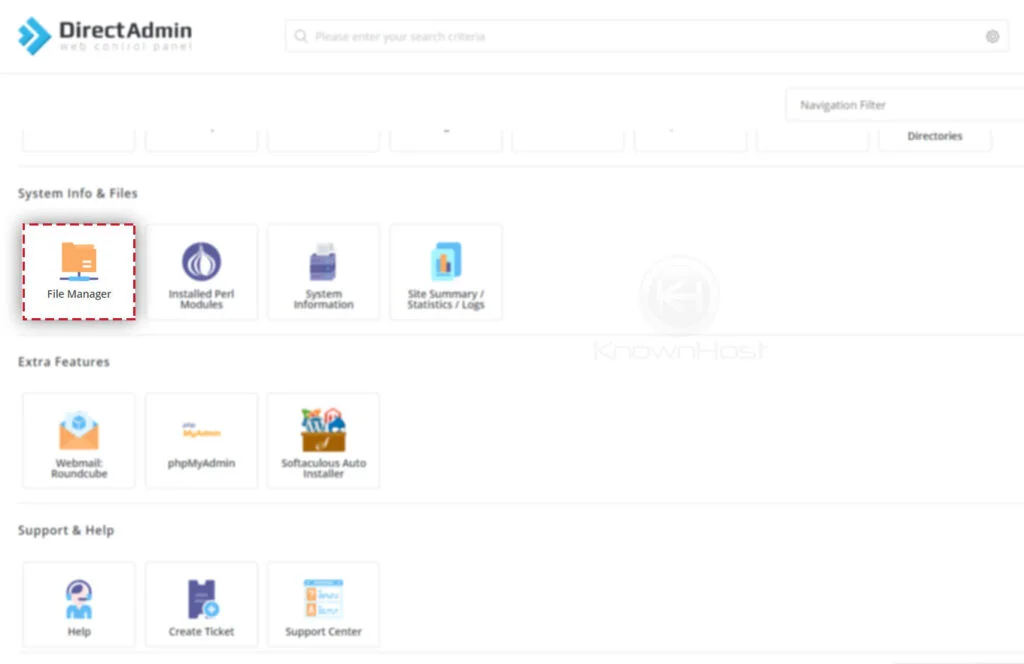
2. Navigate to System Info & Files → File Manager.
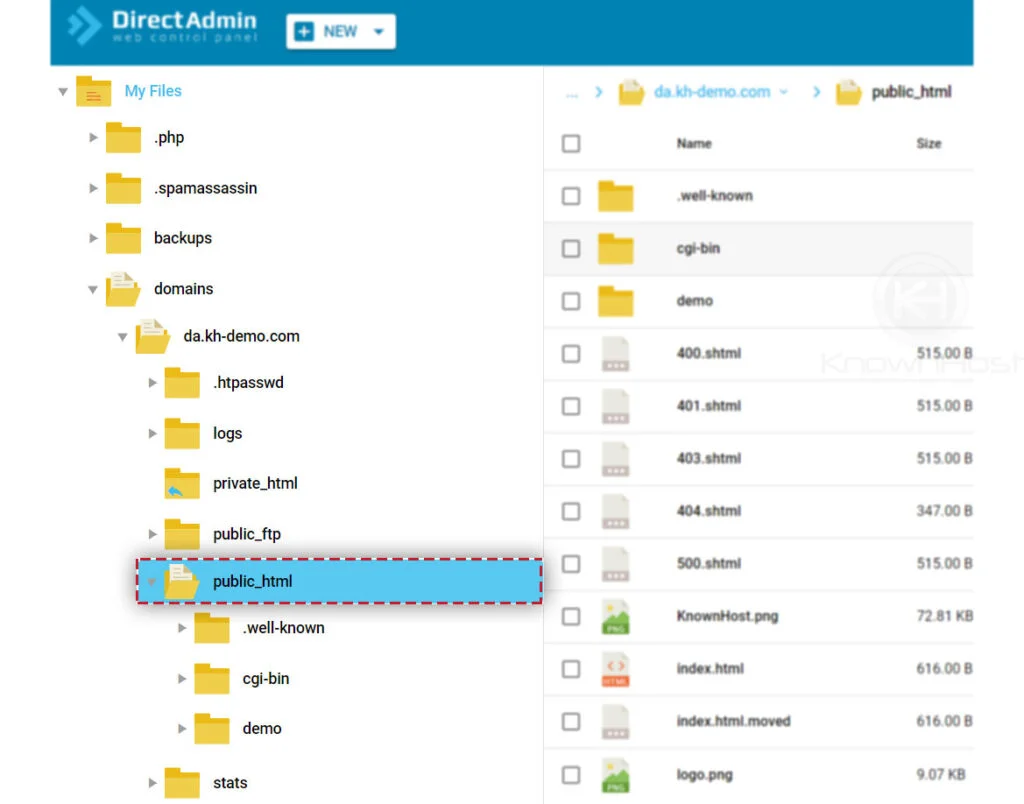
3. Again, navigate to Directory Location where you would like to upload the data. For this article, we will be uploading the data in the public_html directory, i.e., the root directory of the parent domain/primary domain.
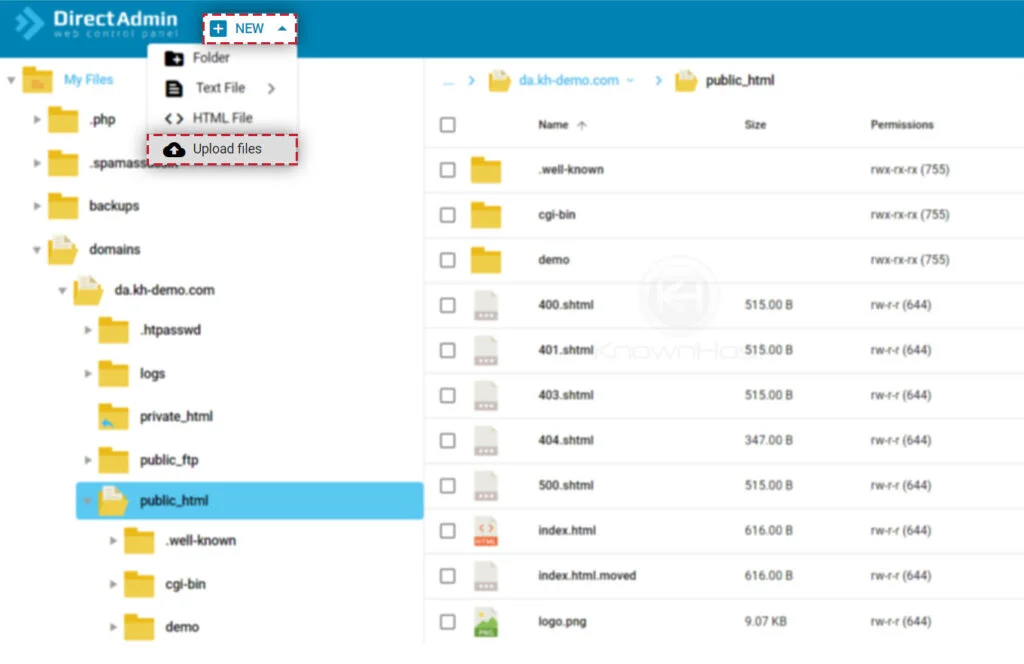
4. To upload the data → Click on “+NEW” → Click on “Upload files“.
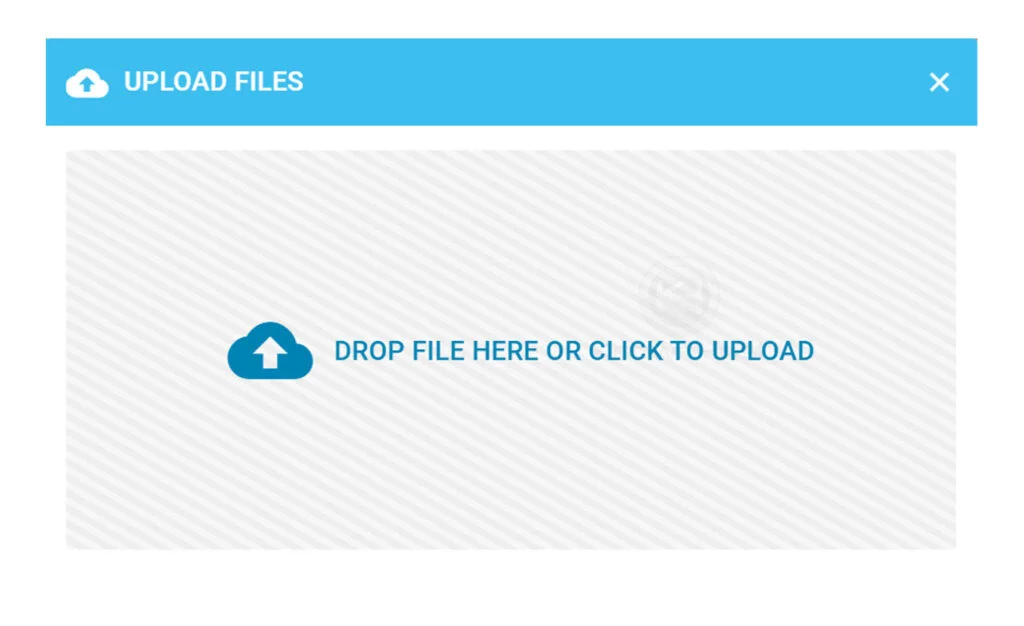
5. Here, you can drag and drop the files or select the files from the local computer.
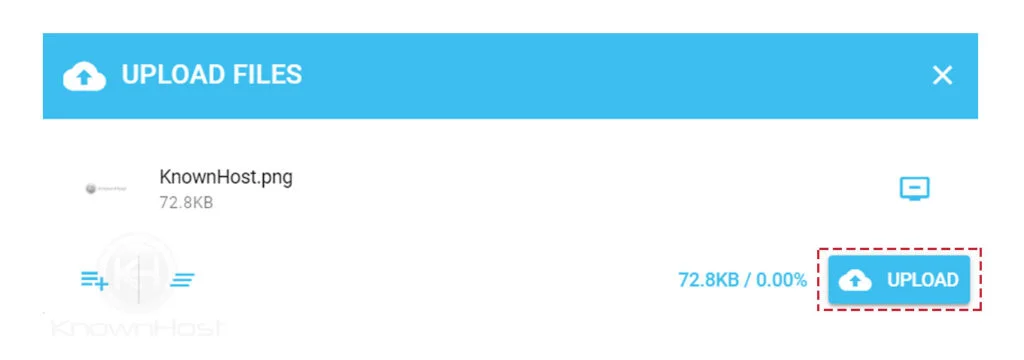
6. Once you are done selecting the files → Click on Upload.
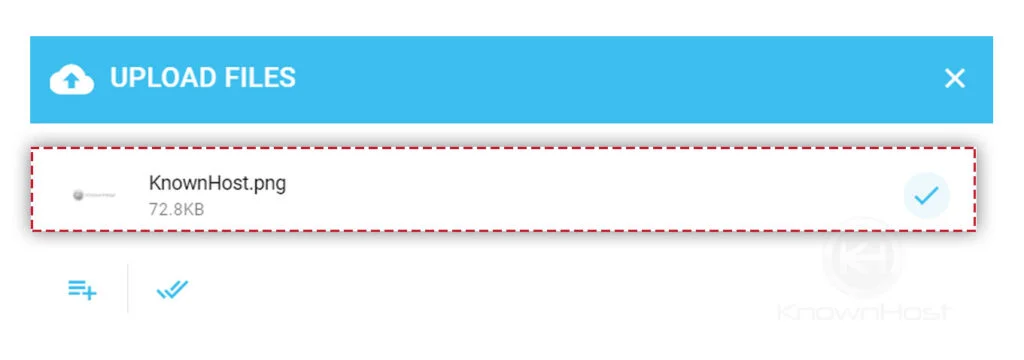
7. Congratulations! You have successfully uploaded the data/files on the DirectAdmin server.
Conclusion
Now that we’ve gone over how to upload files in the DirectAdmin control panel. Using the same procedure, you can navigate to any directory and upload any file/files.
KnownHost offers 365 days a year, 24 hours a day, all 7 days of the week best in class technical support. A dedicated team ready to help you should you need our assistance. You’re not using KnownHost for the best webhosting experience? Well, why not? Check with our Sales team to see what can KnownHost do for you in improving your webhosting experience.