How to Track DNS in cPanel?
cPanel’s Track DNS network tool plays an excellent role in troubleshooting the network problems which might cause downtime for hosted websites. Using the network tool, you can look up any particular domain DNS and traceroute the network path of the server and the computer from which you are accessing the cPanel.
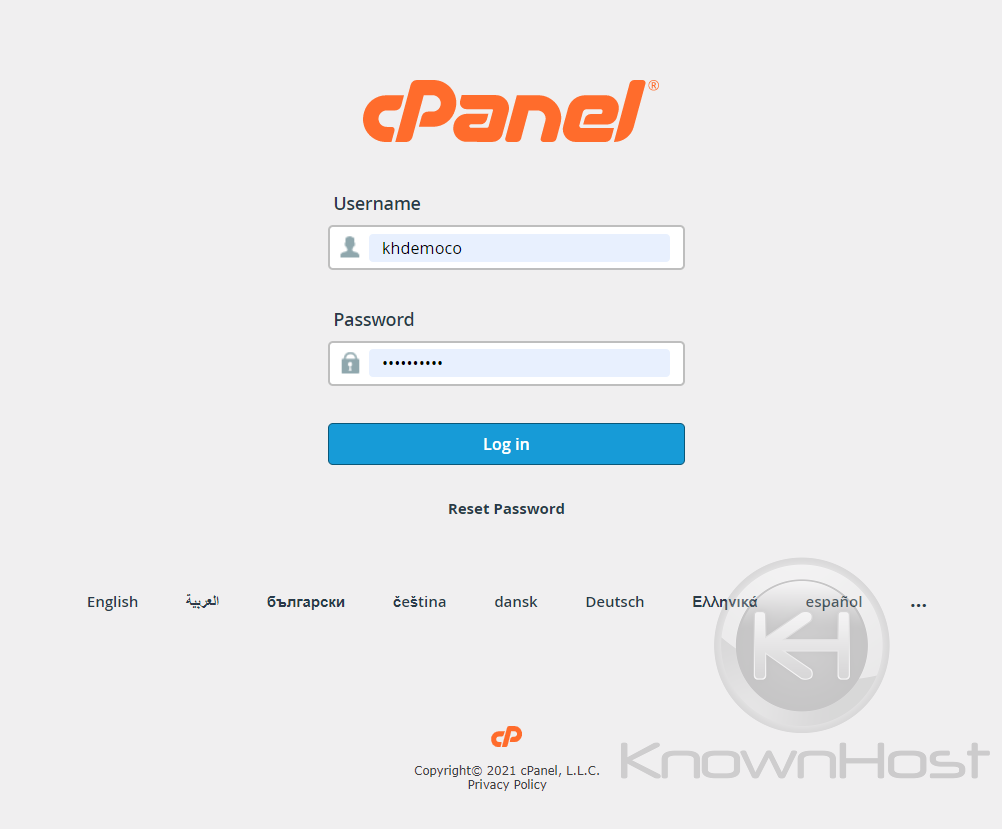
1. Log in to cPanel using Username & Password. i.e; (https://yourdomain.com:2083 or https://yourdomain.com/cpanel)
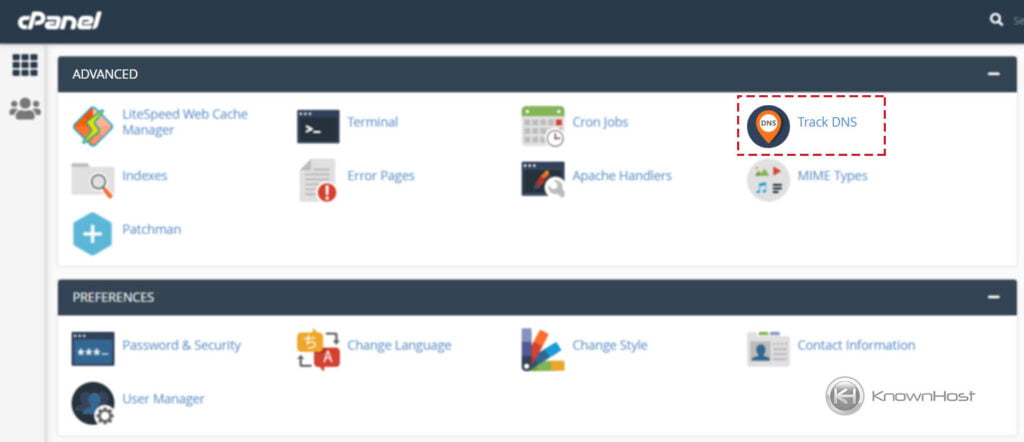
2. Navigate to ADVANCE → Track DNS.
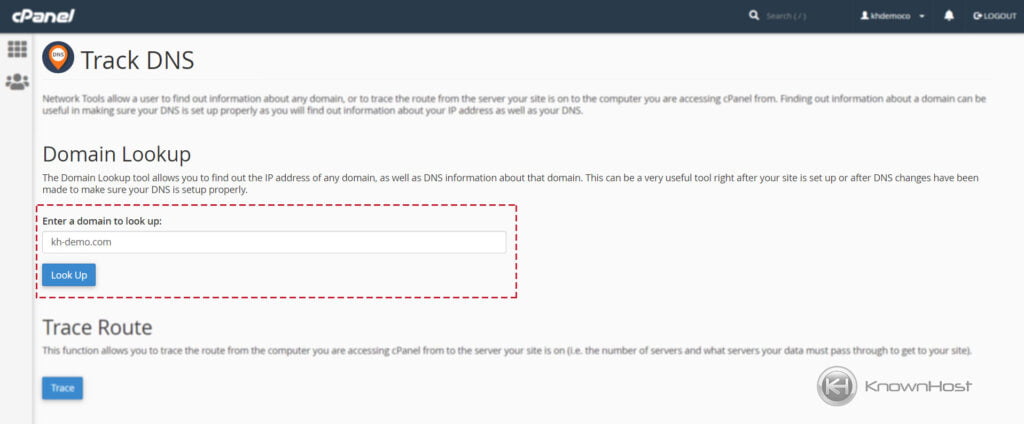
3. Using Track DNS‘s Domain Lookup, you can lookup MX record and A records for entered domains.
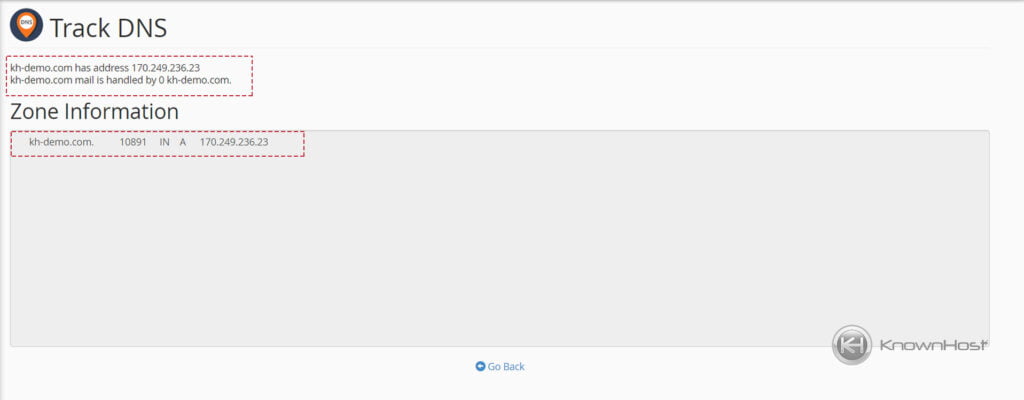
In below example, you can see that,
Track DNS found KH-DEMO.COM RESOLVES TO 170.249.236.23 i.e. A record and KH-DEMO.COM’s mails are managed by kh-demo.com i.e. MX record.
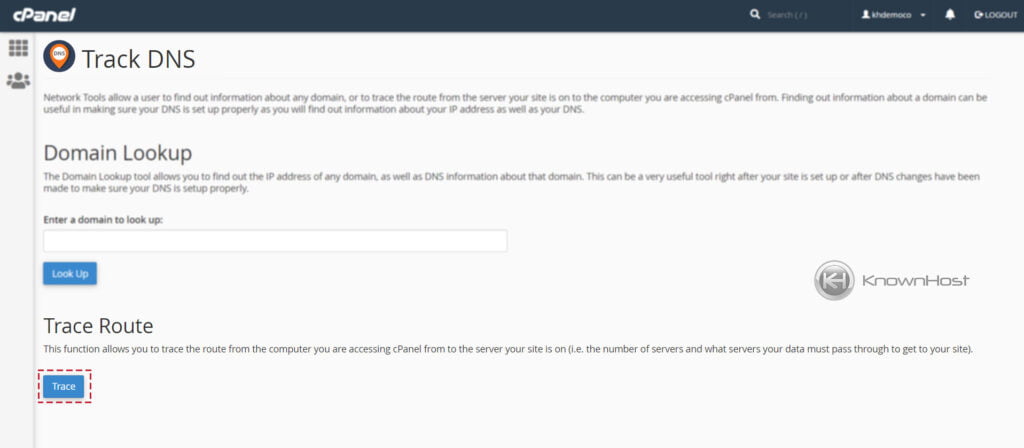
4. The Trace Route function of Track DNS allows you to trace the route from the computer you are accessing cPanel from to the server your site is on (i.e. the number of servers and what servers your data must pass through to get to your site). To initiate test click on Trace.
Conclusion
Now that we’ve gone over how to use the Track DNS feature in cPanel. If you are looking for a handy tool to troubleshoot basic problems related to DNS, then the cPanel tool would work for you, and you can take this article to help to understand Track DNS tool use.
KnownHost offers 365 days a year, 24 hours a day, all 7 days of the week best in class technical support. A dedicated team ready to help you should you need our assistance. You’re not using KnownHost for the best webhosting experience? Well, why not? Check with our Sales team to see what can KnownHost do for you in improving your webhosting experience.