Beginners Guide to Setting Up a WordPress Website
Last Updated: October 26, 2024

It can be difficult establishing your presence online, so it’s important to use the right resources to achieve that goal. WordPress can be a valuable asset when making a website and taking that first step toward your online presence. That’s why in this simple guide KnownHost explains how to set up your own WordPress website in an easy to understand way.
what is WordPress?
Before we start the setup process, you may be asking what WordPress is. In simple terms, WordPress is a tool that is used to make websites or blogs and manage the content that is on them. WordPress is also an open-source system which means that anyone can use or modify this software for free.
There is also a key difference between WordPress.com and WordPress.org that is important to know. WordPress.com is easier to start but gives you less freedom as they are the ones hosting this service. WordPress.org allows you to host your own site through a web hosting provider and gives you more freedom at a cheaper price. We will use WordPress.org for this guide.
Domain and Hosting
To start, you need a domain name for your website and a hosting service for it, both of which KnownHost offers. For your domain, you can either bring your own pre-registered domain or register one with your hosting provider. As for hosting services, choose a provider and package that fits best with your budget and particular needs.
Did you know that KnownHost offers Fully Managed Hosting for WordPress Applications in three different package options?
Installation
Once your domain and hosting is taken care of, you can move on to the next step of the process with installation. If you are using our WordPress hosting services, access cPanel through the introduction email you receive after your package order has been made. From there, fill in the proper information and WordPress Hosting will instruct you through the rest of the process.
If you are using a different WordPress hosting service, download WordPress and upload it to the hosting space (this depends on your provider). Once that has been done, run the installation process as instructed by WordPress.

WordPress Dashboard

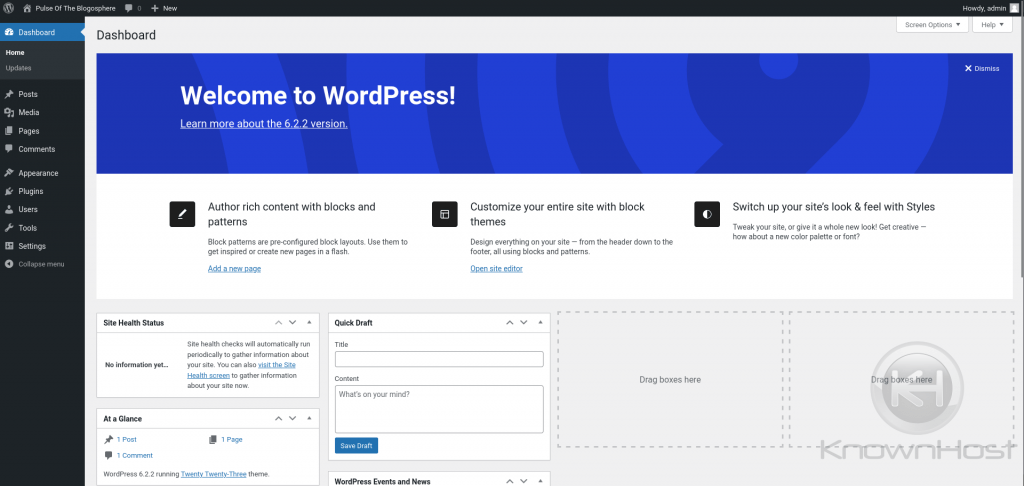
After the installation is complete, login to the WordPress Admin page and you’ll be taken to the WordPress Dashboard. Here, you will see the current status of your website and quick shortcuts to get started. The side bar to the left of the dashboard gives you access to everything you’ll need to create and customize your website. Here’s what each option does:
- Posts – write and complete blog posts
- Media – upload and manage media files on your site
- Pages – create sub-pages
- Comments – moderate comments
- Appearance – change website design or how things are displayed with your current design
- Plugins – install new plugins
- Users – manage accounts that have access to the admin side of the website
- Tools – perform management tasks that aren’t routine
- Settings – control and customize sections of your site
Explore and experiment with each of these options until you are comfortable.
End Result
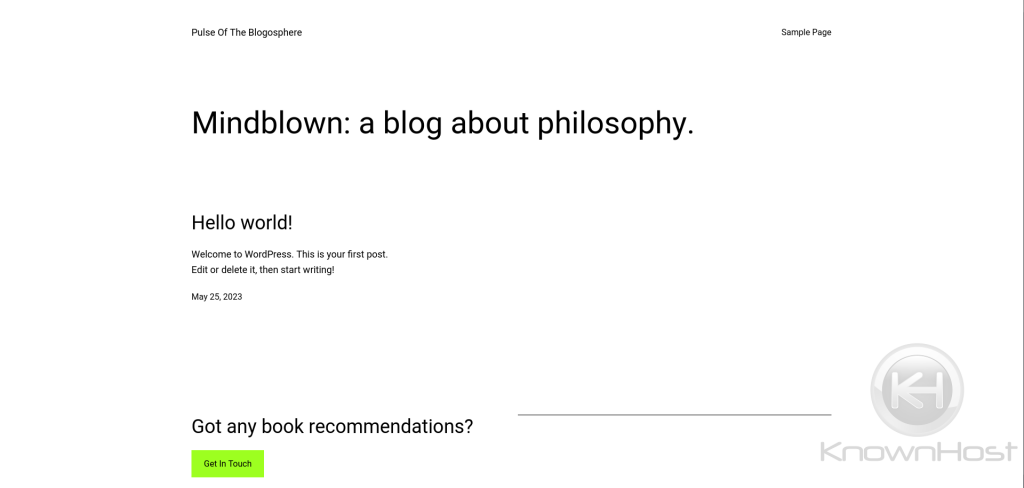
Now it’s time to make the website any way you like with themes, colors, fonts, and more. With this completed website, it can now be used for personal projects or business endeavors. The best part is, you didn’t have to hire anyone to do this for you because it’s so simple and budget-friendly. This is why WordPress is such a valuable resource when making a website to build your online presence.