An Easy Step By Step Guide On Starting A Website

Updated October 14, 2020
You’re finally ready to take the plunge and get started but are a bit overwhelmed in trying to figure out exactly how to get started with a new website. The good news is that starting a website doesn’t have to be painful or expensive. Read on to find a helpful step by step guide to starting a website.

Step 1 – Choosing a Domain Name and Extension
Websites are known by what appears in the address bar – the domain name and extension are the most important elements on that online presence because they feature on every page of the website. At this point in time there are over 360 million domains registered globally.
Domain name + extension, like ‘golfclubrepairs.com’ or ‘fasterthanlight.net’ tell people a bit about your company before they even visit the site. Admittedly, some big brands don’t have explanatory words in their domain names. McDonald’s, Puma and Jaguar don’t have domains that say tastyburgers.com, comfyshoes.com or fastcars.com. Then again, you’ll not be starting off as a globally recognized name!
Domain names form the first impression that people will have, so spend some time in coming up with a name that represents your venture.
Some important rules in choosing a name include:
– pick something memorable – if you’re not remembered, you won’t be getting sales
– short domain names – the fewer characters the easier it is to type and remember
– easy to say – you shouldn’t have to explain it or spell it to someone over the phone
– no numbers or hyphens – they make explanations a necessity and confusion all too common
– explanatory is better – if there’s a keyword in the name that says what you do, it’s awesome
– avoid disputes – make sure you’re not trying to use a brand name from an existing company
Beyond the domain name is the domain extension. It’s the two or three letters (in most cases) following the domain name (the .com, .net, or .org). Although, there are now many lengthy domain extensions like .club or .restaurant.
The best advice is to use .com as a general rule, or a country specific extension if you only do business in some country outside of the United States, like .ca for Canada.
KnownHost offers domain search and registration services across more than a dozen popular domain extensions, which are listed on the domain registration page of the wiki.
After you’ve decided on the extension (you’re going with .com right?), it’s time to search for the name to make sure it’s available. Domain registration searches can be conducted here:
www.knownhost.com/domain-registration.html
What to do if your first pick of domain names is taken?
If you’ve picked a domain name that’s not trademarked but is already registered, you have a couple of options.
You could try to buy the domain name from the existing person or company that has it registered. This can be an expensive approach.
You could try variations on the name. If guitarrepairs.com is taken, you can try alternatives like:
– geographical twist – tampaguitarrepairs.com
– feature twist – overnightguitarrepairs.com
– brand twist – weareguitarrepairs.com
– other twist – realguitarrepairs.com or guaranteedguitarrepairs.com
There’s also the option of swapping similar words:
– wefixguitars.com
– theguitarfixer.com
– guitarservice.com
Step 2 – Figure Out What You’re Going to Do with the Website
There’s massive differences between hosting a blog where you share tips about how repair guitars, where to source the supplies and/or training on how to complete those repairs than hosting an ecommerce site where you sell the supplies to repair and restore guitars, or if you’re wanting an online booking system where you let people book slots for getting their guitars checked out, repaired or otherwise serviced (maybe even guitar lessons, who knows).
The key to getting the right website is knowing what the website is going to do – before you go through the legwork of setting it up. Some essential questions that can help in determining:
– Do you want a platform that’s made for easy publishing of new posts and pages?
– Do you want a platform that’s designed solely for online selling or doing several things?
– Will you be wanting to take money for bookings or online sales?
If you’re looking for a popular, widely-supported and easy to use platform that can handle new posts, pages, sales and bookings, then WordPress with an accompanying plugin for ecommerce sales or bookings makes the most sense.
If you’re planning a dedicated shop with thousands of products (eventually) then you could use WordPress with WooCommerce or other plugin, or you could use a dedicated ecommerce software suite like Magento.
For new site owners, it’s often best to get started with WordPress, which is ideal for publishing, then bolt on the functionality needed, like selling, booking or other features, as your vision and direction become more focused.
Step 3 – Select Web Hosting
If you’ve decided on WordPress, and just getting started, then have a look at hosting designed especially for WordPress sites, like KnownHost’s WordPress Hosting.
Coming in at under $6.00 per month, WordPress Hosting is designed for new site owners. It’s streamlined, automatically updated, easy to use and administer, and comes with full server management, so there’s an entire team of experts available to lend a hand, whenever you need it!
If you’re wanting to host more than one site and would like the flexibility of hosting more than just WordPress sites, then have a look at KnownHost Reseller Hosting.
At just under $7.00 per month, Reseller Hosting gives you the capacity for up to 25 different sites, each capable of running a blog, ecommerce site, distance learning app, or any of hundreds of different software packages, all available to be installed with just one click via the included Softaculous installer.
Going with KnownHost means that your site(s) will be hosted on premium hardware, premium software, using premium networking and supported by expert staff – all fully managed and fully guaranteed. With the proven best uptime in the industry at over 99.99%, your site will be available when visitors (and search engine bots) arrive to check things out. Fast, available and well supported – a potent combination!

Step 4 – Get an SSL Certificate
Before going further, add an SSL certificate to your site.
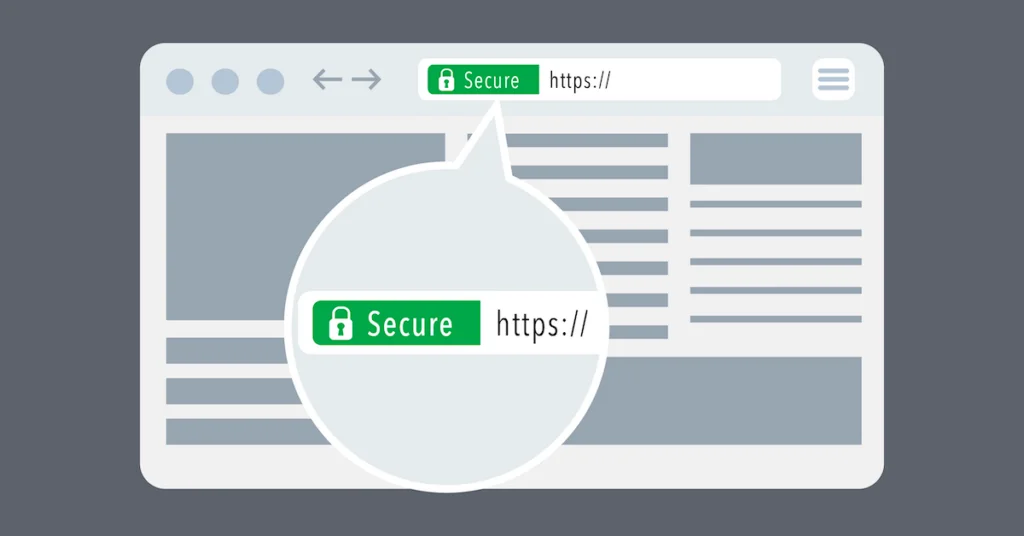
Secure Sockets Layer (SSL) is the means by which web traffic is encrypted so that personal details and financial information can be exchanged securely without fear that hackers can eavesdrop and use that information for nefarious purposes.
Besides being good for user security, SSL is a must for search engine rankings. Search engines, like Google, know the importance of online security and reward sites with SSL by giving them better rankings in search results.
With KnownHost web hosting, each site you host is entitled to a free SSL certificate, with no hidden gotchas. Simply put in a request via the helpdesk ticketing system, asking to get an SSL certificate added to your account and the technical professionals will swing into motion and make it happen for you.
There’s no cost to getting a basic certificate at KnownHost.
If you’d like a premium SSL certificate, KnownHost offers those as well.
Step 5 – Install the software
If you picked a WordPress hosting plan, KnownHost will have pre-installed WordPress for you. If you selected a Reseller hosting plan, you’ll need to install WordPress (used by over ? of all sites online) or Magento, or whatever other software you’ve opted for, based on what you intend to accomplish. With resellers, it’s just a matter of logging in to cPanel, clicking on the Softaculous icon and then picking whatever package(s) you’d like. One click later and they’re installed. Have a look at all the software options available with just one click using Softaculous.
After signing up for web hosting, check your email inbox. It’ll include all the login details needed so that you can get started with whatever hosting plan you’ve chosen.
Step 6 – Choose a Theme and Customize the Appearance
Choose a Theme
There’s no way of giving the exact steps, without knowing which software package you’ve installed, but suffice it to say that for the most popular software applications available, like WordPress and Magento, there are a multitude of themes available from which to choose.
At this stage the key is to get a theme that has the features and functions you’d like. There are thousands of free themes, and many paid themes. Have a look at the list on wordpress.org and filter the selections, check the ratings and reviews and get started.
You can always change themes later if needed – but still, it’s easier to pick a theme now that’s close to the look and feel you want. It just means less changes needing made.
Create a Child Theme
Check out our other posts about how to set up a child theme (WordPress). That way when you make changes they won’t get lost every time a theme is updated. Some other platforms have similar features.
Step 7 – Create Pages and Add Content
It’s now time to get on with creating the site content. You’ll need the core pages of the site built before you can do things like create menus.
Some of the most common pages include:
– Homepage
– About Us
– Contact Us
– Privacy Policy
– Terms and Conditions
– Products/Services
– Meet the Team
– History of the Company
– Philosophy and Ethos
– How Social Distancing and Covid-19 is Being Addressed
– Shipping (if you ship things)
– Financial Info (like payment forms accepted and refund policy)
– Comment Policy (what people can and can’t do in commenting on posts)
The rest of the content, in the form of blog posts and/or more product pages all can be added over time. You don’t need the site 100% complete in order to get on with it.

Step 8 – Customize the Site
Customizer
Many of the most basic changes can be done by logging into the WordPress Admin panel, then choosing Appearance and picking Customize. This will launch Customizer, a very slick way of making changes to tweak your new WordPress install.
Edit Site Identity
The Site Identity section is where you can edit the site title, tagline and favicon (site icon).
Set Up Menu(s)
Select the Menus option where you’ll be able to set up new menus, such as the top site navigation. You’ll want to have planned out your main pages before doing this, such as Homepage, About Us, Privacy Policy, Contact Us, Products/Services, Meet the Team, History and Ethos, and so on.
Add Widgets
Widgets are like Legos. You can build pages, even most of a site, just by dropping in these ready built components. Add whichever widgets you feel appropriate, in the places on the page where they make the most sense.
Modify Homepage Settings
The Homepage Settings in Customizer is where you get to assign which page acts as the site homepage and which will be the posts page.
It’s up to you as to whether the homepage updates whenever new posts appear on the blog or whether it’s static and doesn’t change with each new post.
Add Plugins
Now’s the time to add plugins ranging from SEO to performance, from email to social media. Check out our comprehensive guide to starting a WordPress site which lists more than a dozen must-have plugins to help you get started.
Step 9 – Set up Social Media and Promote
Entire sites are dedicated to each of the many ways you can market your new website, from search engine optimization (SEO) to pay per click (PPC), email, social media and more.
Knowledge is important before you’ve burned through thousands of dollars in learning lessons the hard way, so consider online training like the marketing course at Fresh Bananas.
It’s important to register your business on social networks before someone else stakes out the name and tries to get you to buy them out. Facebook, Twitter, LinkedIn, Instagram – there are many others, but at least get set up on the basics straight away.
As you make new posts or add new products on site, mention them on your social channels. Over time this audience will grow and the impact of this good habit will bear fruit in the form of revenue. With nearly 3 billion monthly users, Facebook is worth the effort for any company!
Conclusion
You’ll want to continue learning, growing, improving and enhancing your site (and your business) day by day. A fantastic place to benefit from the experience of others is none other than the KnownHost forum – actually a collection of sub-forums which help site owners figure out how to get the most out of their hosting, overcome hurdles and become successful, all with a minimum of muss and fuss.